by Barry and Cindy 1997 U270 36′ 9/09
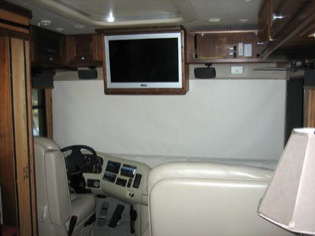
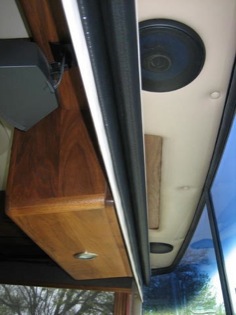
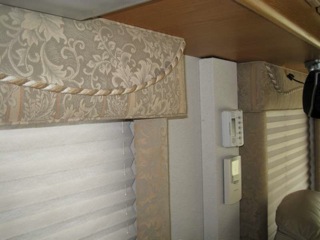
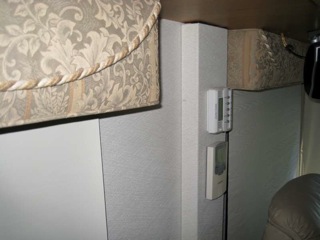
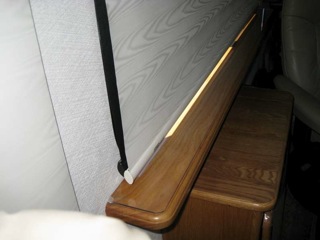
Installing is not complicated. Screw mounting clips to under cabinet and snap shade bracket into clips. That’s it.
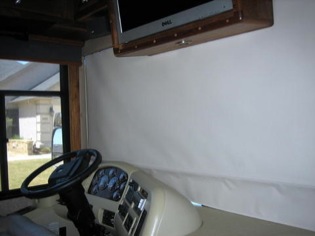
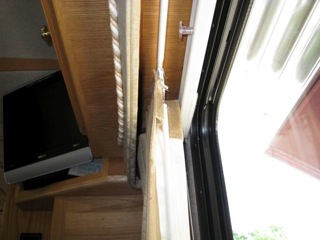
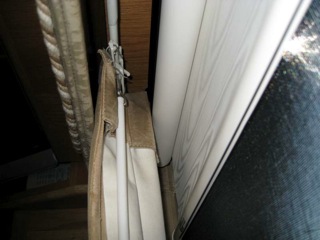
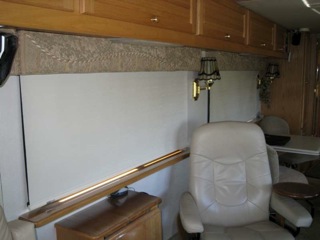
Maybe the inside of the top valance may have to be trimmed back after you remove it. Ours did not need any trimming. Maybe the underside of the cabinet you are mounting your shade clips to, is not parallel to the window ledge, so a washer may be needed to level out the clips. Our cabinets did not need any shimming.
Maybe you would like to have the privacy shade roll closer to the window so you will have full use of the window ledge. We did that. This must be decided before shades are ordered.
I would recommend the reverse. Install the first shade yourself and see if want to complete the job and do the rest.
Generally, a coach owner will be able to always do a better job, but it takes your time. Otherwise, it takes your money if someone else installs it. If you’re under cabinet mounting space is way up behind a cabinet as in some slide-outs it takes some manual dexterity. We don’t have slides and each mounting was straight forward.
MCD gave us screws to mount brackets and we did all the windows ourselves. We also glued the plastic rail on the glass for the front inside the screen.
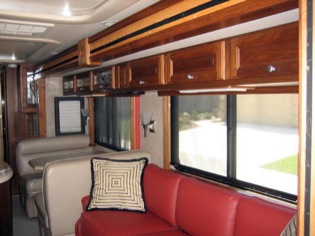
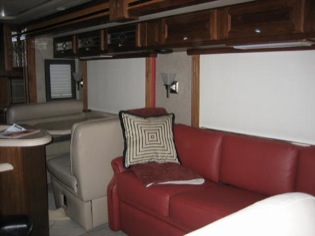
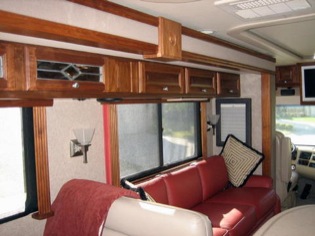
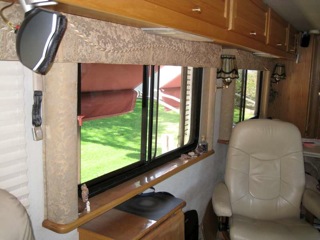
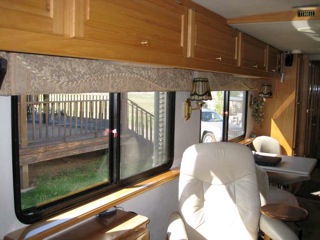
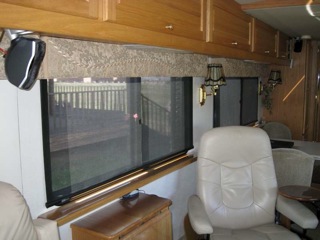
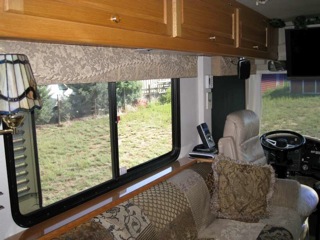
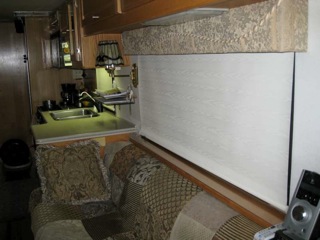
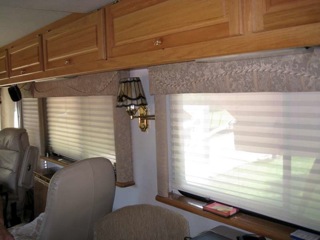
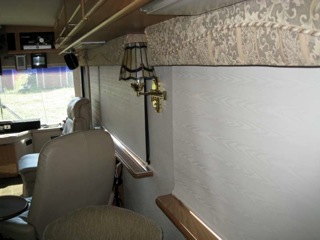
We measured each window ourselves and compared it to their measurements. Because we finally decided to leave off our side valances to make the inside look more open, we could make the shades wider, which allowed the shade to extend outside the window frame.
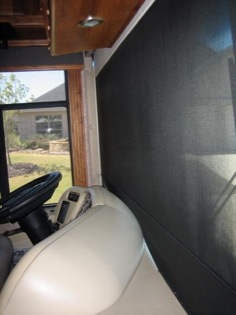
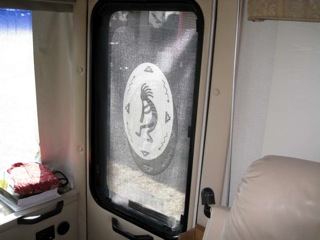
We requested a sunscreen to be fitted to the inside of the door window frame rather than the outer frame edge. For our single privacy shade for the door, we decided to make it a little wider on the left side and wanted to be sure it fit behind our wood door handle on the right side.
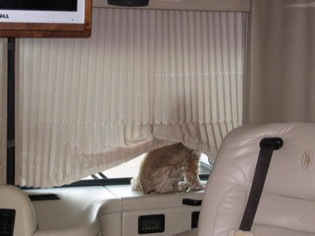
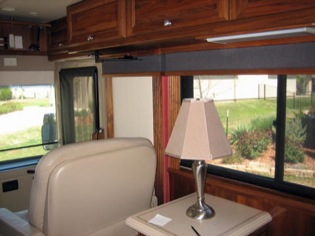
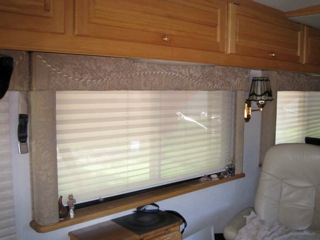
Our bedroom came with traverse rod drapes and no side valances. We decided to install MCD Duo shades (both sun & privacy) and mounted them behind the drapes. We extended the drape rods to give a little more space between the wall and drape.
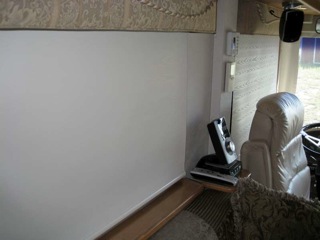
MCD shades are one of the most important modifications we have made to our motorhome. Greater privacy, sun heat rejection, security. We can see from inside to outside all the time while keeping our cool.

MCD Shades Upgrade
By Steve and Michelle 2003 U320
Installing is not complicated. Screw mounting clips to under cabinet and snap shade bracket into clips. That’s it.
We used an electric saw (DeWalt with orbital action). Steve had been needing a new one for months anyway, he’s a woodworking hobbyist, so I bought it for him at the Lowes in McKinney. As Barry mentioned, though, it really depends upon the depth of your valences and the design of the screw rail on them. Our ’03 U320 needed to have some relief cuts made in nearly every valence’s rail; Barry and Cindy’s valences did not. You might even get away with using a rotary tool like a Dremel if you take your time. It’s easy enough to wait until you’re reinstalling the first valence to see if you need to invest in any additional tools or not.