by Dick S. 2003 U320 40′
Problem: The non-drive end of the upper (Night) shade came out of the bracket.
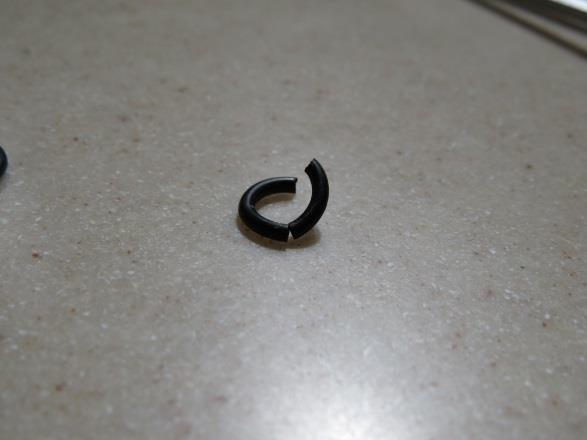
What we found: About three weeks earlier we found a broken O-ring on the dash under this end of the shade.
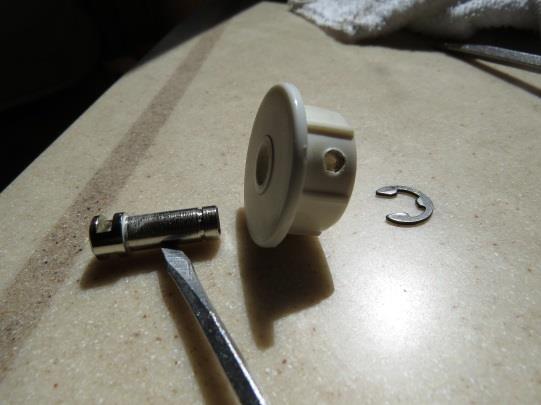
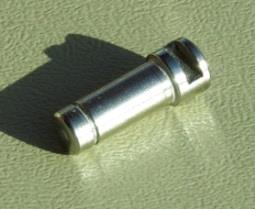
After the shade, the tube came loose and while I was trying to see what happened, this pin fell down:
What we did:
Next, we called MCD and talked to Bill Vinson, who said he had never heard of this happening. He explained what must have happened and mailed repair parts to our home address and said when we see the parts it will all be clear what happened.
So how can we move without making it worse: Bill said if it drops down the motor will break off the other end! So, we wrapped 2” Velcro around the two tubes to hold them together (Bill had suggested something wide to prevent creasing the fabric). Now the lower roller is supporting the weight of both. So, DW got out the adjustable pole we use to wash the MH. We found a short squeegee/sponge that screwed onto the end; a real red neck idea.
The repair: The parts were waiting for us.
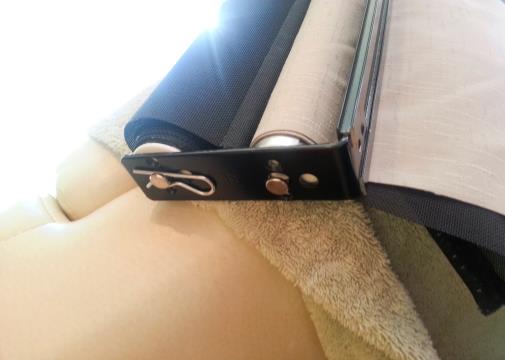
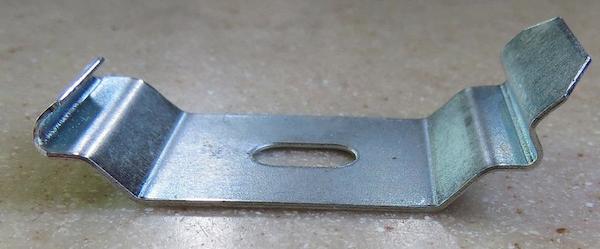
As Bill had said, we had to take the entire assembly down. It may be helpful to see the shape of the clips that hold it up. It was easy to release them with a small screw driver to pry the clip open a bit
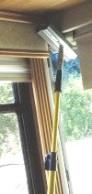
We were able to lower the non-drive end to clear the driver’s side window and the TV and swing it aft to rest on the back of the driver’s chair. The wires on the drive end are short and we were careful not to put any pressure on them. DW held that end up until we could wedge our red neck support into place.
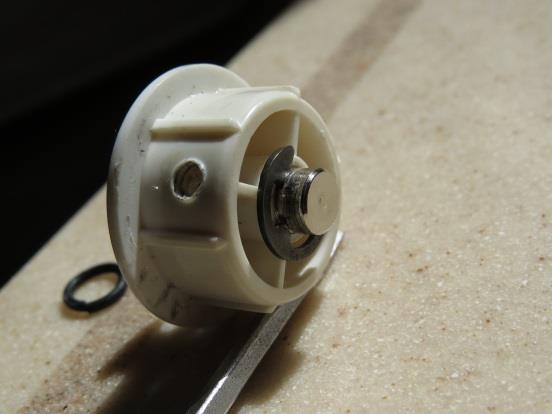
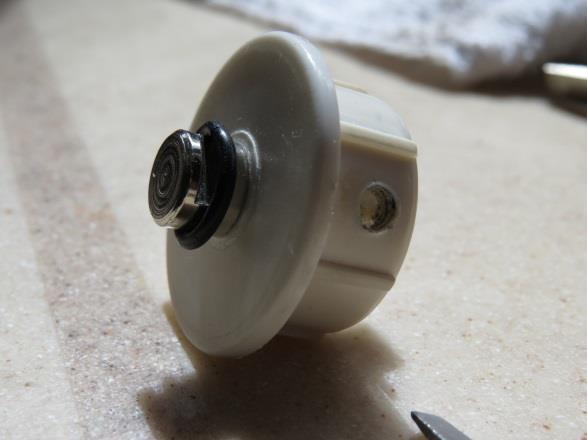
The pin shown above fits through a round plastic plug at the end of the tube. It took another call to Bill to learn there is a set screw holding this in place AND to access it we would need to unroll the fabric! We suspended the tube from the cabinet door pull above the driver’s chair, held the drive end by hand, and used the motor to unwind the fabric. Pretty easy…yet, still couldn’t see the set screw! We managed to get enough slack in the fabric to unroll just enough to get an Allen wrench on the screw.
With the plug out we could see the E-clip inside the tube; it had come off the pin. The new plastic plug did not have a hole in it for the set screw. Drilled and tapped it for the 10-32 screw. Installed the new plug which came complete with the pin installed with a new E-clip and put the fabric back in place.
Well darn! Now the pin sticks out too far to get it in the hole at the end of the mounting bracket! DW to the rescue again! “Is there an adjustment screw for the length of the bracket?” Well duh, sure enough, another set screw allows us to lengthen the bracket, insert the pin, and reset the length. “Thank you, dear!”
Finished by snapping the support bracket into the clips on the ceiling. Recalibration of fabric travel was not needed. I forgot to take photos while we had the assembly down.
Note: The O-rings were used as an assist in the assembly and are not functional. They have since been replaced with a spring hairpin style clip. I think all it does is keep the pin/plug assembly together for shipping.