by Jim McNeece 2003 U320 40′ 5/25/13
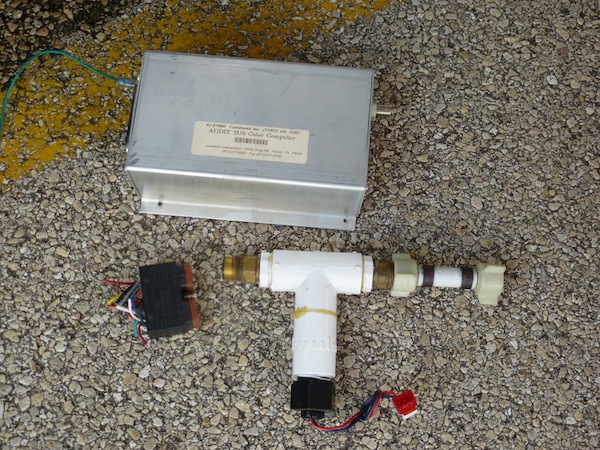
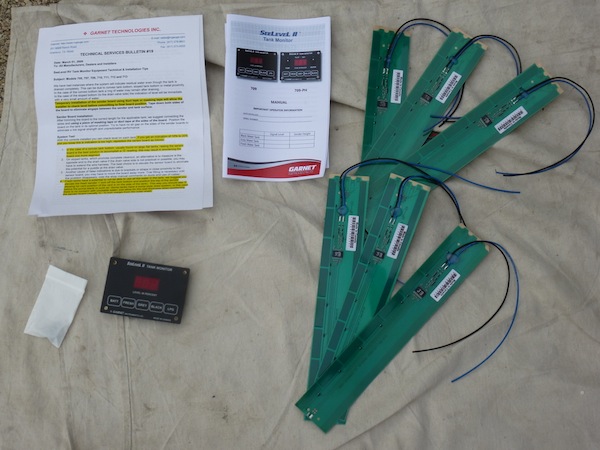
I replaced the existing failed Javalina Audit System with a SeeLevel 709.
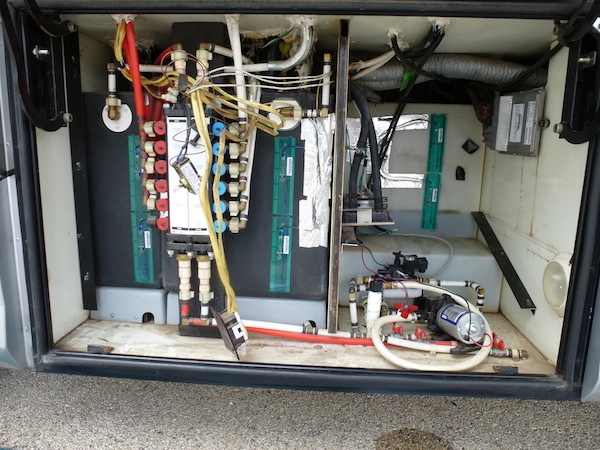
The Seelevel 709 tank monitoring system installation was quite easy. The instructions are excellent and include some very useful hints. The only difficult part (more tedious, than difficult) was removing shelves, etc. to gain access to the various nooks and crannies.
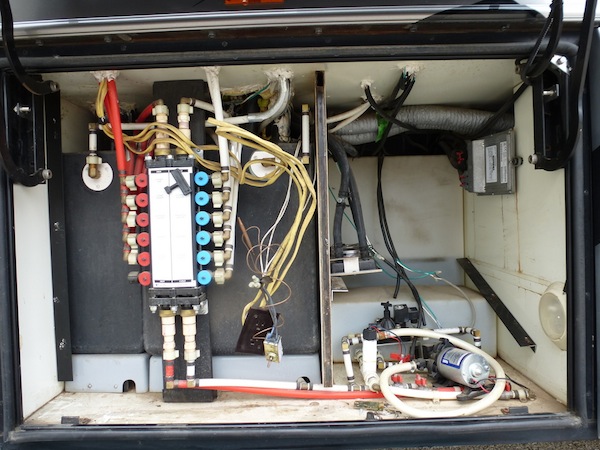
Taking things apart, installing the system and putting all things back together took most of a day. I did not have to run any wires from the dash to the tank bay – just used two of the existing wires from the Javalina freshwater sensor (the Seelevel system only needs a single data wire to connect all three sensors to the display plus a ground wire).
The Seelevel sensors are thin, flexible printed circuit boards about 2-inches wide by a foot long with a 3-M adhesive backing. For tanks taller than 12-inches, use two sensors – one above the other. The sensors can be cut to fit most any tank height. The only thing to be aware of is that you can only cut the sensors between the sensing pads – that is, at 1.5-inch intervals. Sensors are keyed to the respective tank by cutting off a tab on the sensor panel. Likewise, when using a pair of stacked sensors, you have to cut off a special tab to indicate which of the sensors is top and which is bottom. The installation instructions show detailed pictures of how the sensor tabs are cut for various types of installations – including how to fix a tab you cut off by mistake (you get one chance to fix any miscut you make).
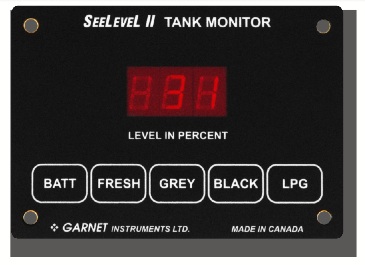
The Seelevel system also displays the LP gas level. Just hook the existing LP sensor wire to the Seelevel display board. The LP sensor is the only one you have to calibrate – the holding tanks are self-calibrating. You calibrate the LP sensor by filling the LP tank and holding down two keys on the display for a few seconds. I have found that the LP reading is a little erratic. Even though the tank is full and we are not using any LP, the gauge does not always give the same reading. We might just need to clean the LP sensor contacts (the sensor is just a resistance slider much like a potentiometer).
I will eventually install the display board in the dash where the pop-up rearview camera and Javalina monitor currently resides. I will add a stand-alone rear camera display just below the upper cabinet. I did this on our 1996 and it worked well – just like a rearview mirror in the car.
My Installation
If you are at all handy, adding the Seelevel system is an easy DIY project.
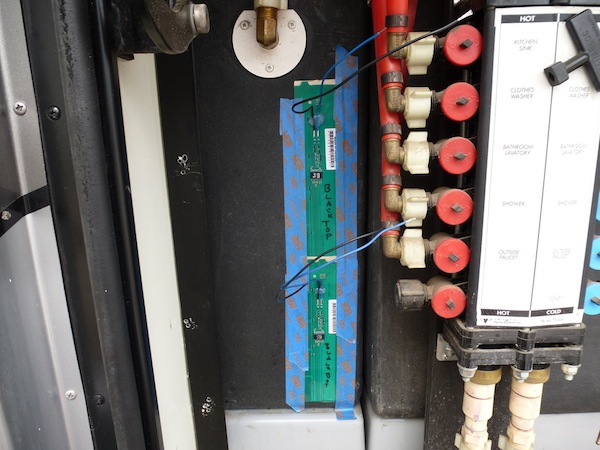
Before you peel off the backing and permanently stick the sensors onto the tank, you SHOULD temporarily tape the sensor in place with masking tape and do a system check. This can save you much grief – as I found out. I mistakenly reversed (I’m sure the wife distracted me) the position of the freshwater sensors and got incorrect readings. It only took a couple of minutes to figure out what I did wrong. Had I stuck them down permanently, it would have been a painful fix.
My freshwater tank has an “L” shaped profile, making the decision about where to install the sensor a little more time-consuming. I decided to ignore the “foot” of the “L” and install the monitor on the vertical section. The gauge will read empty even though the “foot” will still be full of water. This approach seems conservative.