We have a 99′ U270 36′ that is a WTFE floor plan. I don’t know for sure that the U320’s are the same dimensionally, but I think it likely that it is identical in many respects. In any case, what I learned may assist others in their process.
I was able to install the 2100XC and keep the cabinet doors in place, but barely. I used a “Periscope Adapter” from Lowes which I had to modify to fit the Splendide vent kit and the Splendide dryer vent outlet with its white plastic adapter removed to have enough clearance to be able to close the doors. This isn’t the only way to do this as another member succeeded in fitting his by using offset holes around the metal framework.
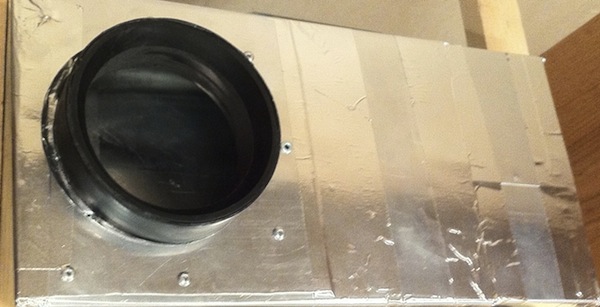
I should add this picture showing the “Periscope attached to the washer is before I modified the wall side in a similar but not identical fashion.
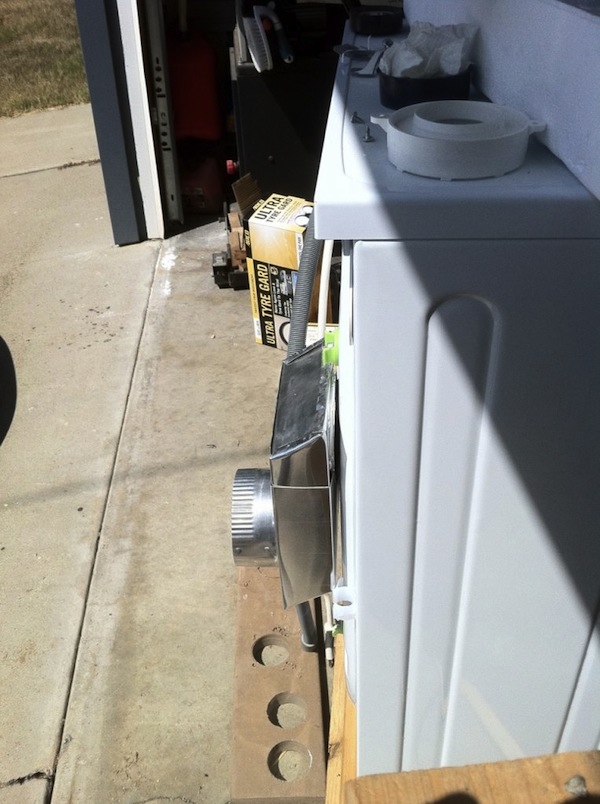
That is, I found a part in the plumbing department of a local HD that I was able to modify and repurpose to fit inside the Splendide Dryer Vent Kit black plastic part and allow the periscope fit flush against the wall, thus taking up only as much space as the depth of the Periscope box itself. Since about 5/8″ (just guessing because I don’t remember exactly) of the depth measurement of the was accounted for by the plastic adapter flange that I removed from the back of the Washer/Dryer unit. What is left after you do that is a nice rubber gasket that you can insert the modified periscope directly into. Clear as mud? You will see when you remove that white plastic part that looks as though something is meant to be threaded into it.
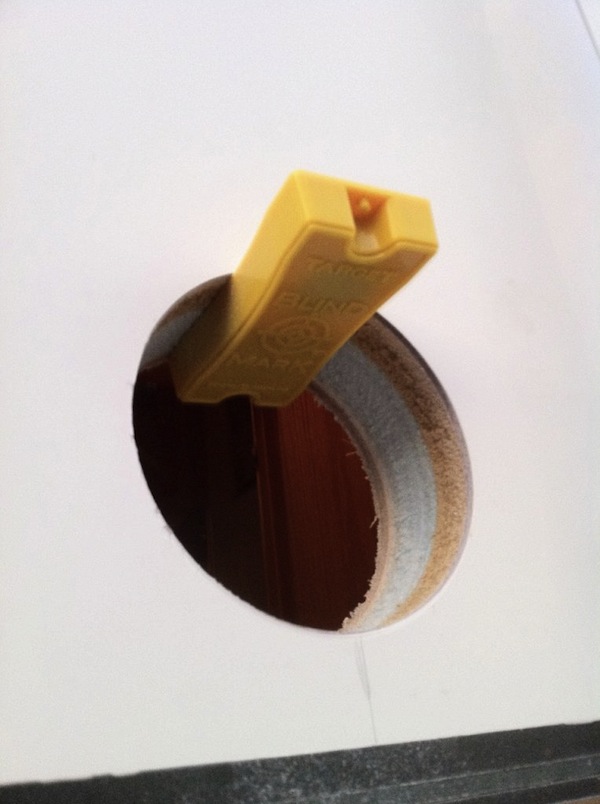
This picture with the magnet stuck to the top of the 4″ dryer vent drilled hole shows how close to the metal cross brace drawn in the first picture the final vent location is.
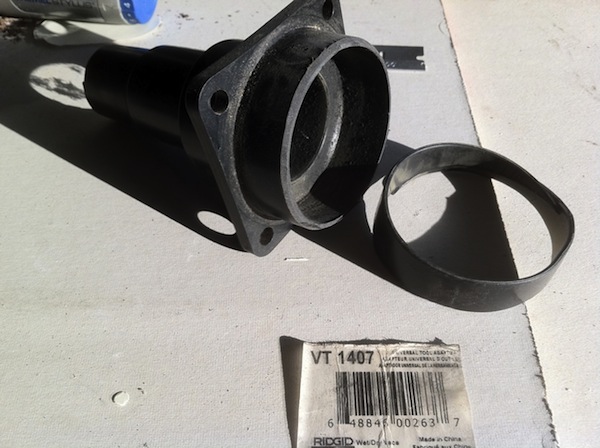
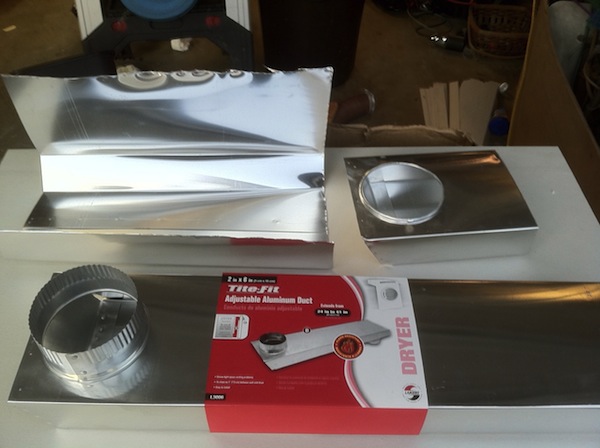
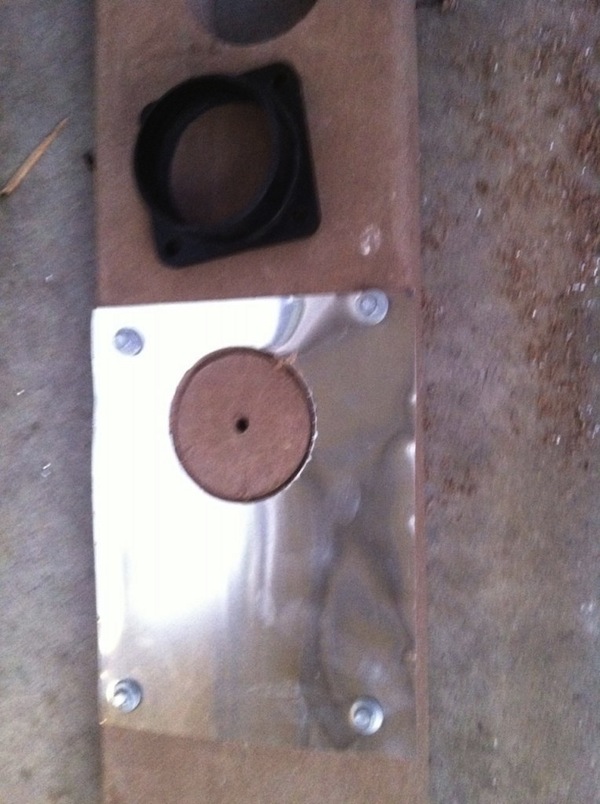
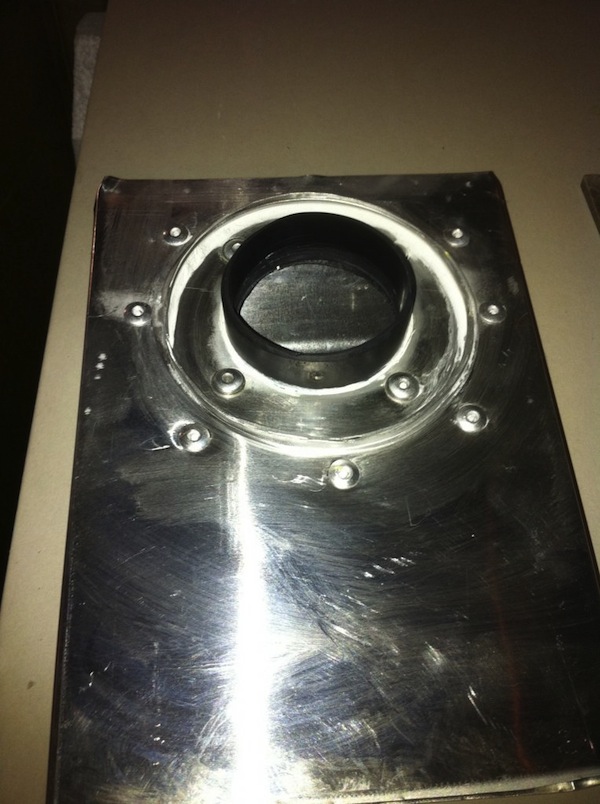
The louver doors on our cabinet are mounted on the outside of the face frame of the cabinet. The little vinyl bumper stop that I put on the door where it makes contact near the latch gives me about 1/16″ extra and the louvers themselves add almost 1/8″. The curved handle on the washer door fits in the space between the right cabinet door and that extra 1/8″ provided by the inset louvers- just enough to clear. Maybe the picture will show that… the part that mates to the black silicone flange on the washer’s dryer vent are from a Rigid Shopvac adapter. See the picture for reference. I had to modify it by using a hole saw (with the center drill bit removed) that was just the right size to liberate the part you see in the pictures. First I tried to cut it out with a razor blade, but that was about to end in disaster! Then I used an extra part of the periscope that I cut off to make a plate which I drilled a hole with a hole saw (don’t remember the size off-hand). I then riveted and used polyurethane caulking to attach and seal the shop vac part to the plate which I then riveted (aluminum rivets of course) to the periscope which I had previously cut out its corrugated coupling flange. Hopefully, the pics suffice, if not feel free to call. I am looking forward to meeting as many Foretravel friends as time and space allow!
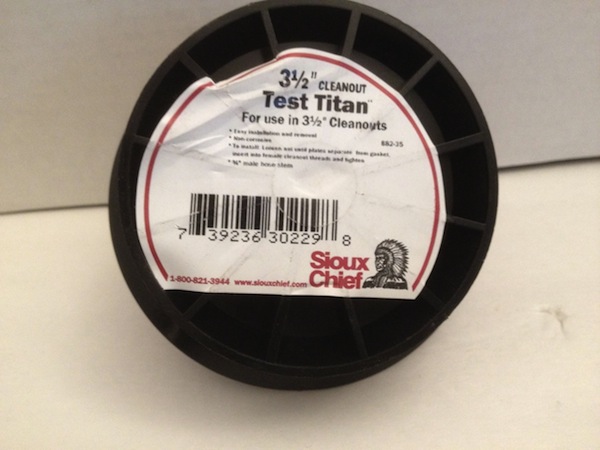
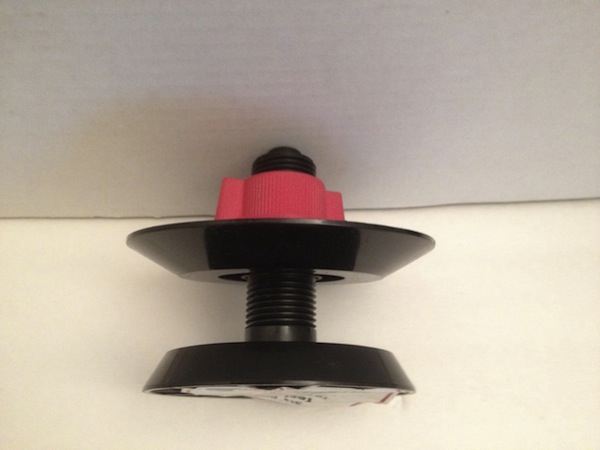
To allow the periscope to fit inside of the Splendide dryer Kit black plastic part I used an expansion plug for 3.5″ cleanouts which had a little bit of flange that used to put a few rivets and some Polyurethane caulking to seal it. I did end up wrapping a bit of stretchable tape around it to make it fit a little tighter. You might be able to find something better suited, but I was getting impatient! The picture below is what is left after you take off the expanding rubber sleeve
That clearance pic was taken with the left side of the cabinet door open and a flashlight shining up through the louvers:)
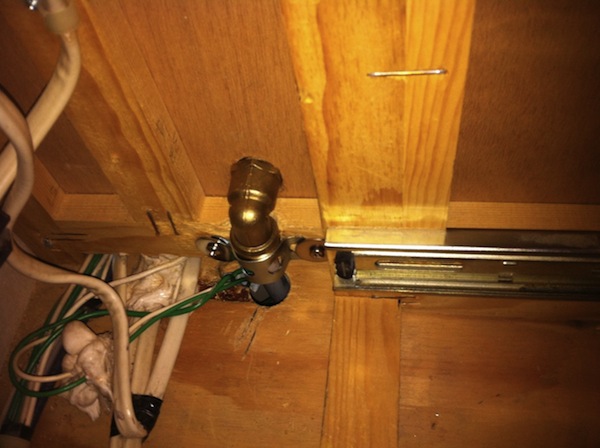
I did plumb the drain pan… Kind of a pain. I went out of the side of the pan, to a right angle shark bite fitting and down along the compartment wall next to the propane water heater to where all the drain valves are. Right now, it just ends in that compartment until I do the bulkhead when I will figure out exactly where to have it exit the coach. I also want to put some kind of screen to keep bugs out. It was tricky to locate the drain plan plumbing, but I have a Rigid Seesnake Micro camera which was helpful to make sure I didn’t drill through something crucial. I drilled a small pilot hole first, fed some wire through and located where it was coming through with the camera. Based on that info, I drilled the larger hole slightly closer to the cabinet sidewall from above, adjacent to the drawer guide support framing. In the picture of the drain pan in place, you can see the fitting I put on the left side. I ended up having to modify it a bit more to flatten it some because I didn’t want it to rub against the bottom of the washer. I don’t know the exact part I started with except that it was brass and the threads on the shark bite side fit the right angle shark bite fitting and the threads on the other side had a nut which started out as a compression fitting which I cut or ground off the compression flange.
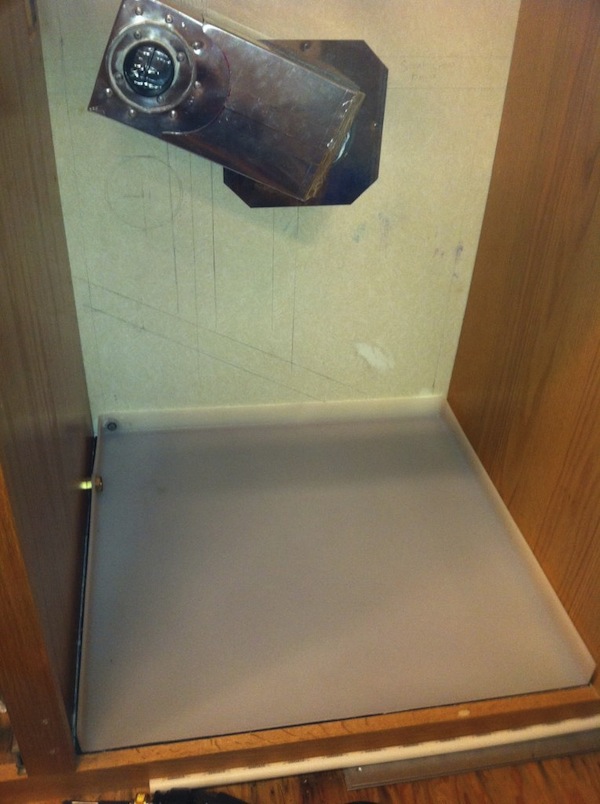
I guess that I should add that I foamed around the penetration into the utility compartment. Also, you might notice that the drain pan sits flush with the cabinet face frame. This is because I cut a piece of a mat made from recycled tire rubber that is about 1/2″ thick. This was the kind of mat gyms use to put under weight machines and such. Very heavy for its size and quite dense and tough. I think the brand was actually called “Tough Mat” or something to that effect. Anyway, I figured it would help dampen any noise from the spin cycle, etc. I caulked all the way around it because I hate the idea of water getting underneath where all that wiring goes through the floor. I also used two of the hold down kits so that all 4 feet of the washer is held down and used sealer at each screw penetration. Getting the back hold-downs located precisely enough to slide the washer into them was the hardest part of the whole drain pan process and perhaps unnecessary, so you might want to skip that part.