LET’S TALK ABOUT WATER LEAKS
When we do body repair in our shop a lot of what we fix is as a result of problems some preventative maintenance could have avoided. Although not all the body repair we do is a result of low maintenance, enough of it is that I felt I would try to write this article so that by following these guidelines RV owners could possibly alleviate some problems or at least detect them before they do major damage. I also intend to attempt to answer some common questions I receive.
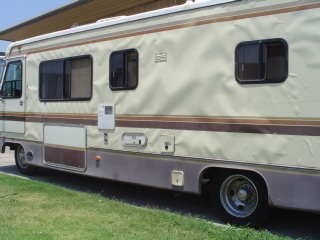
This repair job is temporary and will require major frame rebuilding.
Let’s start by talking about a culprit that is seldom found until the damage is pretty severe. Water leaks can often be happening and because they are outside and the water never comes inside to stain a panel or some material you don’t know it. The water gets in and runs down inside the wall then either absorbs into the sidewall or exits where it is not detected. In both case moisture stays inside the wall and begins the damage process. Mold can also develop
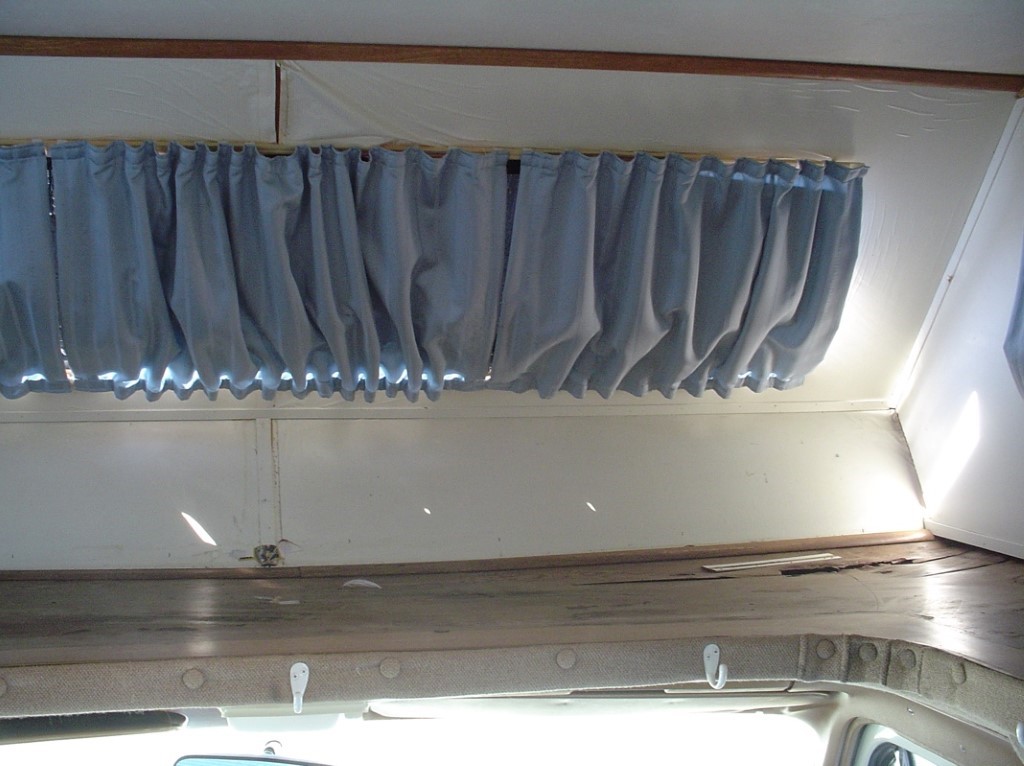
Water leaks were happening long before they became apparent.
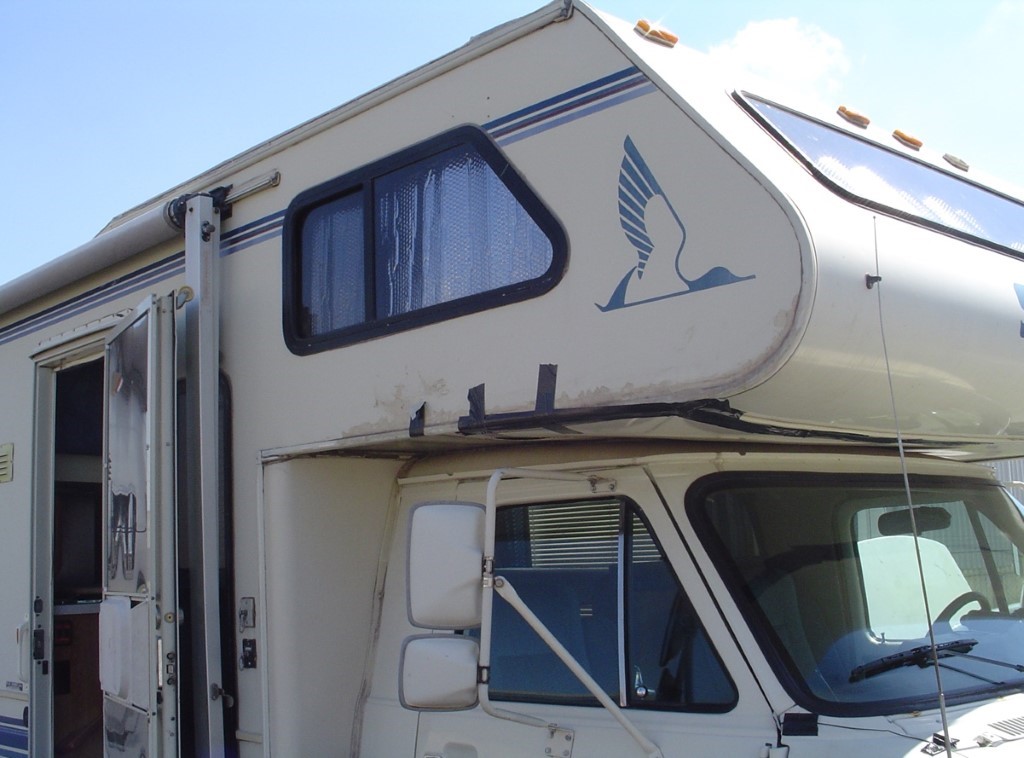
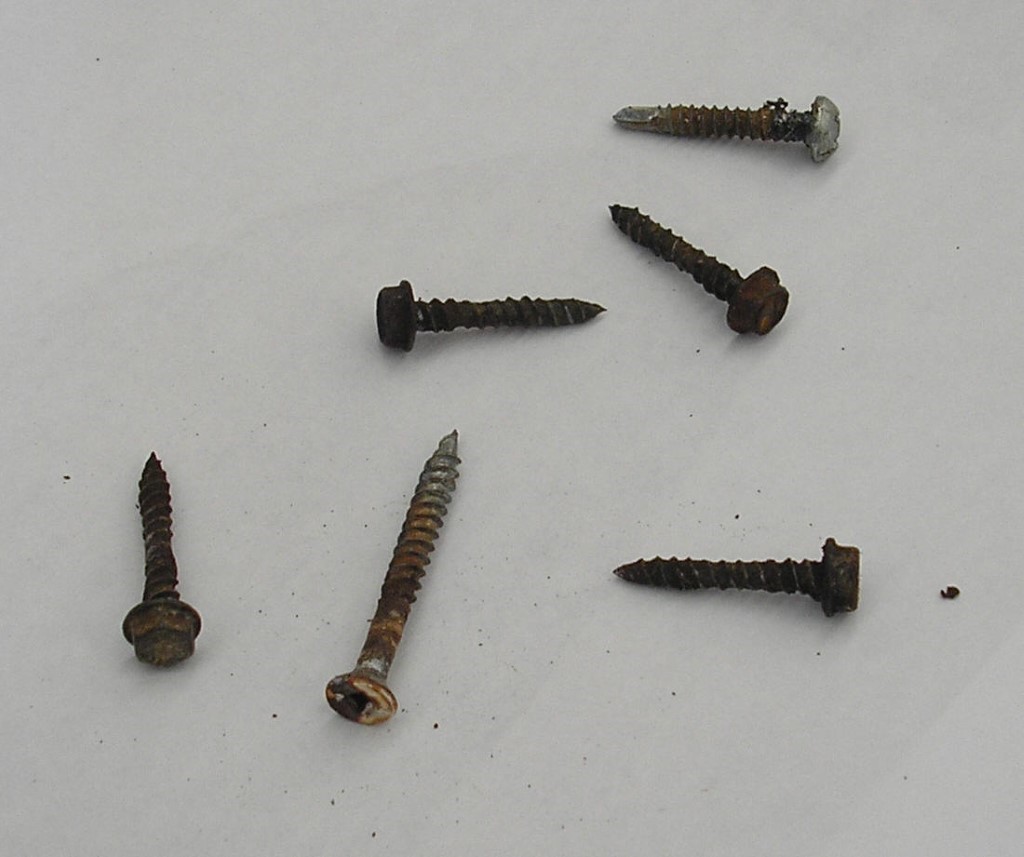
A good way to look for this is to occasionally pull out a few screws at various areas around the outside of the coach. Places like the corner trim, the electric hatch, a window, a storage compartment door, the slide out trim, or even the main door (we will look at the main door in greater detail later). If the screw shows rust or corrosion on the main body or shank you are getting moisture in. This can often be the proverbial “tip of the iceberg”. To access these screws you may have to re-move a decorative screw cover. Be aware this cover can become sun baked and brittle and may need to be replaced after you peel it back. Be certain to replace it, as it can be a protective cover for the screws.
Delamination of the sidewall is either the manifestation of a water leak or the manufacturers glue has not properly held. Delamination can usually be detected by a bubble on the outside wall. Repairing a delam is quite extensive. I won’t go into it here, as most consumers don’t have facilities or equipment to do it. Obviously you should find the point of entry and stop it.
This motorhome has major delamination.
While actually finding and repairing these leaks can be a very time consuming and detailed procedure here are a couple of tips.
A leak does not always manifest itself directly below the point of entry. The water can easily get in and “walk” along a frame member or wire and come out quite a ways from the POE.
Any opening or seam can easily be suspect as a POE, among these are lights, electric plugs, any screw or rivet, antennas, roof vents, etc. Three way corners where the transition seam from the front or rear cap meets the roof material and the side to roof corner are particularly suspect. Remember although the leak may be here it could be running all the way to the bottom of the coach before showing up. This is where removing the screw and looking for rust can be real helpful in detection of a leak.
Finding the point of entry (POE) can be another deal. I have given you a few ideas of where the leak could be. The best way we have found to actually find the POE is to get above the spot where the leak shows up and start looking for all potential POE’s. Remember you will probably need to look to the front and rear of the spot. You will sometimes need to get real creative when looking for leaks. It is also possible to have more than one POE so you should keep this in mind. We have often repaired one POE only to discover in testing we had another. This is why I always recommend a good “shower bath” to check for other leaks anytime you repair a leak. Better to fix the whole thing now that to do it over. Interior pressure while using sudsing solution, smoke machine, and electronic devices can also be used. The use of these methods require special equipment and training. Most consumers are not prepared to use the methods
Another method we sometimes resort to is a magnifying glass and a real detailed slow examination looking for what we feel are potential leaks. This can be real time consuming, but it has worked more than once.
OK, we have found what we believe is the point of entry. What now? Real simple “fix it”. The stopgap way is to clean the area and put some silicone over it. This might hold long enough to get you home or somewhere to get a proper fix. The proper way is to remove completely the window, light, trim or whatever is leaking. Be aware that when you start removing the screws and the shanks look very corroded and rusted you have a good chance of severely damaged framing and may need to be prepared to do some extensive frame repair. I have seen this many times on coaches only two or three years old. Clean everything all the way back to the metal or plastic or fiberglass. This can be a slow process but is imperative to guarantee a good lasting fix. There are many solvents you can use to do this. One of the major problems here is some of them will remove paint. WD-40 is pretty good about not removing any paint unless the paint is really weak. If you use WD-40 be certain to clean all the residue off. This residue can prevent adhesion of the sealers. Some sealers only come off with elbow grease. Silicone that is still sticking is an example of this. Remember a good cleanup job is your best chance of a correct and lasting fix.
After a thorough cleaning of both sides of the items seamed, a good butyl putty tape between both at the seam is good to use. Be aware that some of those side materials with tables and valleys need special extra amounts of butyl tape in the valleys. After re-securing the two parts together, use a good sealer such as Geocel over the seam.
Some other points:
- Windows themselves can leak, as well as, the seam where the window meets the wall.
- Often the main door will let water into the door body around the window, the outside extrusion of the door body and the locks. This can require some assembly and re-assembly to detect this. Pull some of the screws in the window, as well as, a few screws at the bottom of the door body. These are the screws that hold the perimeter extrusion to the door body.
- Screws and rivets themselves can be the source of leaks.
- After disassembly and before reassemble, be sure to dry out all affected areas. To seal in the moisture will continue the damage process. Time, air movement and heat are your allies to accomplish this.
Rubber roofs have become real popular on RV’s in the last decade. Here are a few tips on rubber or EPDM (ethylene propylene diene monomer) roofs:
1. You should NOT use any cleaning products that contain petroleum distillates. This can cause swelling of the EPDM and turn the glue loose. Be sure to check the ingredients in rubber roof care products as some specifically marked for EPDM roofs do contain them. You can find out if they are in your cleaner by looking in the hazardous ingredient section of the Manufacturers Safety Data Sheet (MSDS). The same is true for treating a rubber roof with a petroleum distillate product.
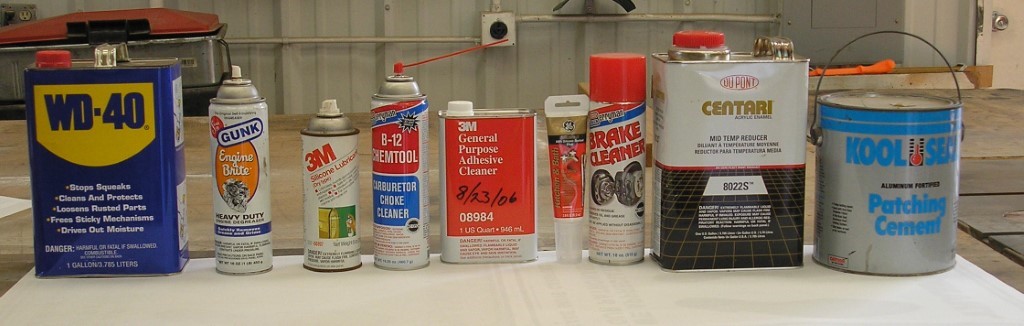
An example of a few lubricants/cleaners NOT to use on a rubber roof.
2. Although mineral spirits is a petroleum distillate you can use a cloth dampened with mineral spirits only to clean a stubborn stain. Be certain to clean the mineral spirits off immediately and leave no residue.
3. Do NOT use harsh abrasive cleaners or citric based cleaners. Use a mild detergent.
4. The white powder that runs down the side of the coach off a rubber roof after a rain is oxidation. This is normal. You should clean the rubber roof at least four times per year with a medium bristle brush and a mild detergent. You can also purchase a rubber roof cleaner at your local RV supply. Be certain there are no petroleum distillates. Also, rinse thoroughly with clean water to avoid any residue. You may need to clean more often if you are in an area where there is a lot of fruit or tree sap.
5. Unlike natural rubber or rubber blends you do not need to worry about protecting EPDM roofs from ultraviolet rays or ozone with periodic application of a protectant. Any statement or implication that you should is misinformation from someone trying to sell something.
6. There are products available at RV suppliers to treat the wrap over of a rubber roof you see from the ground. One is called 303 Protectant. The purpose for this is to keep the wrap over from soiling and becoming unsightly.
7. If using a sealer on a rubber roof be certain there are no petroleum distillates in the sealer. You should use a good self-leveling sealer. A self-leveling sealer should only be applied heavy enough to flow out and cover the desired area. Putting it on too thick can cause it to crack out more easily with expansion and contraction due to varying climate conditions.
8. While we are talking about roofs, I want to mention inspecting you’re a/c covers, mushroom vents, roof vents, and refer top vents for UV damage and cracks. They can often blow off or deteriorate causing leaks and you may never know it until you see the water.
9. A major source of leaks is the roof mount air conditioner. This is often from the weakness of the roof causing the water to pool around the a/c. You can detect this by looking on the roof after a rain or using your water hose. To repair you must reinforce the roof framing and raise the a/c so it is on a crown. Also be aware that the gasket between the a/c and roof is approximately 1″ thick out of the box. When it has been tightened so it is less than ½” in thickness it is best it be replaced. You should check those bolts that hold the tension on the a/c to roof once a year and tighten as necessary. There are either 3 or 4 bolts based on the brand of a/c you have. You will need to remove the inner plenum to access these. While you are at it clean those filters!
10. It is very important that the correct sealant be used when sealing a plastic skylight.
One of the common questions I am asked is about fiberglass front and rear caps becoming dull. This is generally caused by a faulty gel coat (that is the exterior coat that has dulled) or a faulty application of the gel coat. Gel coat dulling often does not show up for several years. It is often caused by the manufacturer using improper techniques (not preparing the mold properly and using the wrong thinner for spraying are a couple).
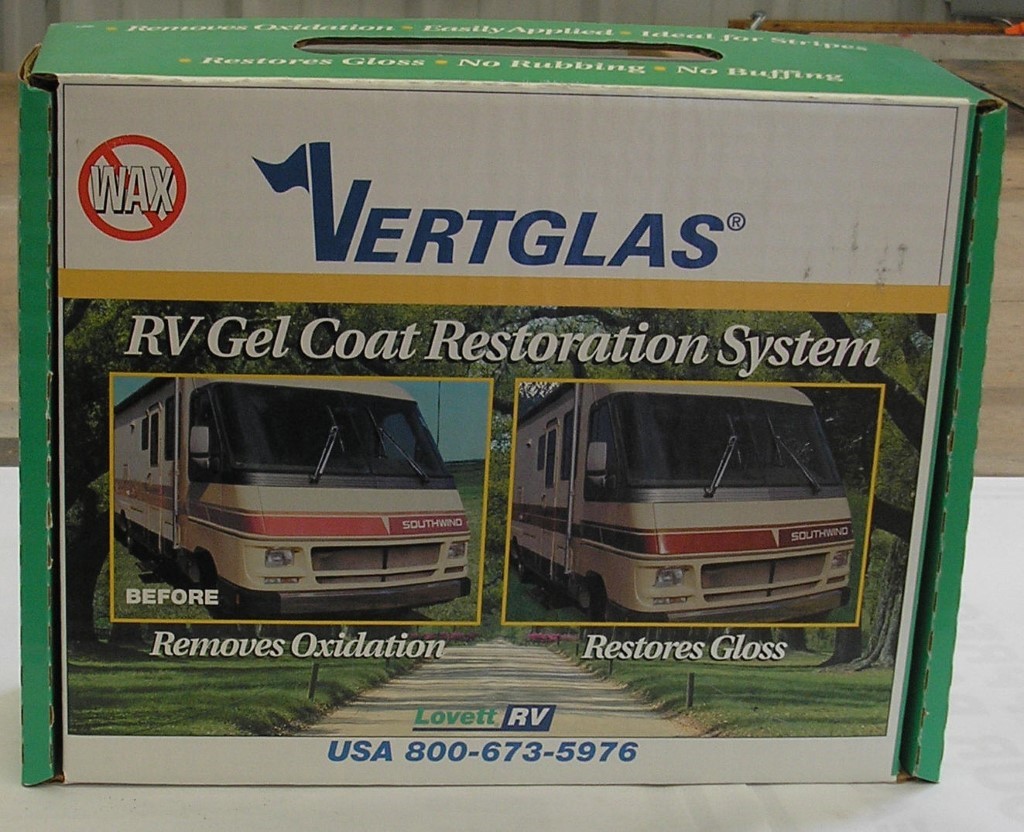
An example of a fiberglass restoration/shine kit.
The correct way to repair for a long lasting finish is to prepare the surface properly and reapply a polyester gel coat. This is very detailed and costly. The average person has neither the skill nor equipment to do so. You can also paint the area using a good automotive grade paint. The surface preparation for this is quite extensive and should only be attempted by a qualified professional.
You can help delay this action by washing and waxing on a regular basis. The suns rays can do damage so how often is based on exposure. Polish is better than wax for this. You should never wash in the heat of the day as the sun rays can magnify in the water droplets and cause damage.
There is a product out called Gel Glass that I have had customers tell me they have used with satisfactory results. This too is only temporary and needs to be done periodically.
I have tried to cover common problems. This article is only intended to address situations the average RV’er can handle. Please contact your local dealer if you have more detailed questions. Some of the areas I touched on have much more complexity to them than I mentioned.
Thank you for reading my article.