by Steve Cook 2003 U320 40′ 5/25/13
We needed to replace some tired gaskets on the bays in 2003. We’ll probably do all 8 side bays at the same time. At about 150 linear inches/bay, that’s 100 feet of the gasket.
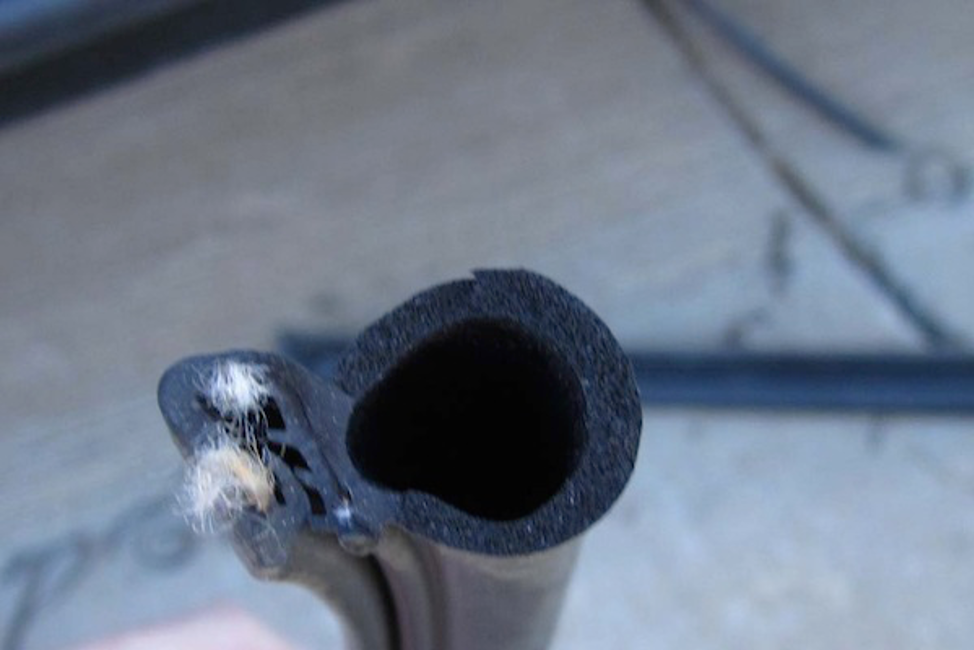
We have a few cuts in ours, and most of the lower gasket is pretty worn from things getting pulled in/out of the bays. We also get some water in the bays, I could probably stop that with a bit more gasket compression but then the bay doors would be even more cantankerous about latching.
In digging around I found a gasket P/N 75000720 listed in one of our manuals for “compartment door trim seal”. This number appears to be from www.cooperstandardperformance.com, it’s listed as a Dual Durometer EPDM Trim Seals for Edges .065″ to .095″ (RS-131). It comes in either a 250′ roll or 25′ roll.
The measurements on that image match (as best I can tell), the gaskets that we currently have, and our bay flange are 3/32. Using the 25′ roll P/N of 75001363 there are a few places selling it, generally in the 1.70 – 1.80 a foot range.
It also looks suspiciously like the McMaster-Carr (p/n 12335A18).
We used 3M black super weatherstrip adhesive to join the cut corners together. 3M lists it as a strong, flexible, rubbery adhesive that can withstand vibration, oil, grease, and extreme temperature variations, used to bond automotive weatherstripping.
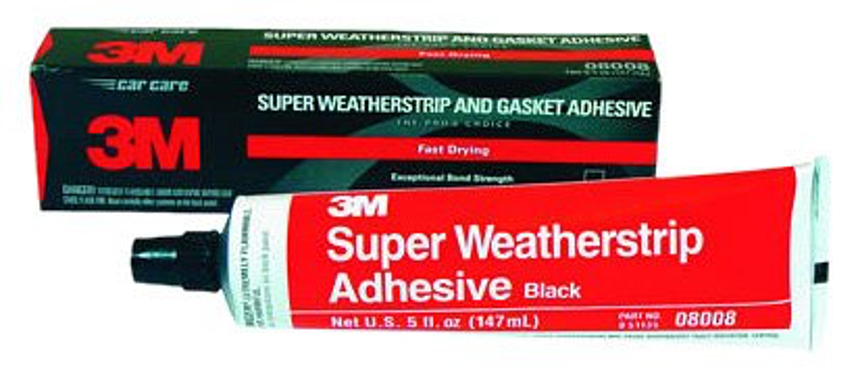
The stuff is a bit like rubber cement, sticks very well to the gasket but is a bit messy. It skins over pretty quickly so you have to make sure to work it into the joint well. I left the bay doors open for several hours to make sure it was dry. I also used this in the channel of the lower gasket since that tends to get quite a bit of abuse loading/unloading the bays. I also did “flood” the lower corners to seal them completely. Time will tell how well it holds up, but it did seem similar to what was used on the original gaskets.
Replacing the gaskets is easy, the top and sides are done as a single piece, and the bottom gasket is its own section. I found it easiest to start at a corner and work down and out, which made the best corners for me. You have to do some cutting of the gasket channel in a few areas to clear a few things (latches), you will see that was done on the original gasket as well. One roll of 25′ would do two of our bays with a few inches of gasket left over.

Old Gasket
New Gasket
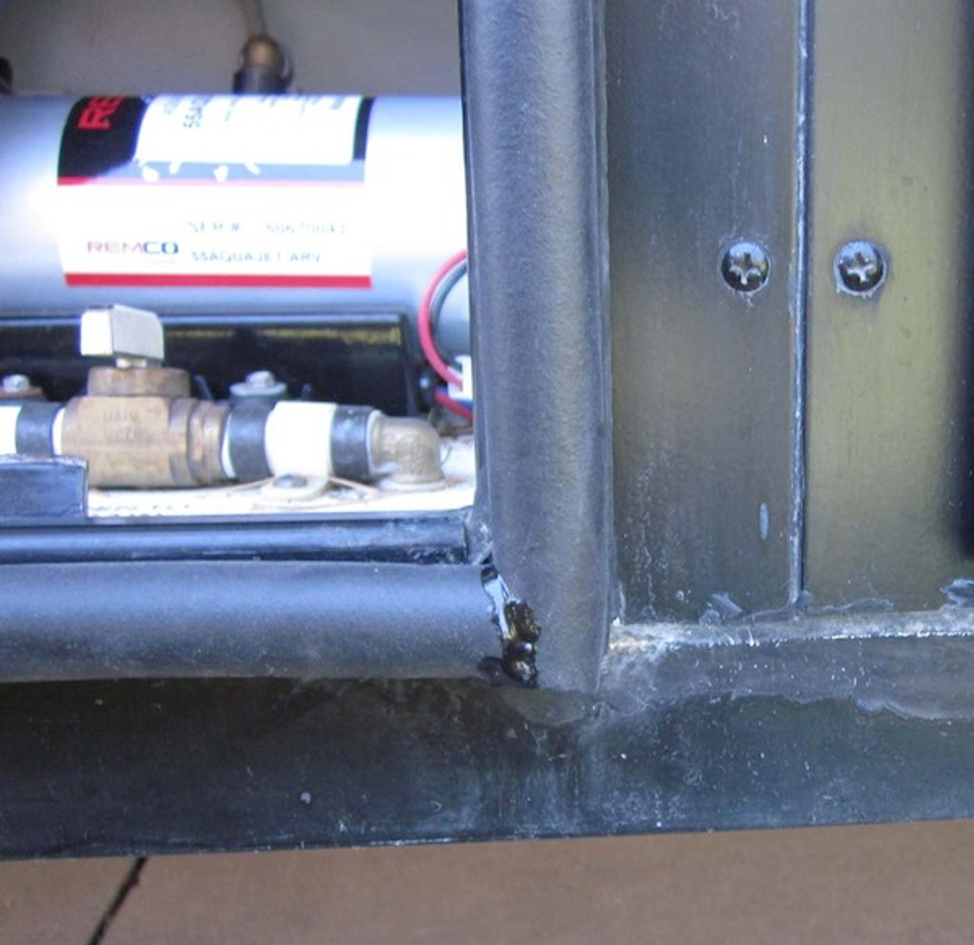
Corners sealed with 3M 08008 Black Super Weatherstrip Adhesive