By George Stoltz 2000 U320 40′
As renovation projects go, this one was not very sexy.
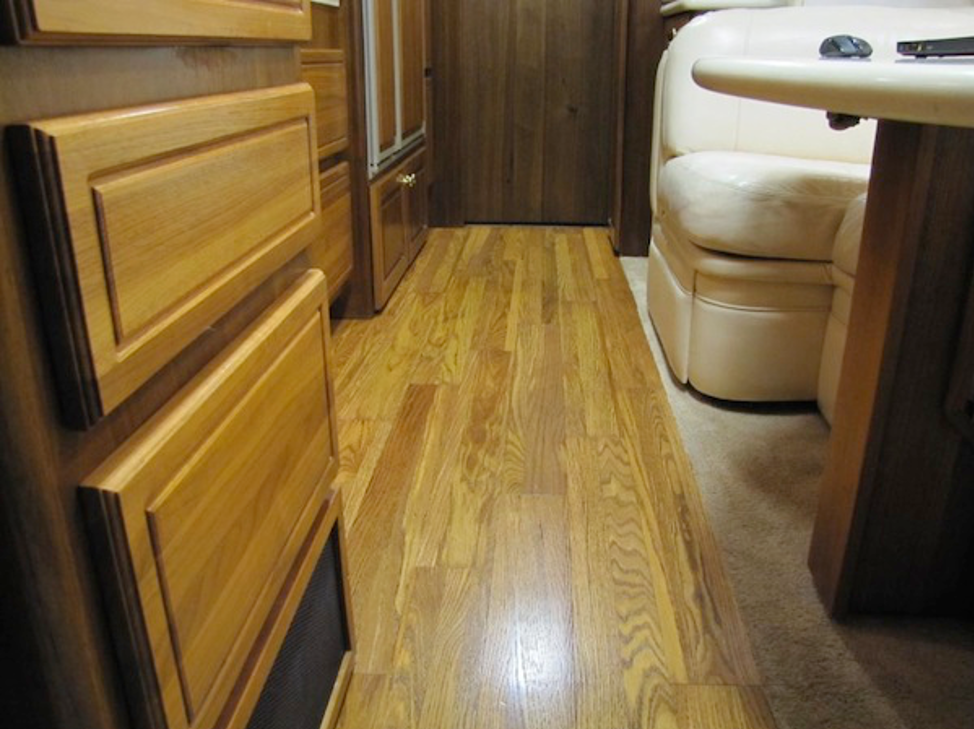
Our wood galley floor had begun to show a lot of wear. To the casual observer it looked o.k., but I knew it was very close to the point where a total sanding down to bare wood would be necessary and that would entail a lot more mess, time and money.
So I decided to re-coat the floor with two layers of a fast-drying Minwax Semi-Gloss polyurethane. Here are the steps:
1. I removed any cabinet doors and registers that would keep me from using a brush or roller right at the edges of the floor.
2. Vacuumed the floor carefully.
3. Washed floor twice with TSP (tri-sodium phosphate). I did not use real wet cloth. More to the damp side. I did not want the water to get into the wood in those spots where the previous finish had worn thin.
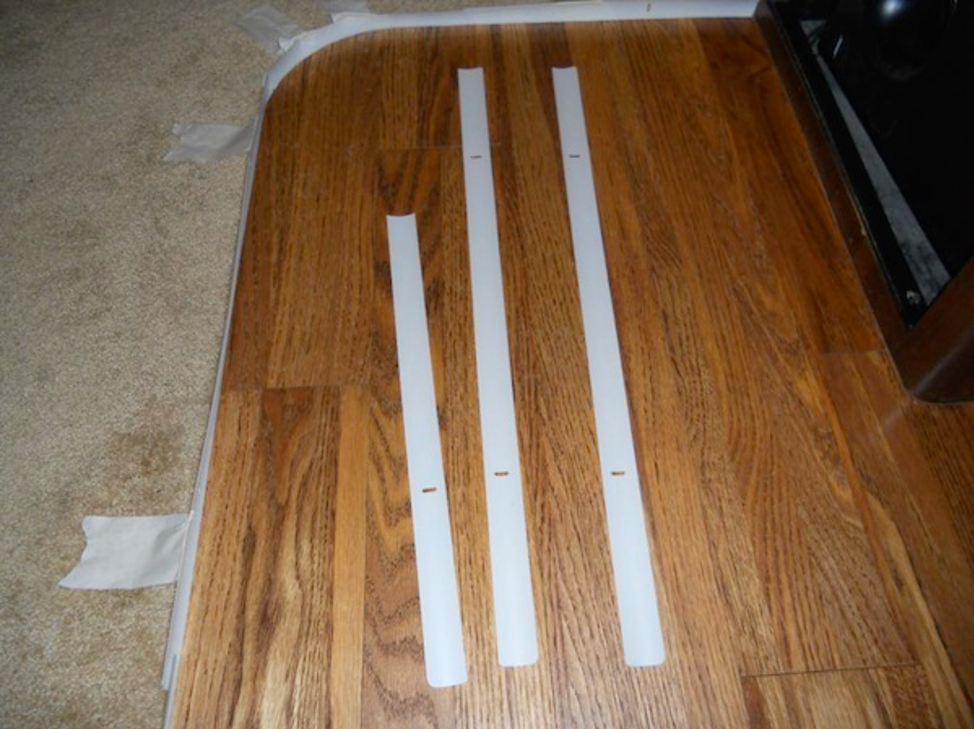
4. Next, I separated the edge of the adjacent carpet from the wood flooring. To do this I bought a bargain price plastic mini blind at Walmart for $2.96. I used about a half dozen slats and set them on edge between the carpet and the wood. On the radius, it helped to cut the slats into shorter segments. Sometimes it was helpful to secure the slats to the carpet with a piece of masking tape. (see photo)
5. I used all three tack cloths that came in one package and opened them up and wadded then loosely into the size of a six-inch paper plate. Then I carefully and thoroughly tacked the entire floor to remove any dust or doggie hair.
6. Turned off the Aqua-Hot in the living room.
7. Using a high-quality bristle brush I cut in the corners and edges and then used a 4-inch foam roller to spread poly in both directions. I would finish each section by lightly dragging the brush from a dry edge to a wet edge. This critical step removed air bubbles and any lap or joint marks between each segment as I progressed toward the bathroom. This step took 15 to 20 minutes.
8. Set the alarm for 4 hours, got up at 1:00 to lightly sand the floor with 320 grit paper, the tack cloth and then repeat step 7.
By 7:00 a.m. the floor was dry enough to walk on in stocking feet. The entire job probably took me about 2 hours of time and just under $50 for materials. And it looks great. Next time I do a flooring project it will be to stroke a check-in 2012 to replace the wood and the carpet with Dura-Ceramic.