I had a leaking slide bladder replaced at MOT not quite a year ago. If the way they did it is the only way to do it, then I would say that it is a labor-intensive process best left to people who have developed some experience through experience. It required several guys working together the better part of a day to get it done.
Here’s what I remember from watching:
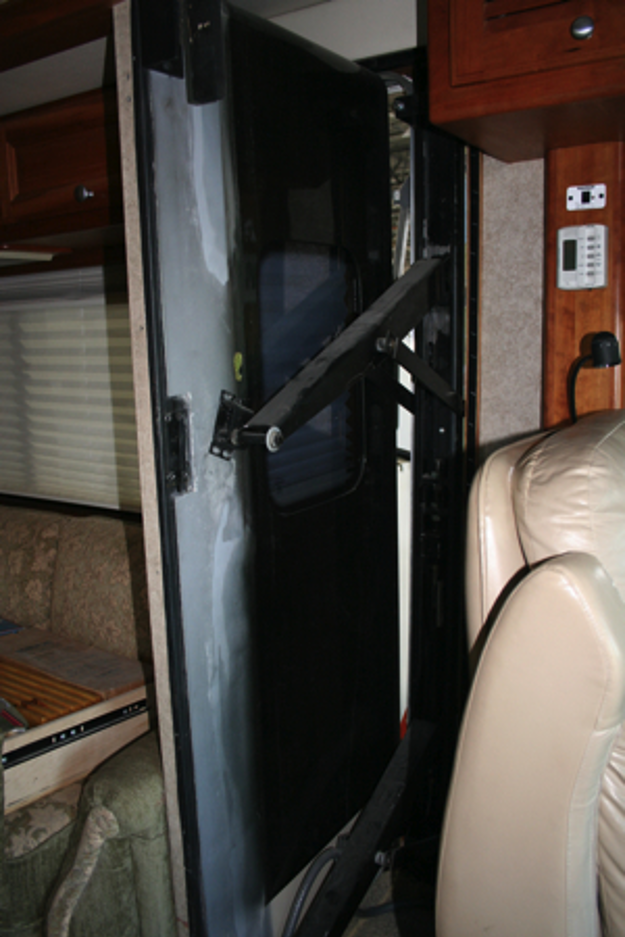
Accessing the bladder required that the slide be pushed about 6″ or more into the cabin.
Getting the slide into the cabin required that the header and side trim be removed first and that the bladder stem be separated from the inflation/deflation valve. Probably more is required, but I can’t tell you what it is.
Once exposed, the bladder could be removed.
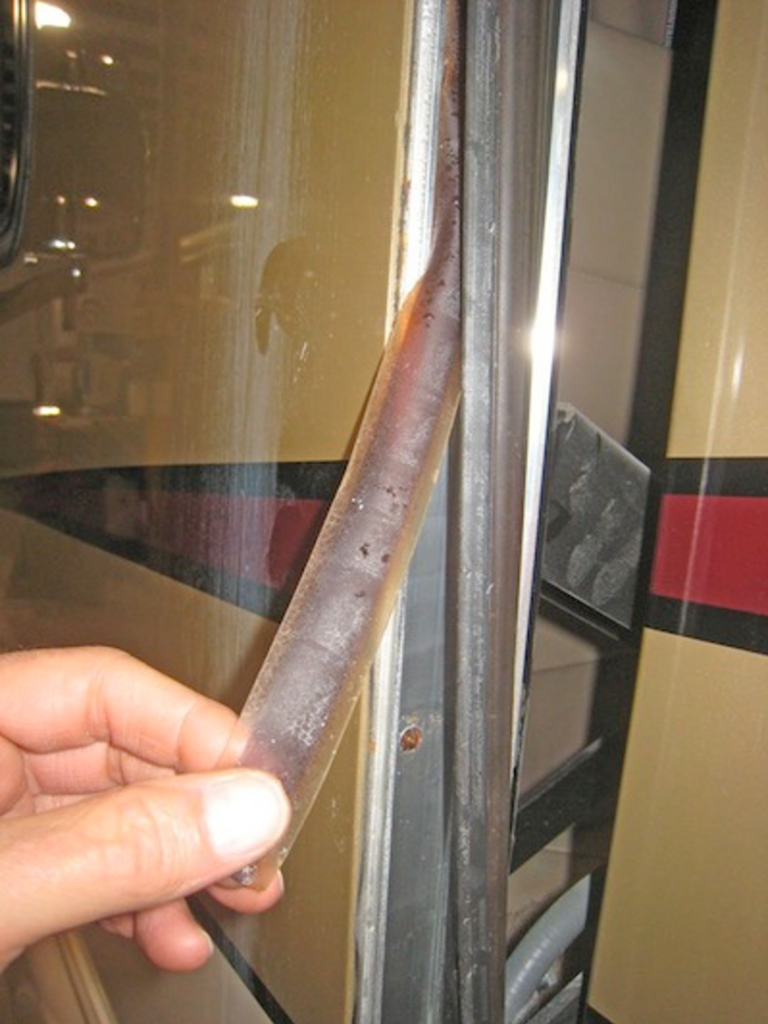
Also removed was a thick ribbon of adhesive which held the bladder in place. Apparently early editions of the slide did not have this adhesive – allowing the bladders to “float” and twist and get pinched and eventually develop leaks. Don’t know whether yours is one of these earlier editions or not. The ribbon of adhesive takes care of this movement – but leaks can still occur, as happened to mine. Removing this adhesive was a tender process of slowly and gently pulling it away from its channel – and scrubbing out every speck that wouldn’t respond to the tug.
Once the site for the bladder was completely clean, the new adhesive was carefully applied evenly, and the bladder even more carefully put into place – evenly all around to prevent gaps, stretching, or twisting in the processes of inflating and deflating. Given the size of the bladder, and its relationship to the adhesive, this step especially required several people working together.
The slide was then pushed back from its position inside the cabin to its rightful closed position flush with the sidewall – valve stem attached – do whatever else needed doing – cross your fingers and test. Test the operation of the bladder – and test the effectiveness of the bladder to seal against water and outside air.
Reinstall header and trim. Breath deeply. Pay the bill.
I don’t know if patching is possible or advisable. Never have heard of it being attempted. Maybe others have. By Bob Mulder- 9/08 – Photos by Barry Beam
If there is a hole in the slide bladder seal and you can’t close the slide. It is because the unit is not sensing a seal. Go down and pinch the air line with pliers while the key is on. That will draw a vacuum, trick the unit sensor, and you will be able to get the room in. Mike Rogers – 1/08
While at FOT one owner showed me his popsicle stick leak stopper just jammed into the crack against the leak hole. It was a long stick going into the crack and another working as a wedge, and then a small piece of tape holding it all together. Dave Cobb 1998 U295, 36′
All you need to bypass a leaking slide bladder is a brass compression fitting cap. When you remove the line on the manifold block which is located just above the door in the first compartment after the battery compartment on the driver’s side. No need to bleed down the air first as it is regulated to 12psi. Jeff & Patricia 2001 U320i 4010
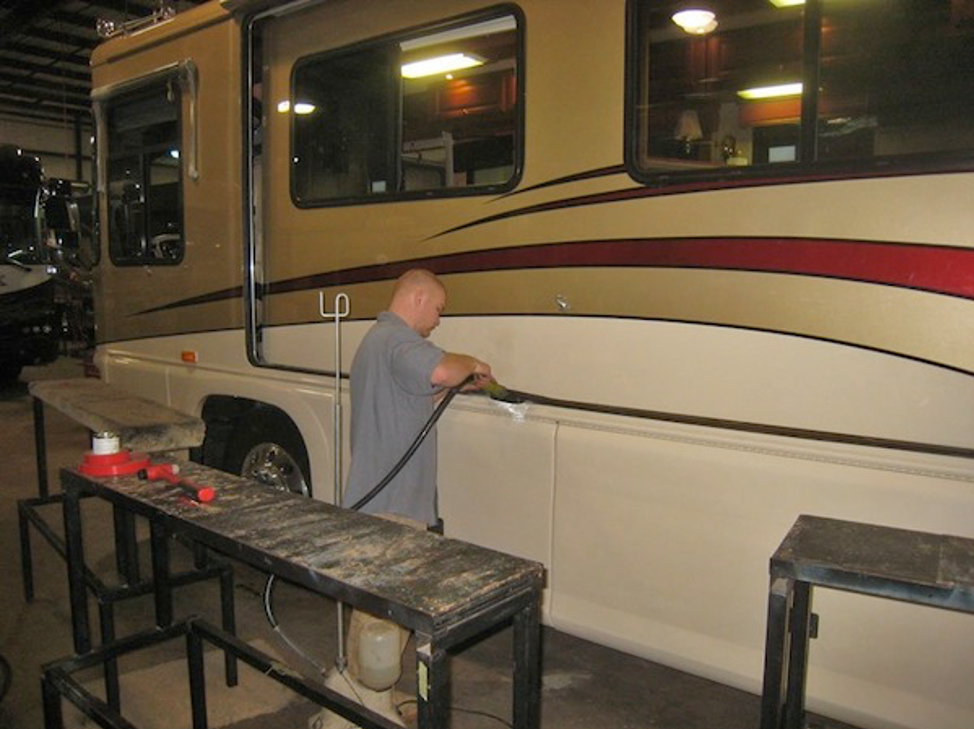
We’re at Camp Foretravel and yesterday we had the slide serviced. We have had our 2003 U295 for just over a year and the slide has always been noisy…. squeaks when it goes in or out. Initially, I thought the slide was not centered properly, but it took Bob (one of the FT techs that worked on our coach) about 5 minutes to spot the problem. The double-stick tape that holds the bladder in place had failed in the upper front corner of the slide. Because of this, when the bladder deflated, it did not pull away from the slide. Since it was against the slide when it moved, it squeaked. I was not so worried about the noise…. but the ware on that expensive (and hard to obtain) bladder was another thing. So yesterday, they moved the slide in about 6 inches and removed the double stick tape and replaced it. The total time for two techs was from about 7:30 am until about 1:30 pm, with a lunch break.
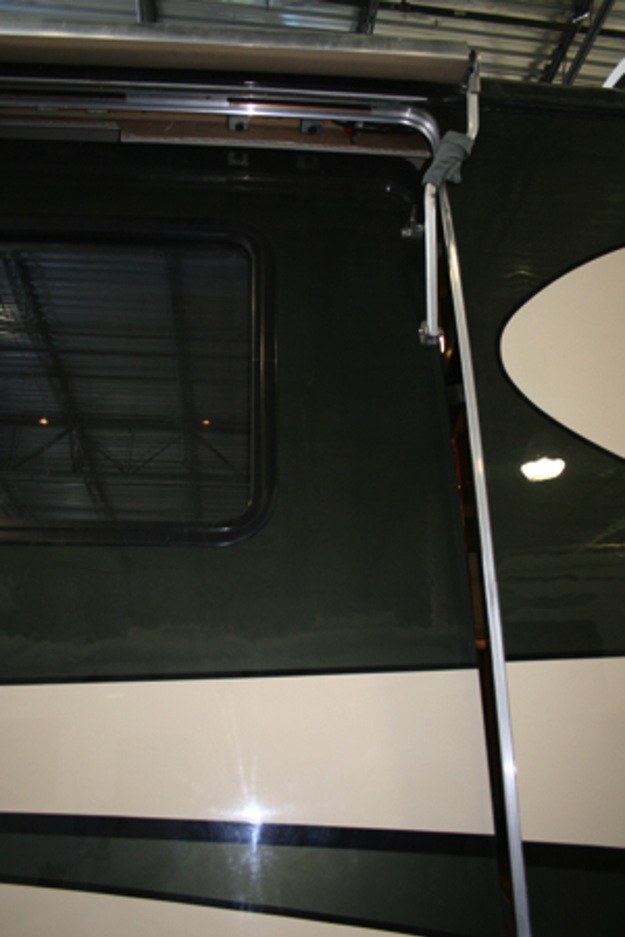
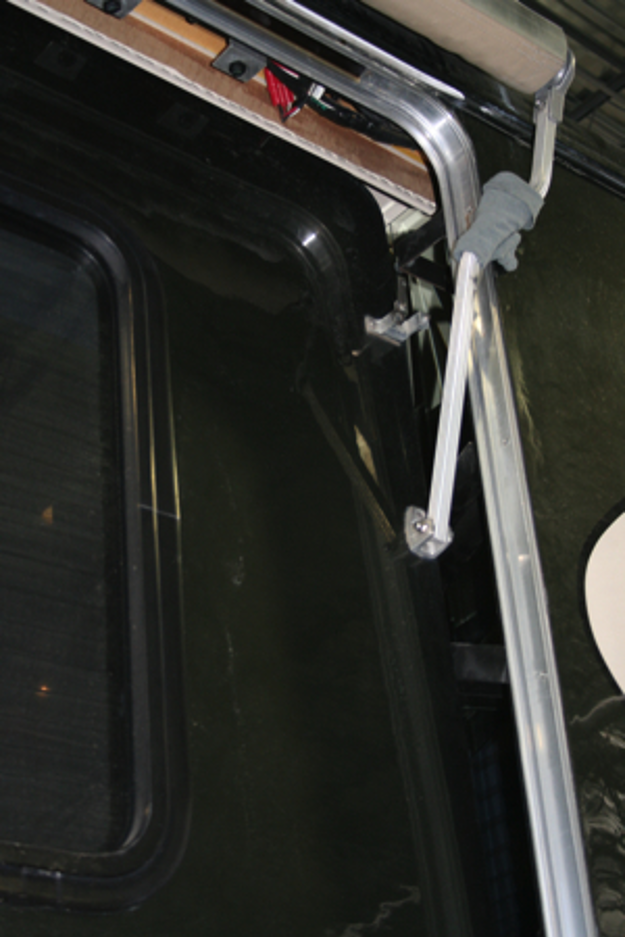
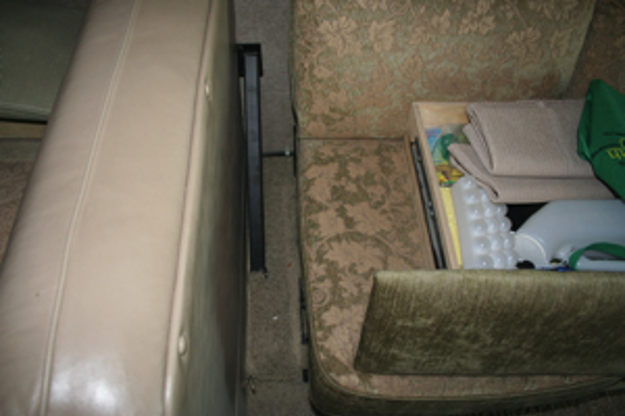
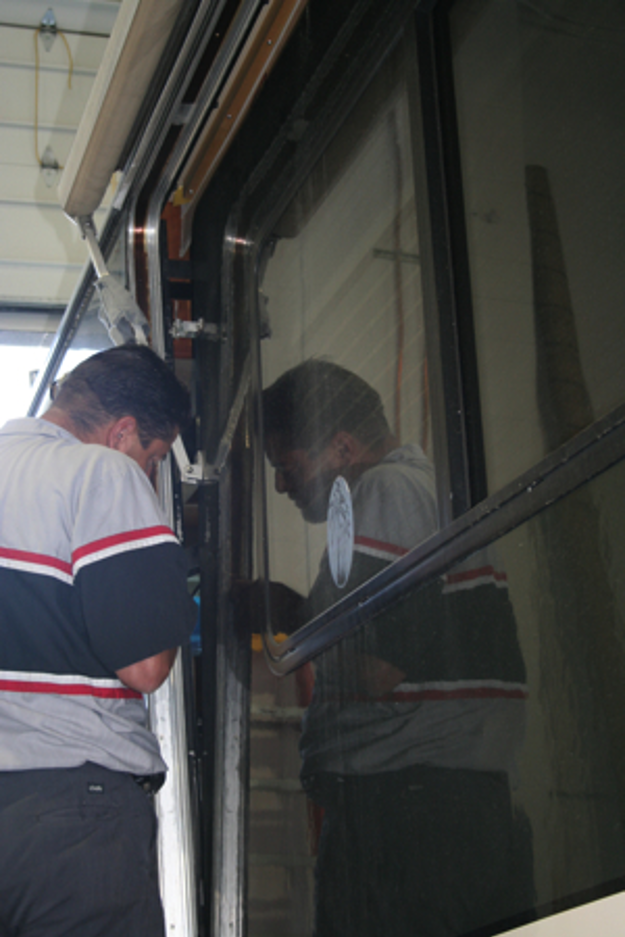
Below are some photos of the process. Inside the coach, they had to remove the couch and all the trim around the slide. Then they disconnected the mechanical arms on either end of the slide. Once that was done, the techs could push in the slide and service the bladder. When the bladder was exposed they used steam heat to remove the old tape. The photos are fairly self-explanatory, but if anyone has any questions, let me know.
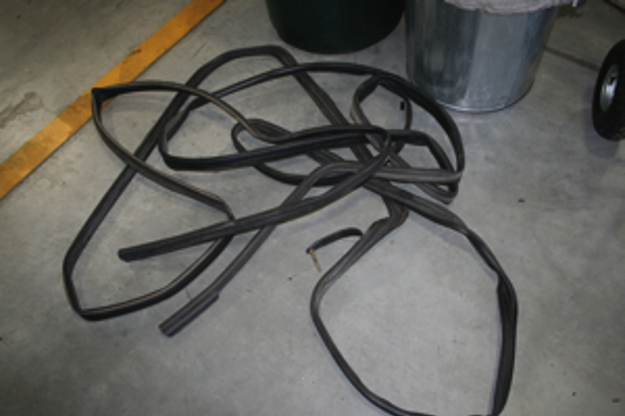
One final note… I was impressed with the bladder. It is much more substantial than I imagined. It is more like a “tire” than an “inner tube.” George Hatfield 2003