by Barry and Cindy 1997 U270 36′
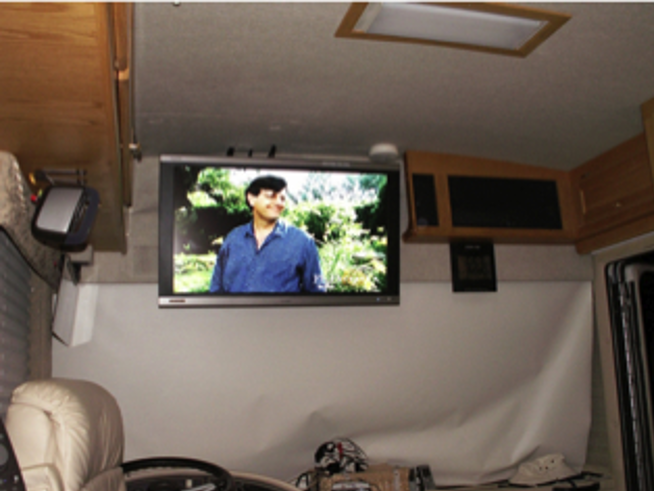
I recently replaced my Front TV with a 37 inch LCD.
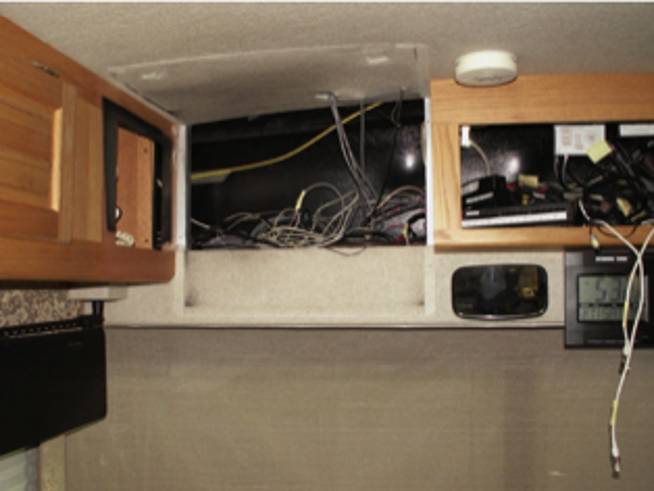
We started removing screws and removing cabinets and found a sturdy aluminum structure behind all the cabinets. We removed the large CRT TV cabinet and the center-front cabinet which is one piece with the over-door cabinet. Removing the smaller cabinets allowed us to redo audio video cables and cut off some of the cabinets to allow us to install a 37″ TV.
We thought we would have maximum flexibility with Wineguard’s highest capacity video switch. It has 6-inputs and 4-outputs. Purchased at Camping World. We made a cable interconnect chart to understand our options to connect DVD, VCR, Satellite receiver, 5.1 stereo, and TV.
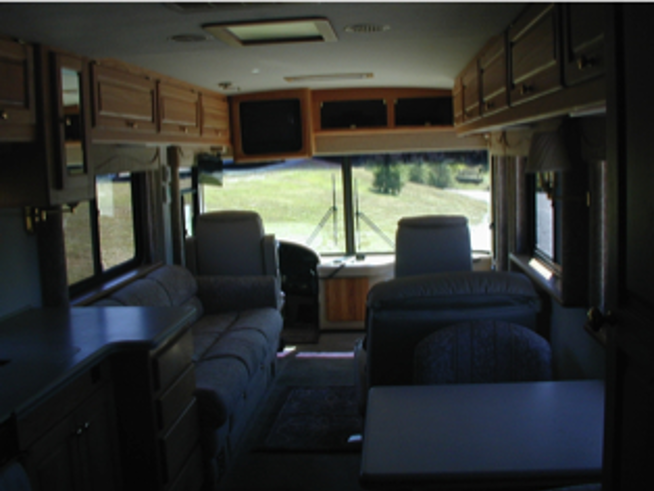
In our motorhome, the original TV was over the driver’s position and the forward street-side cabinet was empty. We put the video switch box, DVD player & VCR in the front-side cabinet.
When you remove the original TV, you may find an open space on a forwarding side cabinet and a flat black painted wood surface and some black paint on ceiling material. We took care of both of these problems.
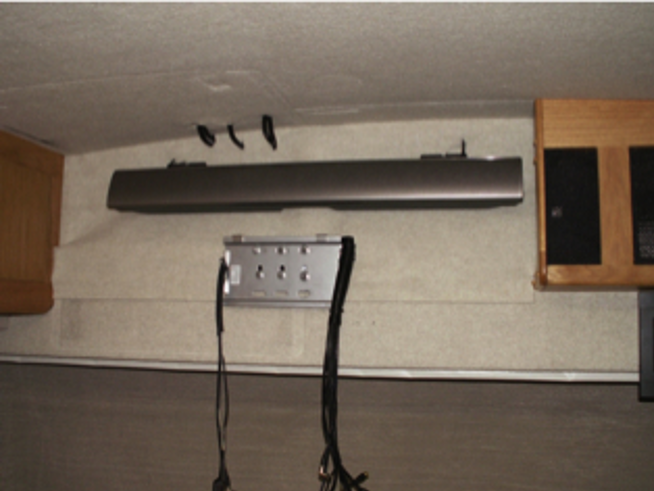
We did order ceiling carpet-looking white material from Foretravel and used Velcro to attach it behind the new TV to cover open space. We were going to put a wood panel behind the TV but found the soft material much easier to work with. And later, it is easy to lift up a corner and make small changes behind the material.
Found after measuring and re-measuring that we did not think about the lift-over height needed for the Sanus TV tilt bracket parts. So after mounting the wall bracket part, I had to re-mount it 2 inches lower.
We used the smallest Sanus tilt mount that could carry the TV weight, so we could have open space around the bracket. TV wall mount had a place to install a lock, where we put a bolt & nut, to keep the TV from coming off the wall mount.
Note how we chose to finish the aluminum structure behind the TV with matching ceiling material velcroed to aluminum. This gives me easy access to cables behind TV and was much easier than covering with wood. And nobody sees it after the TV is mounted as the TV covers almost all the areas.
I also learned the hard way that we need to leave a space between the top of the TV and the ceiling. Because the wall mount we used (as most have) has “hook” on TV that has to be lifted over wall mount before the “hook” part settles down on the wall mount.
We did not account for the lift up space and had to then lower our wall mount. We wanted minimal space above the TV to raise up TV as much as possible. We also have a curved ceiling that follows the roofline. This means that the left side, where the roof is lowest has to be the measuring point.