I was able to fix the HWH solenoid valve on the bottom of the first trap (just before the silica gel trap). I checked and it did have 12 volts to it when the air pump motor was running. So I removed the valve and took it apart as far as I could go. Removed the little coil so the water was not a problem. Then ran some “Lime Away” though it a couple of times followed by lots of water each time. After I reassembled the valve I connected it to a 12-volt battery and ran compressed air through the valve. Each time it got 12v it closed. At first, there was some leakage, so I cycled it about 20 times and it quit leaking. I put everything together on the coach and started the HWH air compressor (put in the fuse) and it quit running within about 2 minutes. The solenoid opened when the motor shut off, as it should. George Hatfield 2003 U295 3610
Well inspired by George’s report here that he was able to rebuild this valve, I decided to take my old solenoid apart and see what I found. The previous one of these that I had that failed I was unable to get apart, even with significant persuasion, this one, however, came apart very easily. The HWH part for the solenoid I have is RAP6354 and its for the TA-4101 aux compressor.
With the unit apart I used some Biodegradable Rust Remover and an old toothbrush to clean all the mineral deposits off the parts, inlet, and outlet.
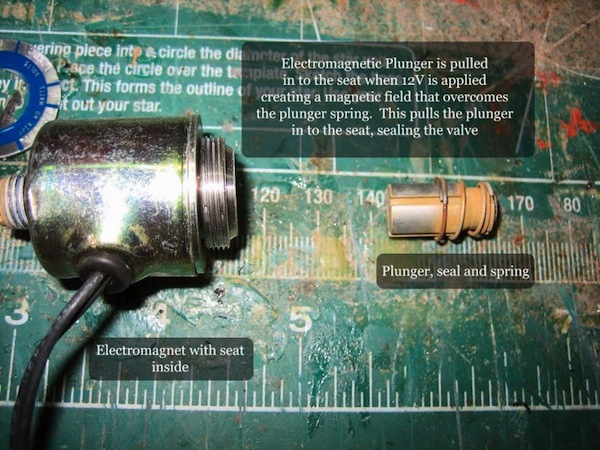
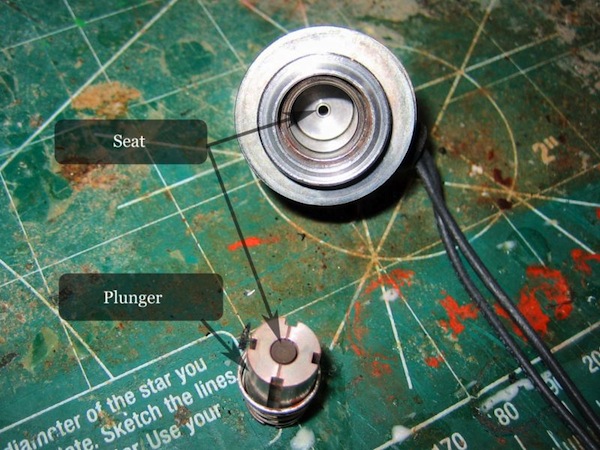
The seal area is an electromagnet that pulls the plunger down on to the seat when 12V is present. The magnet is stronger than the spring on the plunger so it just pulls the assembly on to the seat.
Note that the plunger seal is also spring-loaded, so you will want to get some cleaner down inside to ensure things move easily. The seat itself is a bit buried but you can use the eraser end of a pencil to get down and gently clean the seat. When completed I used some compressed air to dry the parts and clear out any loose particles. All back together and it seems to work fine.
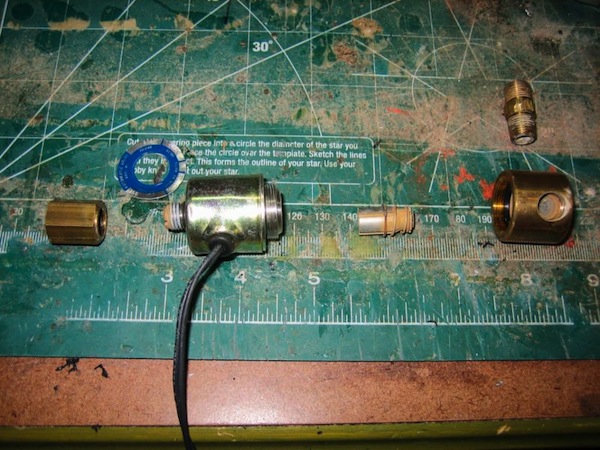
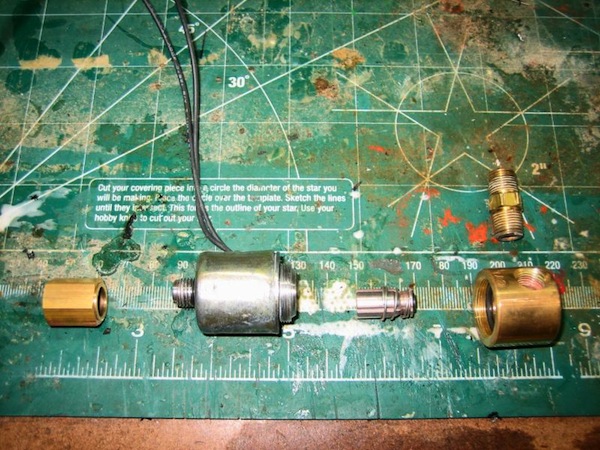
Exploded View Valve body disassembly
Seal before cleaning
Close up of the electromagnet sealing side before cleaning
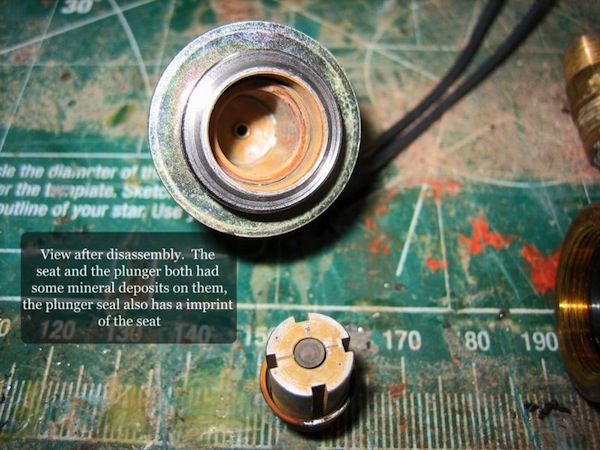
Seal before cleaning Another view of the seat side and the plunger side.
The plunger has a small rubber area that gets pulled in to the seat when 12V is applied.
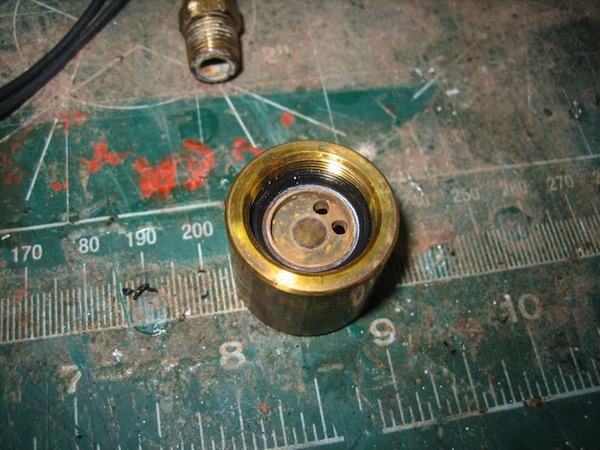
Inlet side prior to cleaning.
Removed anything that could dislodge and find its way on to the seal and seat.
All clean Parts all cleaned, ready to be assembled.
I used a Biodegradable Rust Remover to get the parts clean. Followed by lots of clean water and some compressed air to dry it out.
Close up of the clean seat and plunger
Here the seat and plunger have been cleaned, look like new.
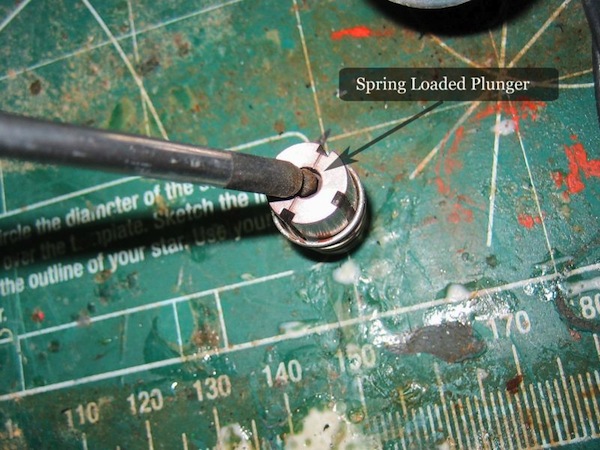
Spring Loaded Plunger – Note the plunger seal is spring-loaded, be sure to get some cleaning solution in there to ensure it moves easily. Steve Cook 03 U320 40′