by Phil Bostrom
Proper air Cleaner servicing results in maximum engine protection against the ravages of dust. Proper servicing can also save you time and money by maximizing filter life and air cleaning efficiency.
Two of the most common problems are:
A) Over Servicing. New filters increase in dust cleaning efficiency as dust builds upon the media. Don’t be fooled by filter appearance! The filter ~ looks dirty. By using proper filter measurement tools, you will use the full life of the filter at maximum efficiency.
B) Improper Servicing. Your engine is vulnerable to abrasive dust contaminants during the servicing process. The most common cause of engine damage is careless servicing procedures. By following the steps shown, you can avoid unnecessary risk to the engine.
Don’t remove elements for inspection. Such a check will Always do more harm than good. Ridges of dirt on the.’gasket sealing surface can drop on the clean filter side when the gasket is released. Stick with the regular maintenance schedule, or, if you service by restriction. believe the gauge or restriction indicator. Get a new indicator if you don’t trust your current one.
Never rap a filter to clean it. Rapping hard enough to knock off dust damages the filter and destroys your engine protection. Deeply embedded dirt is never released by tapping. It is always safer to keep Operating until YOU can change to a fresh filter.
Never judge the filter’s life by looking at it. A dirty-looking filter may still have plenty of life left. while carbon contamination is not visible to the eye. You can’t see the dirt that’s embedded deep within the fi1ter paper. Your best bet for lowest filter maintenance costs and best engine performance is to follow a restriction gauge. It’s a smart, low-cost investment.
Never leave an air cleaner open longer than necessary. Your open-air cleaner is a direct entry to the engine! Keep it protected during filter changes. If the housing is not going to be reassembled immediately. cover the opening. The only way to be sure nothing got in, is to make sure nothing can get in!
Don’t ignore a worn or damaged gasket in the housing. If your air cleaner has a cover gasket replace it with a new one. Always check to be sure that no piece of the old gasket remains in the housing and that the gasket is not worn. If your filter model calls for a new gasket with each use. never reuse the old one.
Don’t use a damaged or bunched filter. Never install a dented or punctured.filter because it cannot protect properly against contamination. A dent can make a firm seal impossible or can indicate damaged media. A filter with bunched pleats saps engine power and fuel dollars.
Never use a warped cover on a housing. Replace it with a new cover as soon as possible. A warped or damaged cover cannot make a proper seal. Also, check to ensure that there is no damage to the air cleaner housing that could cause a leak.
Never substitute an incorrect element model number. Filters may look almost identical. but.even a fraction of an inch difference in size can prevent a good seal or affect cfm delivery. It’s always better to use the dirty filter until you can get the correct one.
Ensure air-tight fit on all connections & ducts. Check that all clamps and flange joints are tight as well as the air cleaner mounting bolts. Seal any leaks immediately, they mean dirt is directly entering your engine. by Donaldson Brochure No. F114005 (4/96) Replaces 1400.5
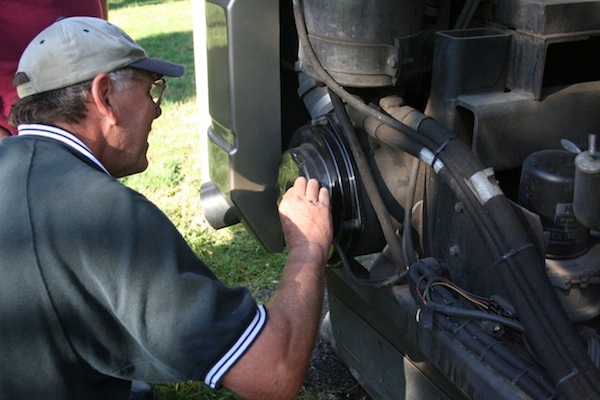
Remove Bolts from Air Filter Canister
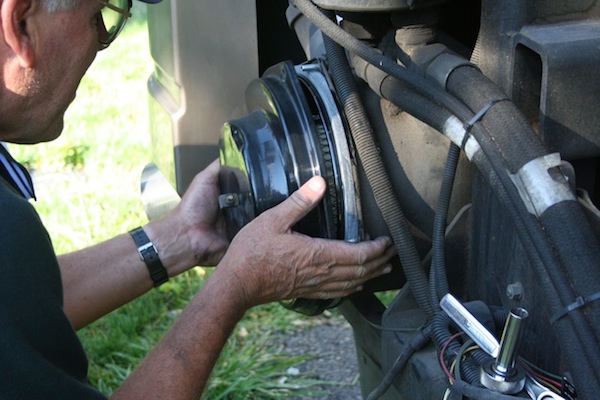
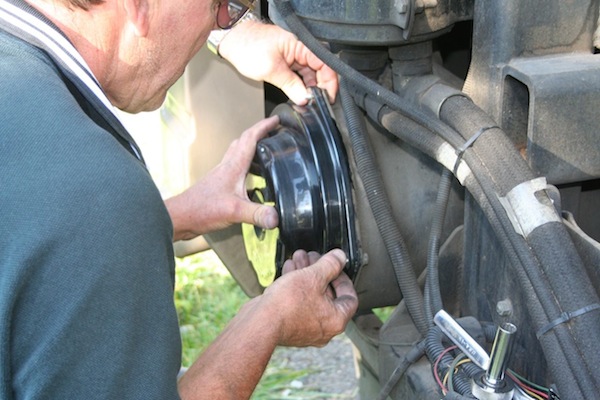
Remove Dirty Filter. ‘Baby’ that dirty filter, until you get. it clear of the housing. Accidentally bumping it while still inside means dropped din and dust that will contaminate the clean side of your filter housing, before the new filter element has a chance to do its job.
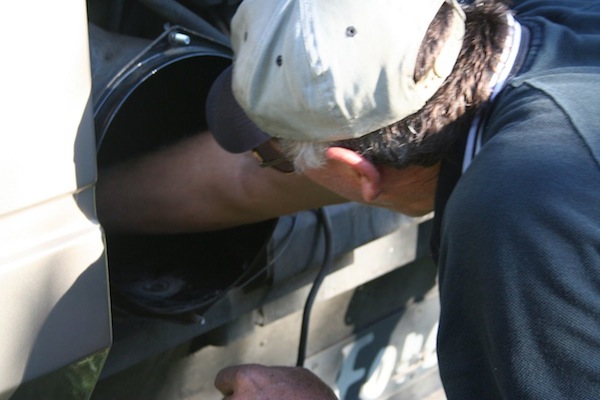
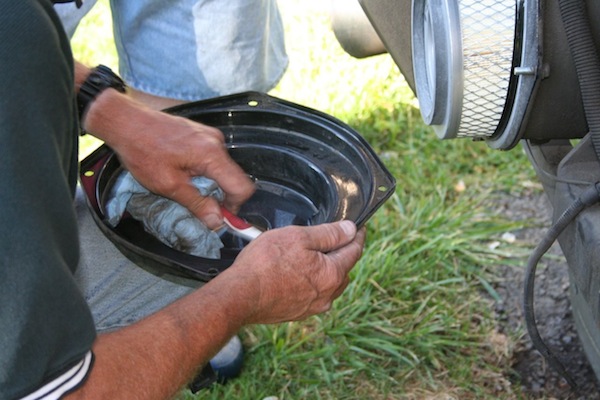
Clean Dust From Chamber. Dirt left in the air cleaner housing spells death for your engine. Use a clean. damp cloth to wipe every surface clean. Check it visually to make sure it’s clean before putting in a new filter.
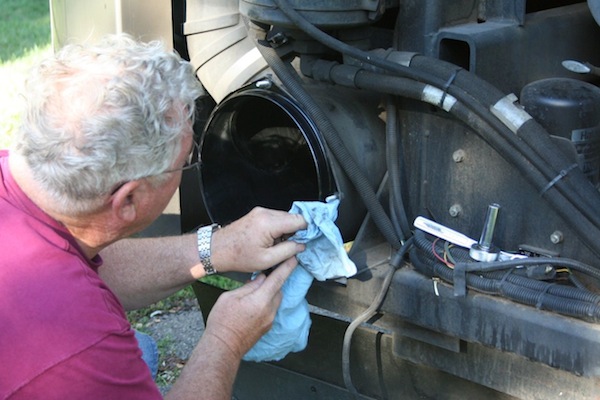
Always clean the gasket sealing surfaces of the housing. An improper gasket seal is one of the most common causes of engine contamination. Make sure that all hardened dirt ridges are completely removed both on the bottom and bottom of the air cleaner.
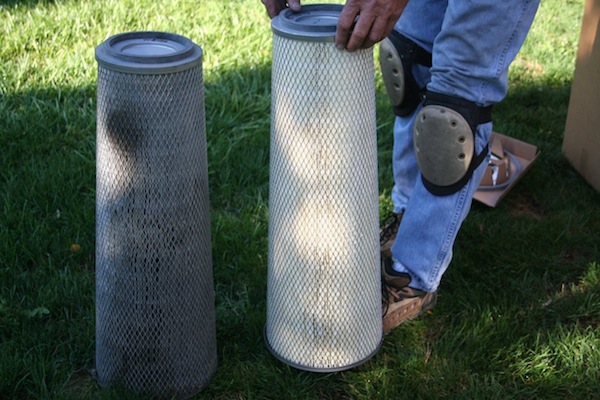
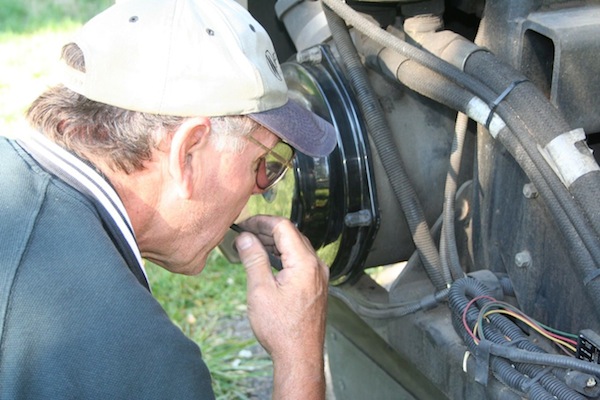
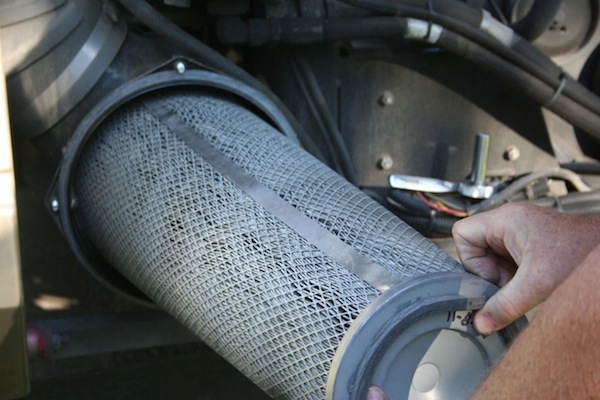
Clean and Dirty Filters. Check for uneven dirt patterns. Your old filter has valuable clues to dust leakage or gasket sealing problems. A pattern on the element clean side is a sign that the old filter element was not firmly sealed or that a dust leak exists. Identify the cause of that leak and rectify it before installing a new filter.
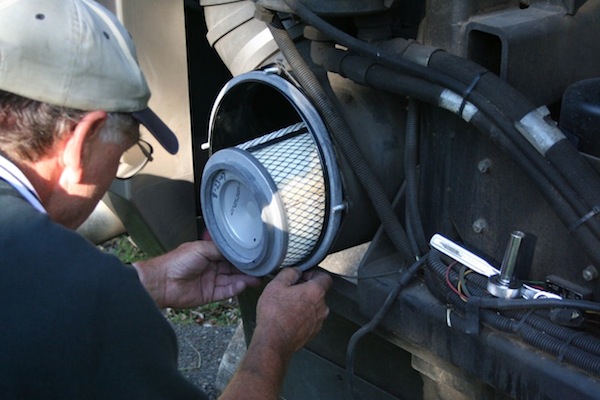
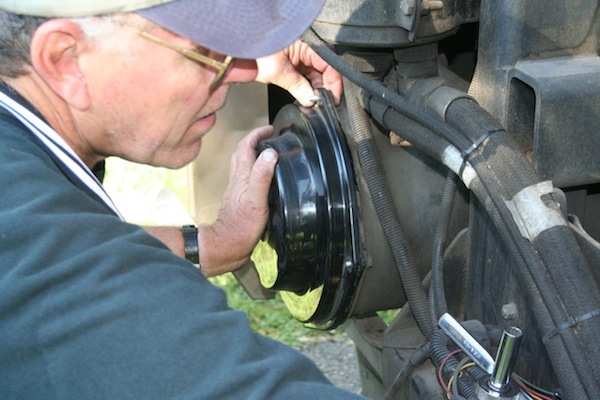
Replace with New Filter. Make sure the gasket seats evenly. If you don’t feel the gasket seating evenly for a perfect seal, you don’t have protection. Re-check to see if the sealing surface in the housing is clean and ensure that the filter is the correct model. It may be too short for housing.