If the insulation is fire-resistant/retardant, it may be OK in the generator compartment. I just replaced all of the leaded foam composites in both the generator and engine compartments with 1 1/2″ thick leaded foam with foil backing. It is terribly expensive: $375 per 4’X8′ sheet and it took nearly 4 sheets to do both compartments. I had an RV place here in Nacogdoches do it. It took them 22 hours to remove all rotted insulation and install new stuff. Great job, but it killed my pocketbook. Barry and Cindy did their coach; they’ll give you specifics.
I’m not sure how important it is for the stuff to be very flexible, as long as it is well secured with screws and fender washers, is a sound dampener and fire retardant.
I did my engine compartment myself – still, I need to do the generator. I did it 6 years ago and used the foiled surface foam with an inner layer of loaded vinyl. McMaster-Carr catalog is a good source of information and has a lot of options to look at (including the quilted fabric)- but not usually the best price for the material. I ended up purchasing the foam at a marine store. Bought all the other material (large plastics washers and foil tape) on McMaster. Pay attention to temperature limits – I have a blanket on my exhaust system so it wasn’t so critical.
The only thing I was disappointed in is the foil tape I put on the edges of the foam material didn’t stick all that great over the years.
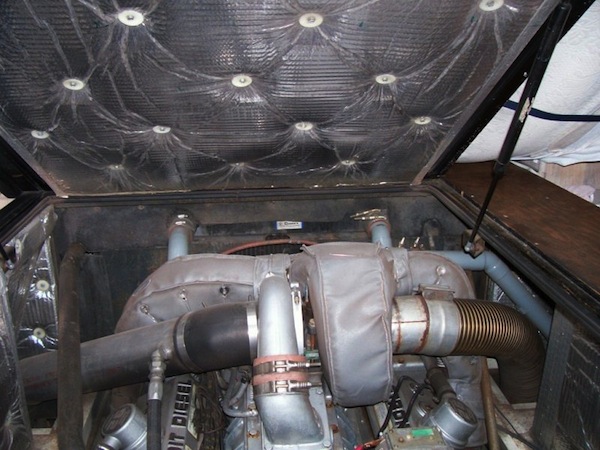
No concerns about the blanket on the turbo. The blanket system is supposed to retain the heat from the exhaust manifold to turbo to maximize the turbo boost. The oil flow to the turbo keeps the bearings cool while running and of course I’m always conscious of a cool-down period if the engine has just been running hard. I added the blanket around 9 years ago to help with engine overheating – but it didn’t seem to help that problem. I didn’t notice any performance improvement nor does the engine seem quieter. John & Tina Fitzgerald 1991 U300
My original insulation was so bad I didn’t even bother to remove it. I just cut the new stuff to size and screwed it right over the old stuff, using large flat washers. There are a lot of different products out there.
I used some stuff from JC Whitney called Insulation Roll with Foil Backing. When I was researching it I came across the same product from a number of sources. Whitney had the best price at $110 per roll (way more than you need for the engine). I also did the area under the hood and I’m thinking about pulling the generator and doing that too. I’m investigating noise and will probably have to take it out anyhow so that would be a good time to do it.
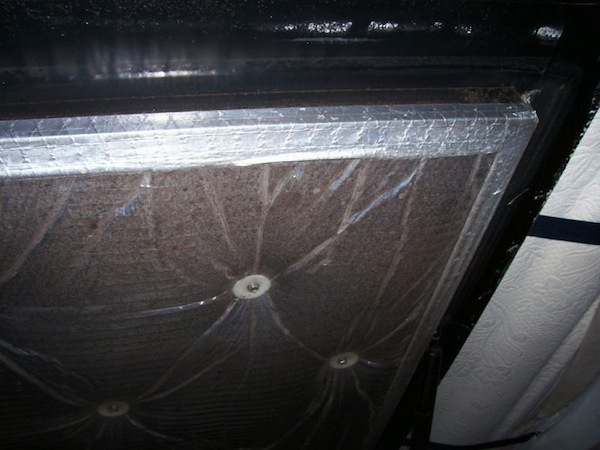
It’s about 1/2″ thick with foil on one side and good quality. My factory insulation was absolutely shot. The slightest touch would cause a cascade of fine dust to rain down on my head. And, of course, with the darn pita rear radiator, that was a frequent experience. Anyhow, the product number for the stuff I got was 268585 but they don’t seem to stock it now.
They now have something they describe as MYLAR®-FACED FOAM SOUND/HEAT INSULATION WITH VINYL LINING (#20386G) which looks like it’s better to stuff. I was just looking in my LMC (lmctruck.com) catalog and I think they are selling the product I got from Whitney. Their number is 38-2829.

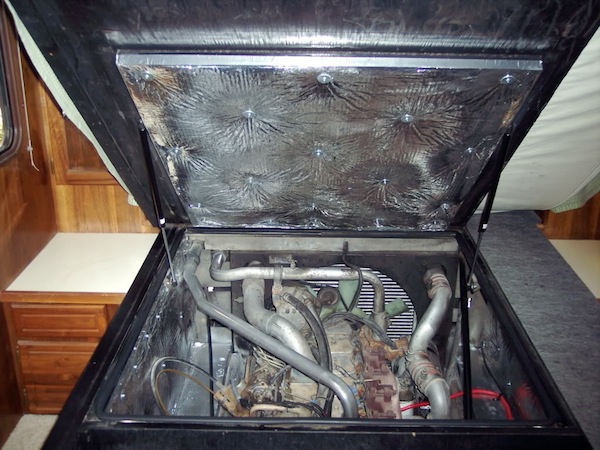
We stripped all of the insulation out of the engine compartment last weekend and took the coach out for a ride. There was no noticeable difference in engine noise at 65 mph, at the driver’s position. I laminated a layer of EZ Cool insulation to sheets of High-Temperature Rigid Fiberglass Insulation from McMaster-Carr and McMaster-Carr. I used the 1″ sheets on the walls and 1-1/2″ sheets under the bed.
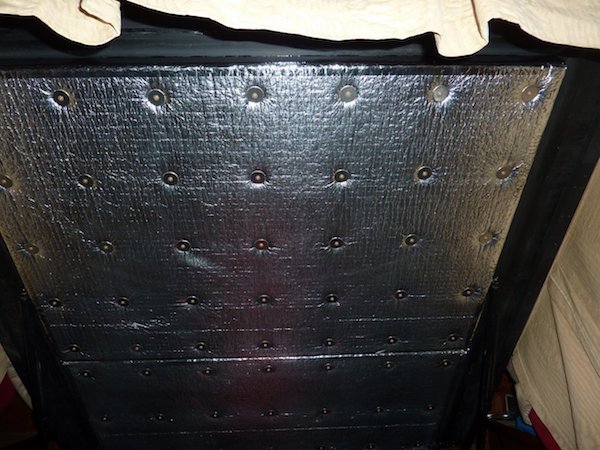
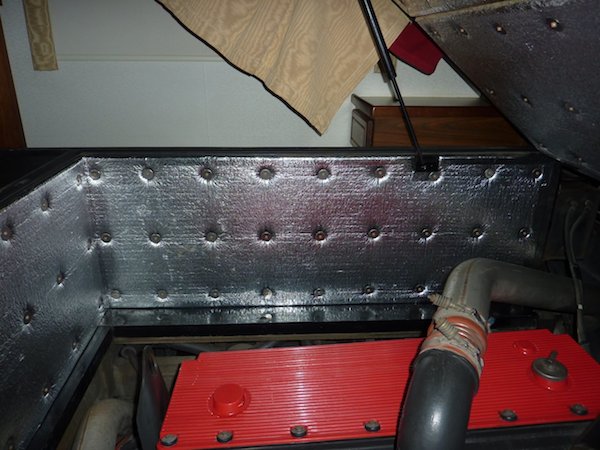
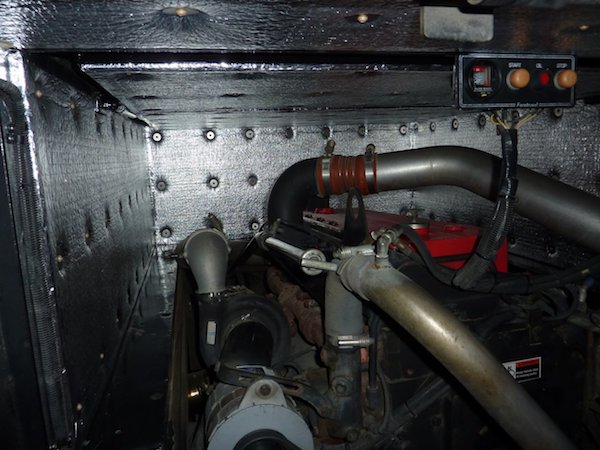
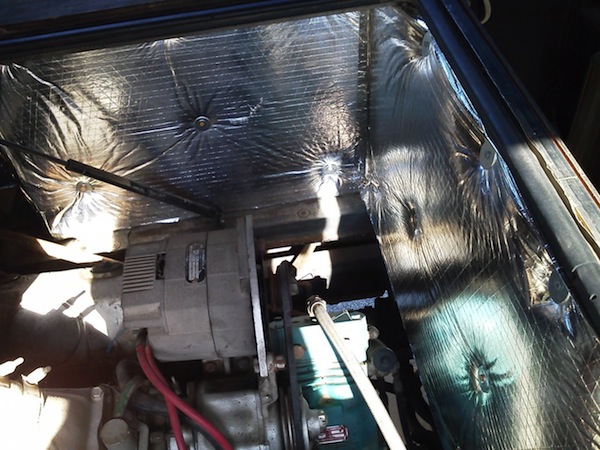
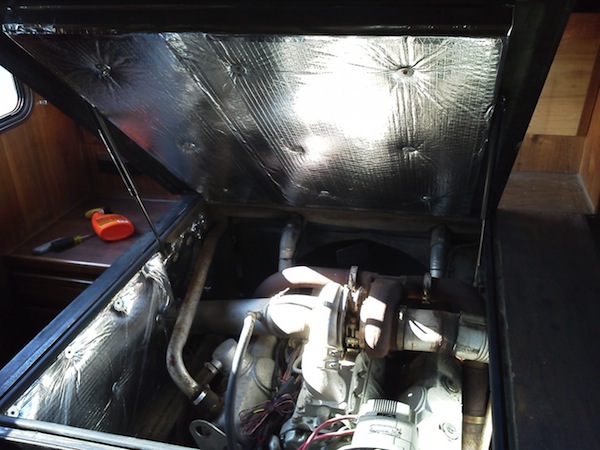
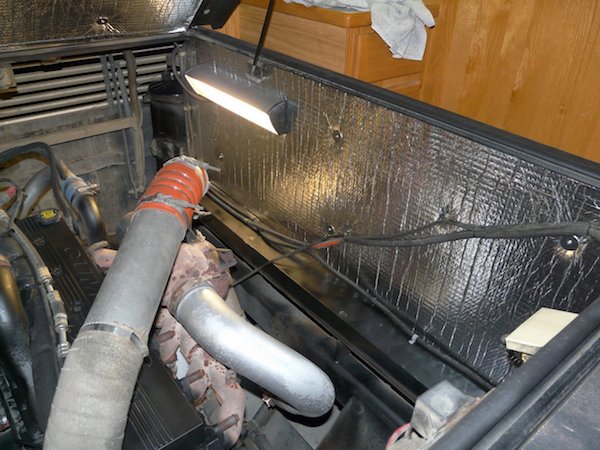
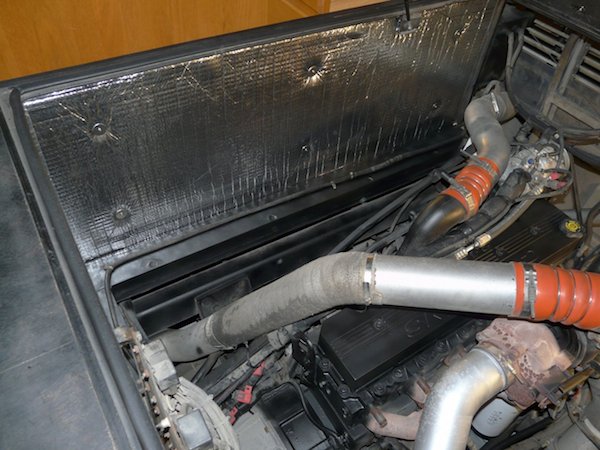
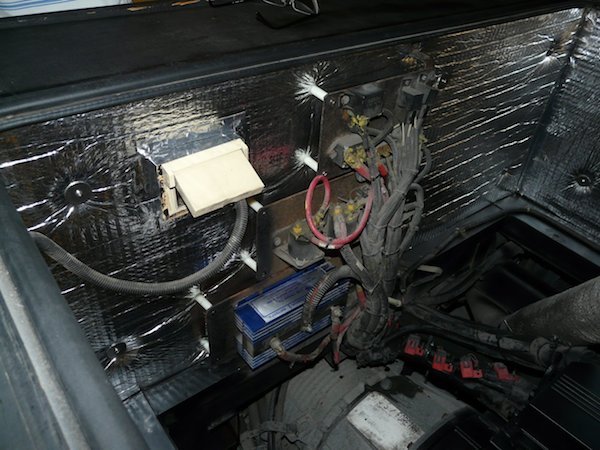
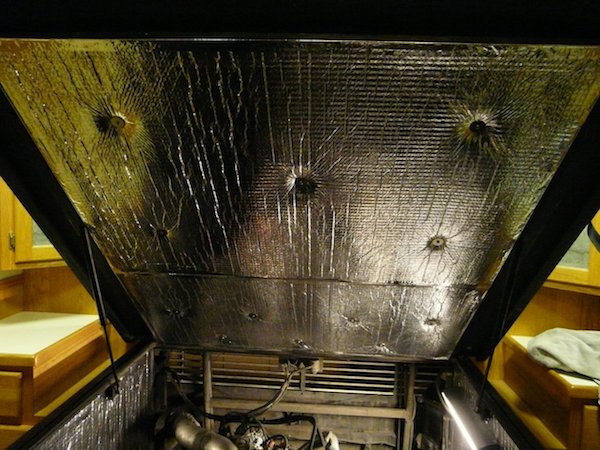
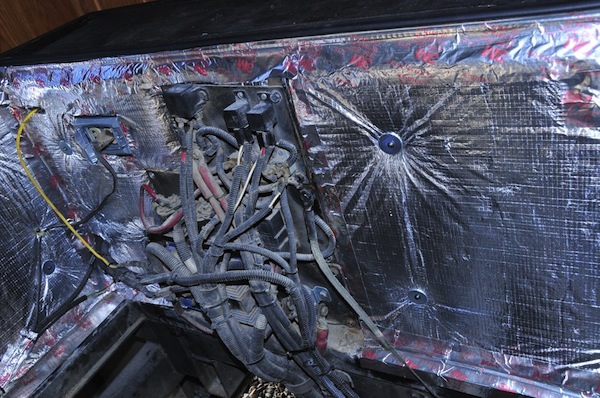
I just finished mine today. Here are a few pictures. I used the sound coat product from power tech in Leesburg. I got a price break on it. Two sheets did the job. I removed all the glue from the side walls with 3m adhesive remover. It came right off. The insulation stuck to them very well. Not as many fender washers needed. Under the bed, I sprayed some permatex headliner glue to make sure it would stay in place. I put two layers under the bed and one on the walls. All the screws and washers are stainless. Aluminum tape on all the seams after cleaning the surface. I installed nylon spacers on the floating side of the electrical panels. Also, put a new lens on the compartment light. I put a few screws in the lens cover to keep it from falling off.
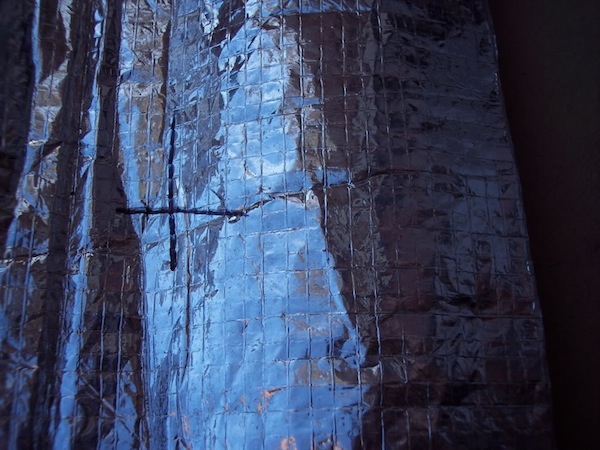
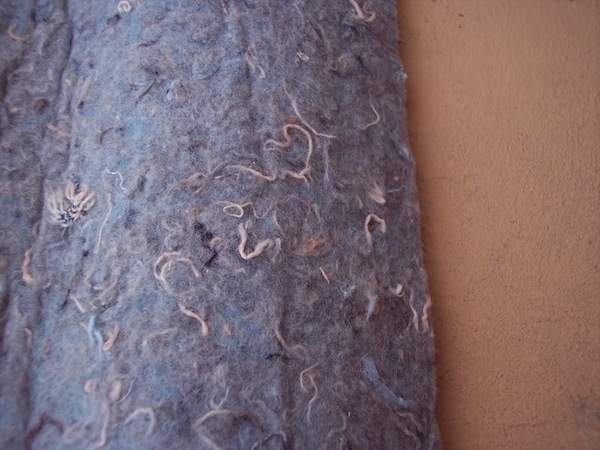
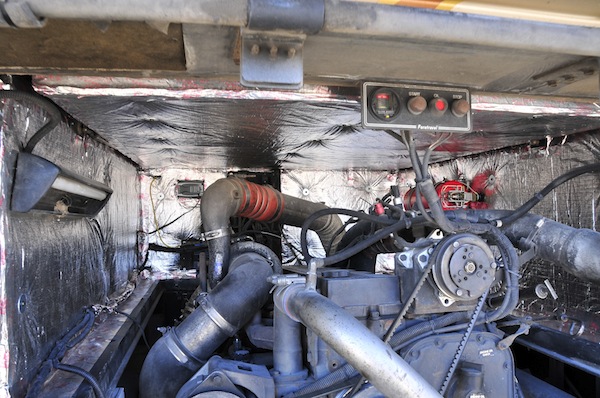
Finished recovering the engine compartment. The original sound-isolating foam insulation was OK, but the covering plastic film had mostly come off and the remaining film was in bad shape. I got thermal insulation from MOT while we were there ($30/yard, 48″ wide). The insulation they have is not what you would want if you were completely removing the old insulation since its sound-isolating capability is minimal, but for covering the existing foam, it’s perfect. It is a fiberglass reinforced foil surface over 1/2″ thick fiber mat – flame retardant (of course), but some sort of felt synthetic.
The stuff is quite hard to cut, but after getting almost completely finished with the engine compartment, I figured out how:
Use single edge razor blades and get a big box of them. Cut through the reinforced foil with one blade and discard it (it’s now too dull after cutting the fiberglass reinforcement). Use a new blade for cutting the mat. Cutover a slot in a wood piece if possible. Replace blades often. Practice those words.
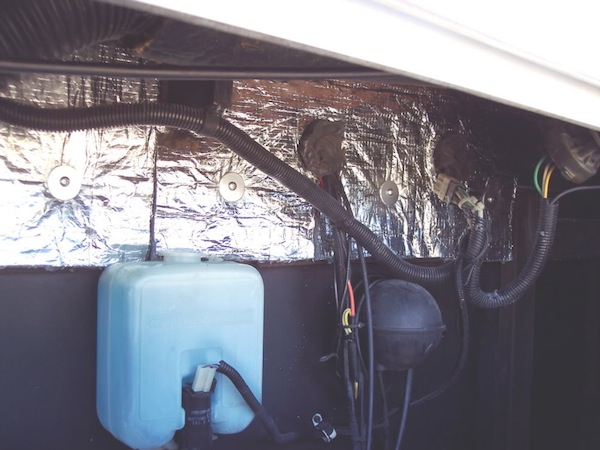
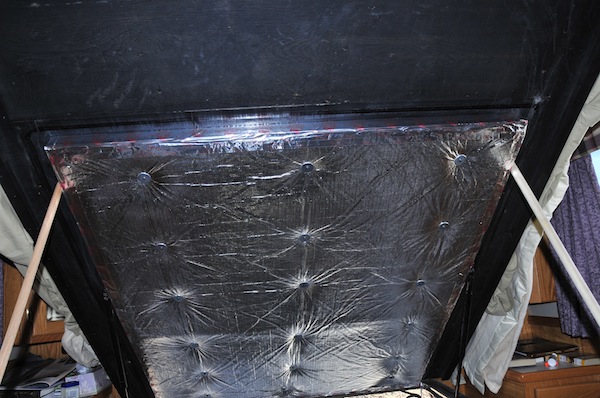
To attach, I removed the rest of the old surface film, thoroughly vacuumed the old foam, and then cleaned all the side surfaces several times with alcohol. Sprayed both the old foam and the mat side of the new insulation with 3M Headliner adhesive. Attached the mat (sticks really well) and secured it through the old foam with rows of 2″ deck screws and fender washers. Trimmed the edges with 3M aluminum duct tape (the metal foil stuff for high temp, not duct tape). (The duct tape needs to have a clean surface to stick to, hence the alcohol cleaning.)
I bought 7 yards from MOT (~$210 plus tax) to do both the engine compartment and the generator, and that looks like it will be more than enough. Much cheaper than replacing all the insulation with new mass-filled vinyl barrier foam, and it should last as long as I do with our rig. I did practically all the work from inside with the bed raised, but covered engine and bedroom with plastic, which turned out to not be really needed, since there isn’t much overspray from the headliner adhesive.
None of the sound deadening foam shed while I was vacuuming it off (but it was really dusty!), and when I picked at the foam to test it, it seemed OK, so I went ahead with covering it. I think even if the original foam isn’t so structural any more, it would still be strong enough to hold the surface mat in place, and with the addition of screws and fender washers, it will definitely be fine. The aluminum tape anchors the edges quite well on ours, but even if the original covering on the edges is coming off, you could still scrape that off and clean the surface enough to stick to the new aluminum foil edging tape.
A tip I forgot on the 2″ deck screws – try to get ones with smooth threads. If the threads are rough, the fiber of the mat wraps around the screw, and it takes reversing a bunch of times to get the screw in.
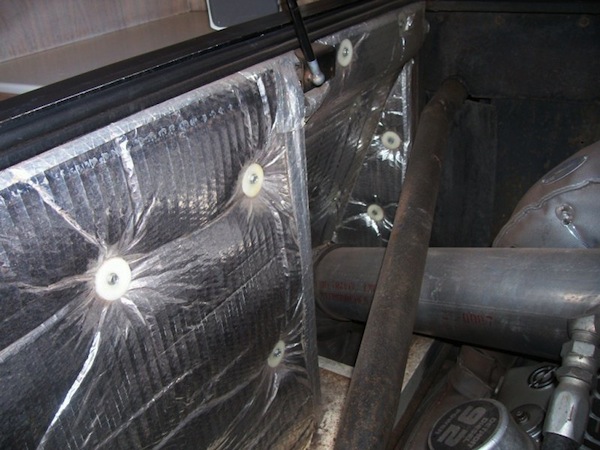
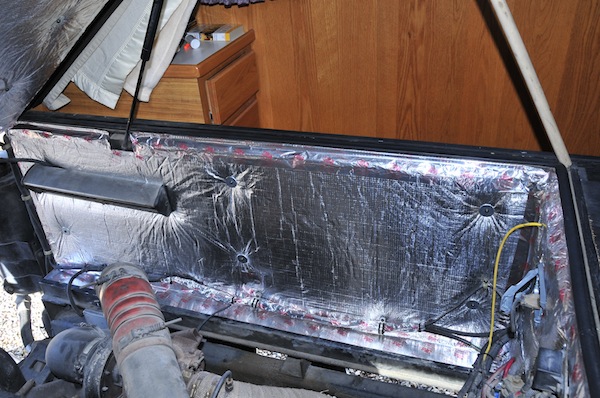
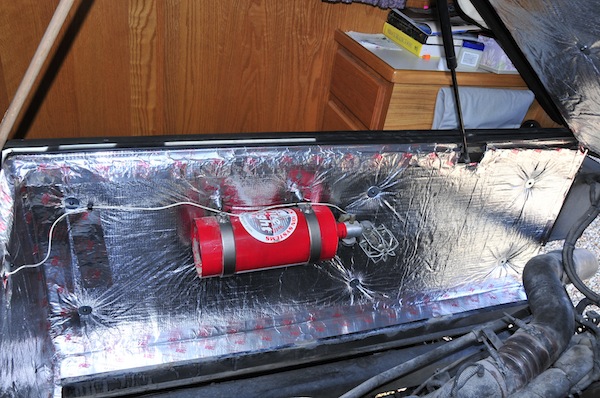
I removed everything on the side walls except for the air struts (light, fire suppression unit, wires.) I cheated on the 12V relay/solenoid panel on the back wall and installed the new insulation in two pieces. The passenger side installed up to the edge of the panels with edge dressed with tape before gluing down. For the other side, I removed screws holding the driver’s side of the panels down, but just loosened the bolts on the passenger’s side of the panel. That was enough to allow me to slip the edge of the other insulation piece under the panels pretty far. Dressed the edges of the insulation with aluminum tape before pushing them under to make them slide a little easier, but not necessary, I think. Then tightened bolts and put in new screws on the other side. Corners taped with aluminum tape.
The tape is pretty nice stuff to work with (I hadn’t used it before). Sticks really solidly to the new insulation and to the old surfaces if you clean them thoroughly with alcohol first. And if you make a mistake, just cut it back and put a new piece on. Dave and Nancy 1999/ U270 36′
Insulated the engine compartment today. Bought the insulation from McMaster Carr. It was the best product when all things considered, especially the price.
9350K3 is the part number. They have all kinds of stuff that is even better than this, but when I weighed in the cost, heat resistance, flame resistance, and noise resistance, I thought this was the best for the price. I only spent $110 vs $600 for the melamine foam. By the way, I think the dust from the old insulation burned up my alternator. I have to go get it rebuilt. Ron L 1988 40ft grandvilla u300 6v92ta