By George Hatfield 2003 U295 36′
Installed an Intervac central vacuum cleaner. Pat didn’t like our portable vacuum cleaner because it always left an odor in the coach after it was used. With the Intervac the exhaust is down below, as is the noise.
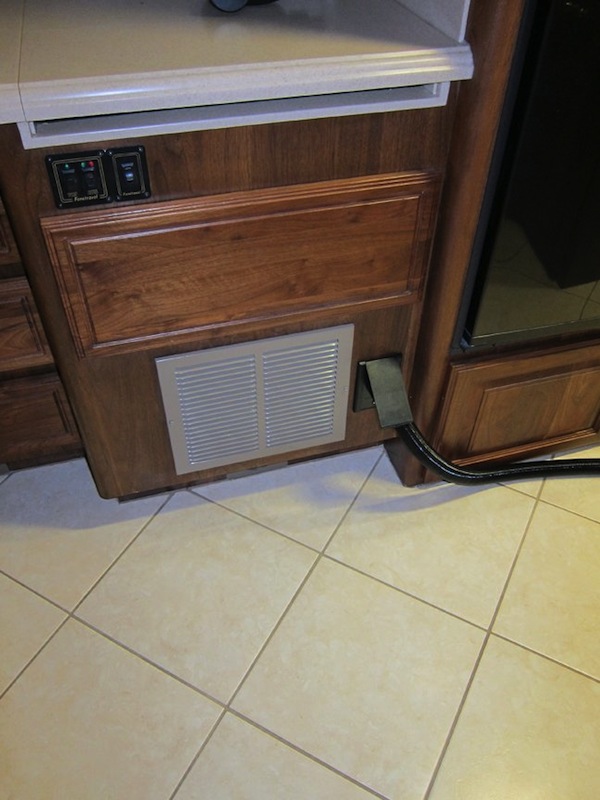
I installed the unit in the back half of our main storage bay. From there it took about 16 feet of 2″ hose ($1 per foot from Intervac) to get to the location for the vacuum hose plug-in located in the galley (see photo below). I used a 2.5″ hole saw to cut through the floor below the galley drawers (cut from below). The floor has about 1/2″ plywood on top with about 2″ of blue foam and then a thin plastic layer on the bottom. No problem to cut the hole. Running the hose was no problem either (secured with wire ties). In addition to the hose, I had to run two wires (16g) to the plug-in. These turn the vacuum on when the hose is plugged in.
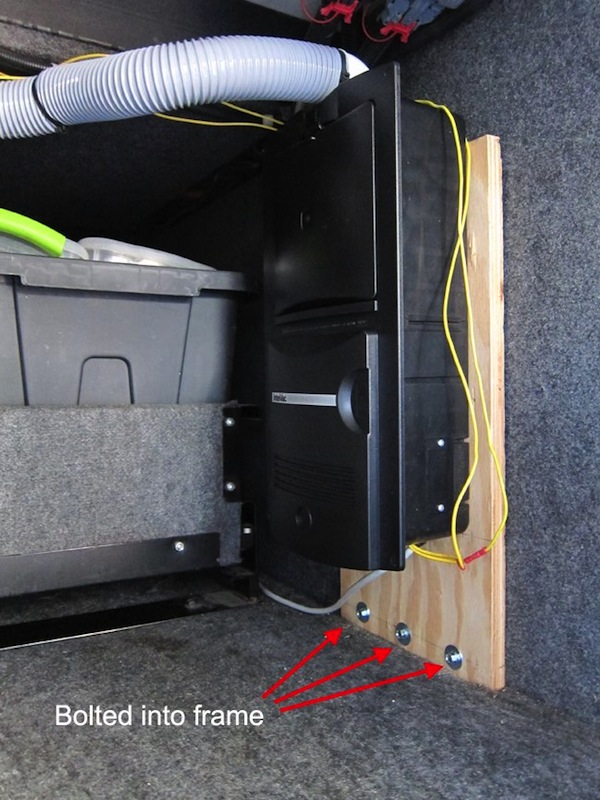
The only problem I had was with the mounting screws for the vacuum in the bay. The wall is very thin plastic material and not the plywood I expected. But the screws held. I may put in some wall anchors later.
The vacuum works well…. lots of suction. It comes with a 40′ hose, but there is a problem with the hose. It compresses to about 10′ when the vacuum is on. The compressible hose makes for easy storage but is a bit of a pain when using the vacuum. But all in all, it was a good addition to the coach.
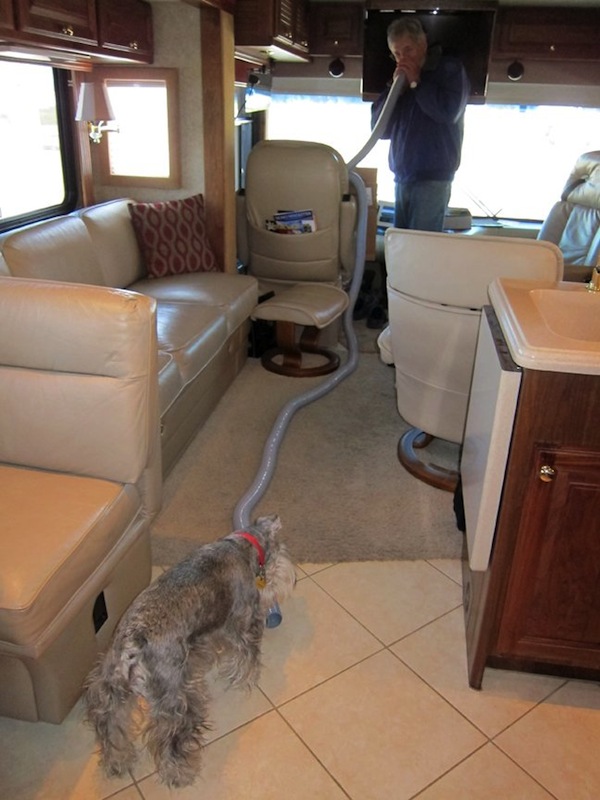
One fun moment during the installation was when I spoke into one end of the hose while the other end was near Cosmo, our Miniature Schnauzer (see below). It was priceless. Where is that guy in the hose?
Update: Tried to put some wall anchors in to secure the vac on the wall. Tried several types and none would hold…. very thin wall. So mounted vac on a piece of plywood and bolted the bottom to the frame as shown below. I think this will hold it.