DW had been urging replacement of the kitchen faucet. The old DELTA was doing well for its age but no sprayer and inconvenient to get water into a large pot.
I liked Dave H’s MOEN Annabelle option but couldn’t find it locally. While at Lowes, I liked the Moen 7594C ARBOR and it had all of the features that I had decided I needed:
• MOEN’s Duralast ceramic cartridge
• chrome, single hole mount
• dimensions that worked (narrow escutcheon plate and 2″ hole)
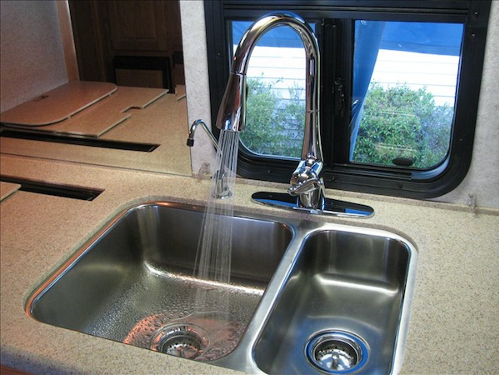
• Single handle, high arc, pull-down spray with “o-ringed” connections
• 360-degree possible handle positioning
• spray that reverts to off when water is turned off
• flow pause from spray control
• spray retract weight that will operate smoothly confined in an 8″ X 8″ boxed space under the sink
I was able to find it on-line (Amazon) for less than $150 It was delivered free in 3 days.
Installation was easy and straight-forward. The flow control, the sprayer extend and retract and the spray controls are all ultra-smooth. I’m pleased and the DW is ecstatic.
Neal Pillsbury 1998 U270 36′
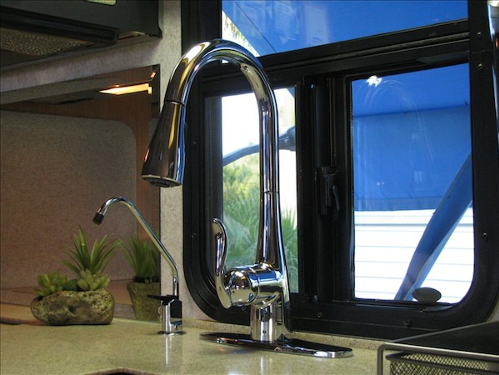
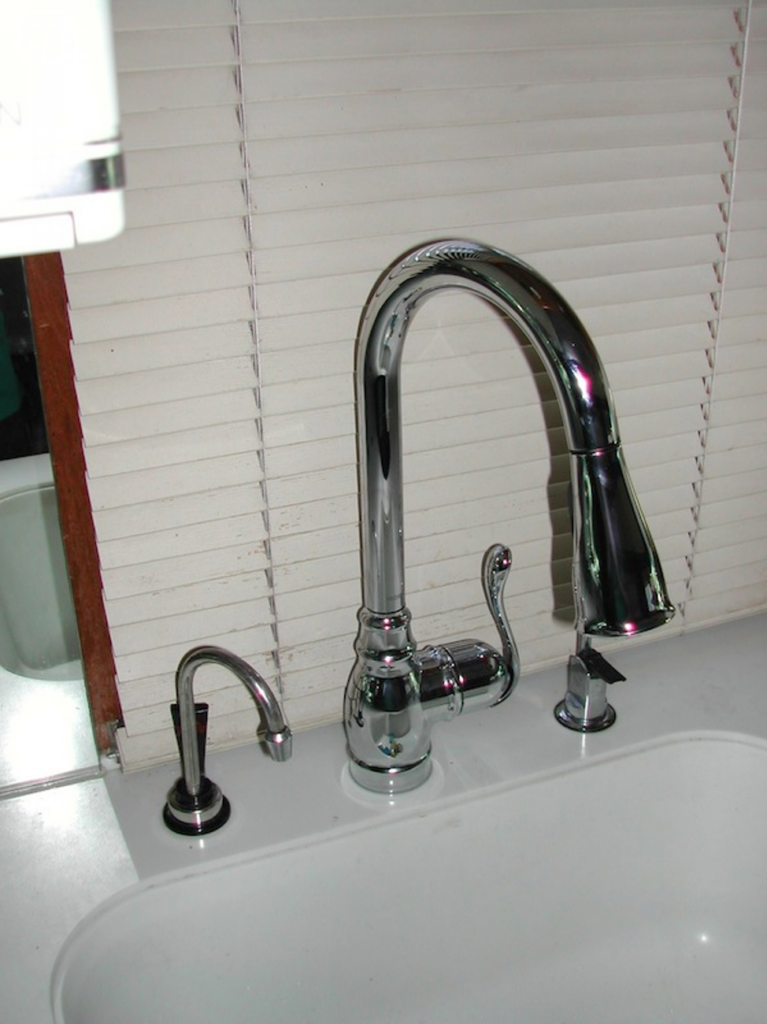
This must be a faucet day. Our kitchen sink faucet had been leaking with as much water on the counter as in the sink. We looked at some Euro faucets but the German varieties were $299 to $800. Since this was out of the question, where else could a nice faucet be found? Answer; China and it’s buddy, Ebay. Here is the Euro-style faucet we decided on: New 16″ Brushed Nickel Kitchen Sink Faucet Pull Out Down Dual Spray Swivel Spout Looks the same for about 25% of the price.
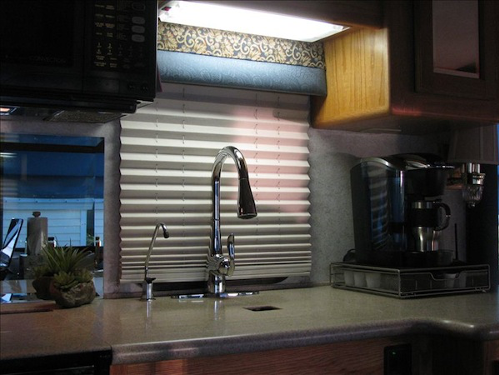
Installation: in order to remove the old faucet, it has to come out the bottom but before that, the major parts can be removed by taking off the lever and spout from the top. They just unscrew. The working space below is VERY tight. You can see it easily but have to really twist and turn to get wrenches back there to remove the water connection. What should have been a 15-minute job turned into an hour and a half.
Tools: just a couple of end wrenches, brightwork light and a couple of adapters from any plumbing or hardware store. One large wrench is needed to secure the large brass nut that holds the faucet from turning. Lots of patience also needed as well as muscle relaxers when finished. No Teflon sealant is needed, the rubber O rings work fine.
It works well with the stock water pump. You have to push the button for a spray. The button automatically returns to a straight stream when the water is turned off.
There are two colors for the covers for holes left in the Corian. Off white matched ours perfectly. They only had one so waiting for the other one.
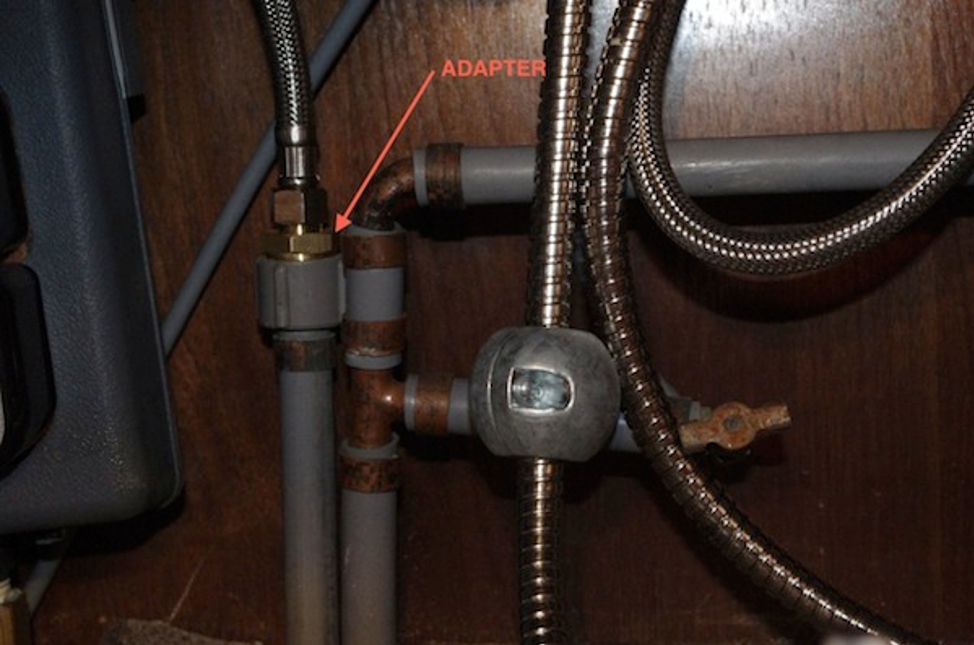
The second photo shows the location for one of the adapters.
Pierce Stewart 1993 U300 36′
In the 95 U280, there is a shelf under the sink and under the fixed shelf is a sliding tray, both would have to be removed to access the faucet… BUT using a mirror and light it appears that the faucet was installed before the cabinet was put in place and there is no room to get a wrench on the clamp that holds the faucet in place.
The only way I can see to replace the faucet would be to remove the stove and the Corian top to gain access to the underside where the faucet is fastened.
Any insight or suggestions? Gary B
I replaced mine and while not the ideal work area, it wasn’t the worst job I’ve done. Used a basin wrench on mine and there was just enough room. Might give it a try. Doug 1992 Grand Villa
I did mine with a long socket… Moen includes the correct plastic
wrench with their kits.
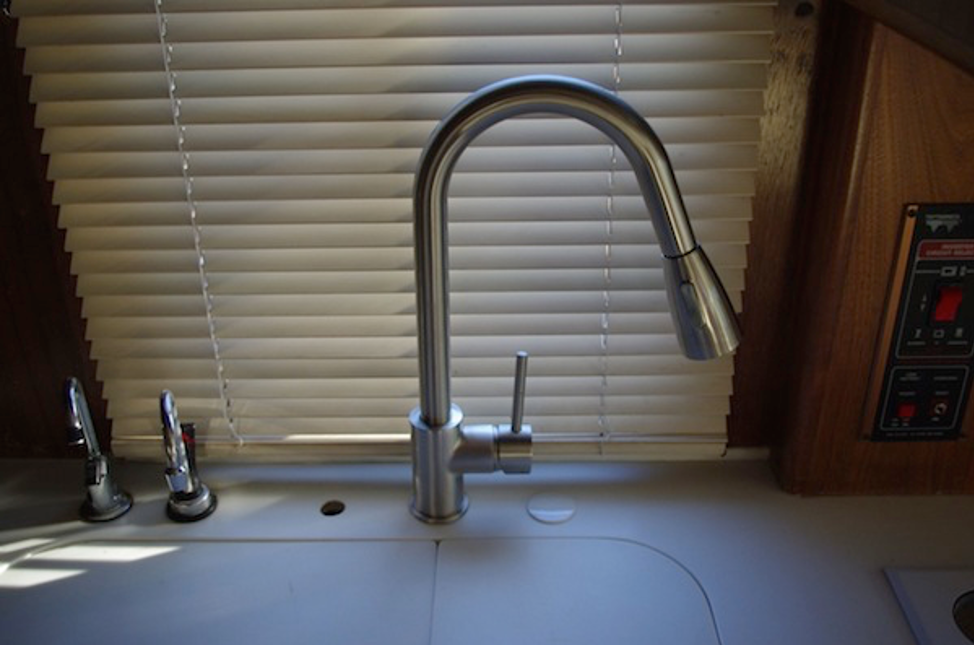
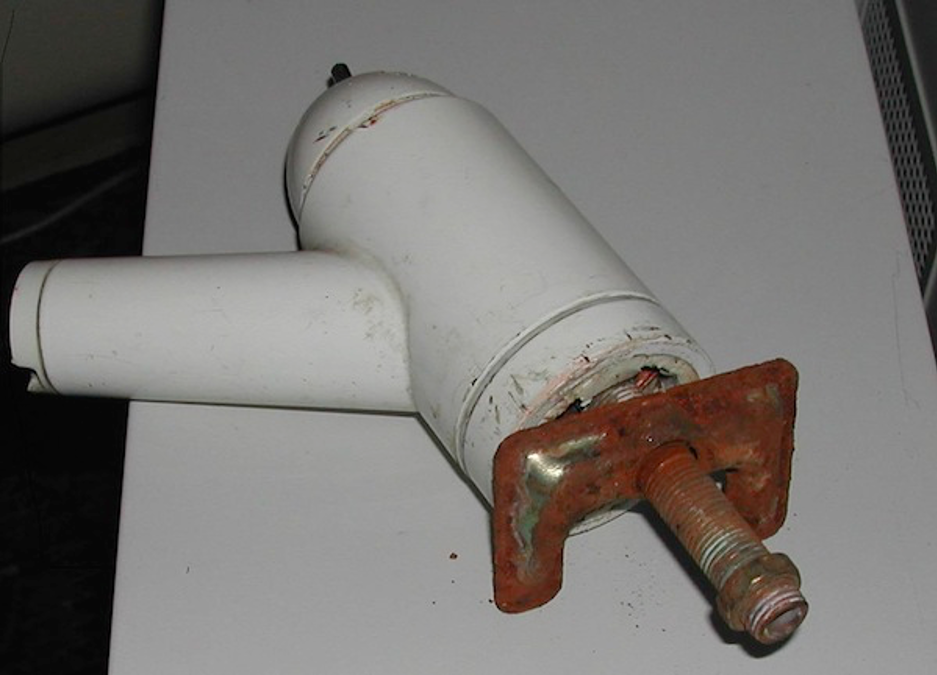
Getting the Delta out was a serious pita because I couldn’t feel the nut shown
in the pic. A 17mm deep socket finally caught it – it was so loose from all my
wrangling it came off easy. Basin wrench just wouldn’t play in there
The Anabelle went in smooth – the same ‘fingerstyle’ washer and a larger nut to clamp it down. I didn’t realize Moen actually supplied a plastic wrench! I used an old oxygen sensor deep socket (the nut is actually a 21mm). No leaks – the Wells A124 adapters work perfectly. Huge improvement!
Drilled the hole for the soap dispenser today. I went with 1 1/8th” to give me more ‘adjustability room’. Had to lower my under sink filter, but no drama…
Milwaukee bi-metal hole saw (Home Depot – 10 bucks), drill on slow speed, moving the saw in and out to keep it clear. About 7-8 minutes to drill the 3/8-1/2 thick Corian. I then sanded the hole and edges as recommended with 100 grit to eliminate micro cracks.
Dave Head 1995 U320C SE 40
I replace leaking Delta the kitchen faucet in my 1996 U320 three days ago – took all day because I also replaced the water filter with the $45 cartridge. I installed a standard house one which has $10 cartridges. In addition to this, I installed a “T” in the hot water line and ran a pipe to the water tank for a “get hot water to sink” without dumping water.
“T” was installed in the hotline under the kitchen sink.
Plastic 1/2 inch pipe was run from the “T” along the driver’s side of the motorhome in the back of the cupboards, behind the stove, fridge, the pantry beside the fridge, and to the back of the washer/dryer closet. In the back of the washer/dryer closet, this pipe goes through the floor into the utility bay just in front of the gray holding tank. The pipe goes down to the floor and goes across to the passenger side of the coach under the gray holding tank. Then a 90 degree into the electric water valve which was the water tank fill valve. The output from this valve goes into another “T”. One output from this “T” goes to the water tank and the other goes to a valve with a hose bib for filling the water tank.
The shelf and drawer were just as you described – it was awkward – required a mirror and trouble light, as well as innovative body positions, but do-able without removing the shelf.
I would look for another plumber or an unlicensed handyman. Replacing taps does not require an experienced plumber. Note that I had to extend the plastic lines under the sink because the pigtails on the new tap were shorter than on the old tap. This requires cutting the bands off with a Dremel and using screw clamps.
Wyatt 1996 U320 40