by Brett Wolfe 1993 U240 36″
Remove old TV and old TV cabinet. Build HD “brackets” (I used 1″ oak) that will screw to the sides of the old TV area (inboard of overhead access doors and fit flush with the “back” of the FG area where the overhead access doors sit. I used a piece of 1″ thick walnut to match interior that “faced the open area (but did not extend below it) that was very well-fastened to the “brackets” (glue and screw).
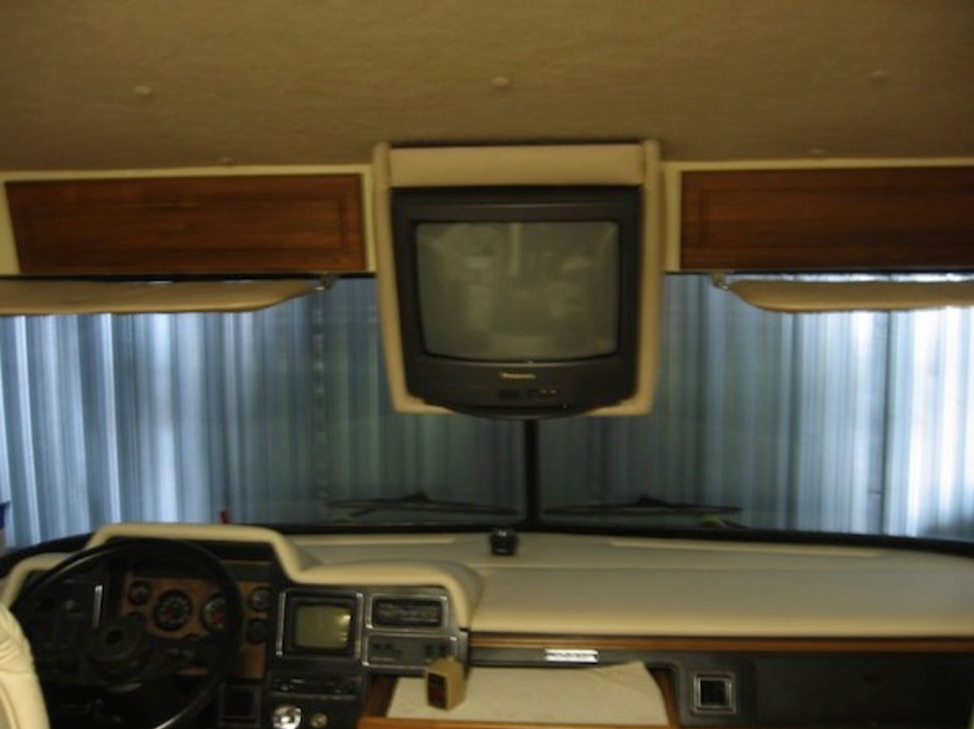
Cut a piece of 1/8″ plywood and covered it with dash material to cover the bottom of the old TV hole.
So far, there is no TV cabinet and no longer any obstruction of driver or passenger’s view as there was with the old TV/TV cabinet. It just looks now as if there are three walnut “doors”, though the center one is fixed in place.
Buy a 26″ LED, repeat LED TV, as it is only 1.2″ thick. I used 1″ aluminum (actually, the pieces from the old Wingard antenna) to make the long supports to which the TV’s recessed nuts (4) are screwed.
I then built a plywood frame around the TV/aluminum beams and covered it with Ozite carpet to match the interior ceiling material. Also installed a vent grill opposite the TV’s upper vent and installed a super-quiet 12 VDC muffin fan so the enclosure would not cause the TV to overheat.
The enclosure is stored up against the ceiling when not in use (only intrudes 3.0″ down from the ceiling). It is hinged in the “front”/”top” on beautiful ss hinges from West Marine. The back/bottom is secured in the stored position by a barrel bolt with captive detent.
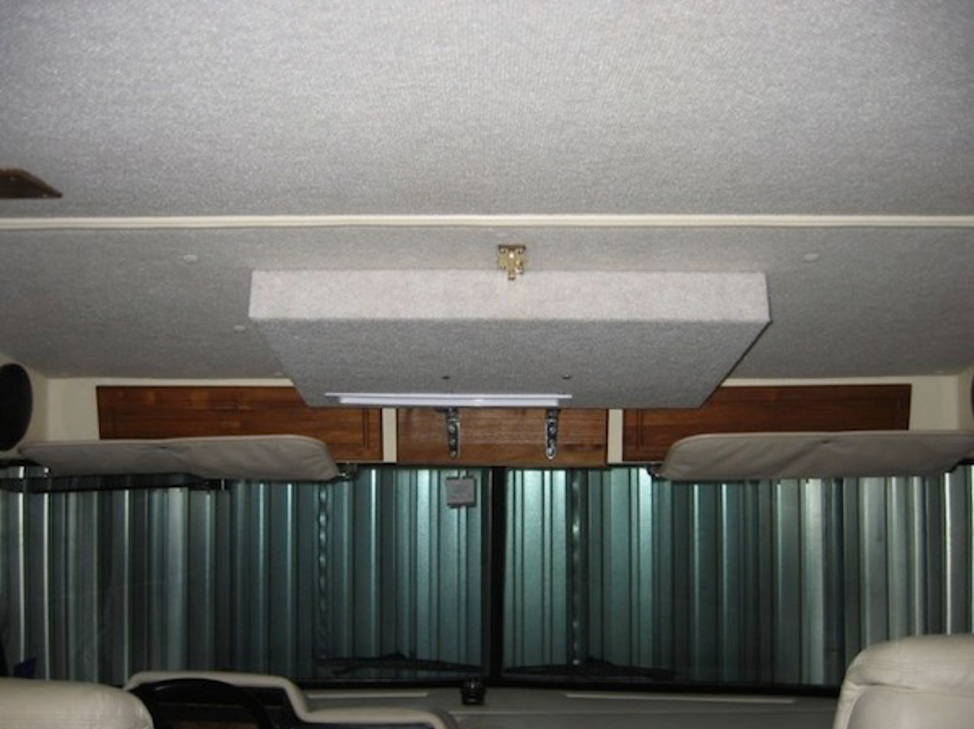
A big job was securing the barrel bolt to the ceiling. The ceiling in the forward area is part of the inner cap– so you have to remove the trim strip and metal at the back of the front cap to the interior ceiling. That gives you only a little access, but enough to see that there is a well-secured woodblock fastened to the upper cap just forward of where you need it. I cut a piece of 1/8″ steel plate that I lag bolted to this block to allow me to extend a secure location aft, as the barrel bolt is located only 2.5″ forward of the front to coach ceiling seam. I then held the forward ceiling and barrel bolt in their final location, the determined thickness of the shim needed between steel plate and inner ceiling (so bolting up the barrel bolt would not change ceiling location). Then drilled the plywood shim and steel plate, removed the shim and over-drilled the wood and then tapped the steel plate to accept the bolts holding the barrel bolt.
It looks great in up and “view” position and has held up just fine on a 2500 mile trip since installation over rough roads.

LOTS of work, but good end result. Total project time about 30 hours (much of that design work) and cost of around $100 plus cost of TV.