by Don and Tys 1999 U270 36′ 6/17/13
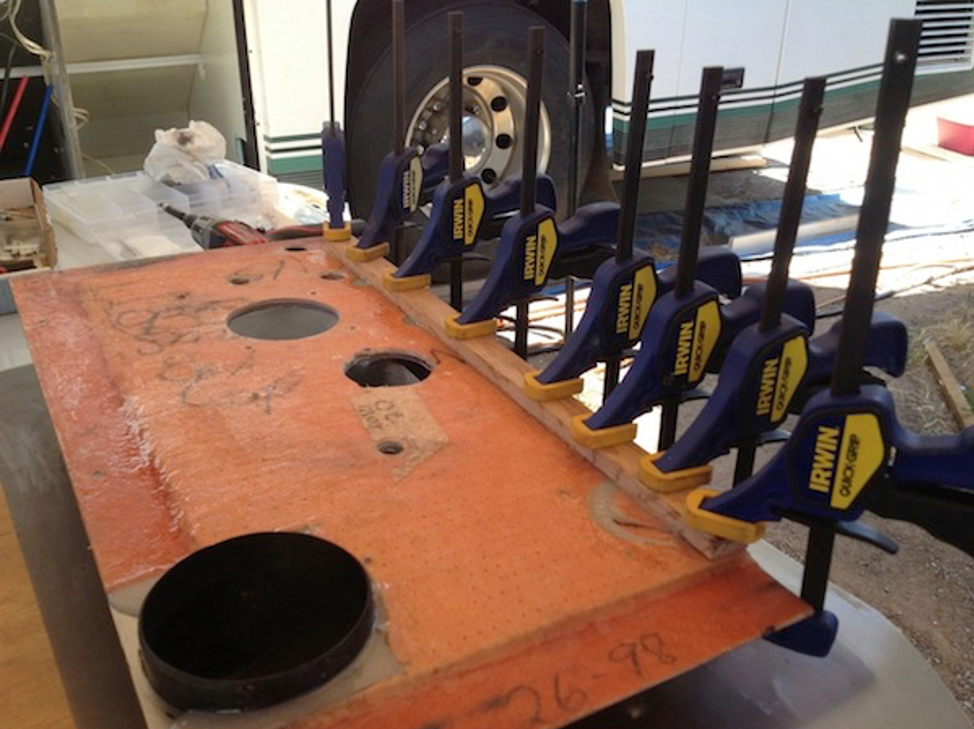
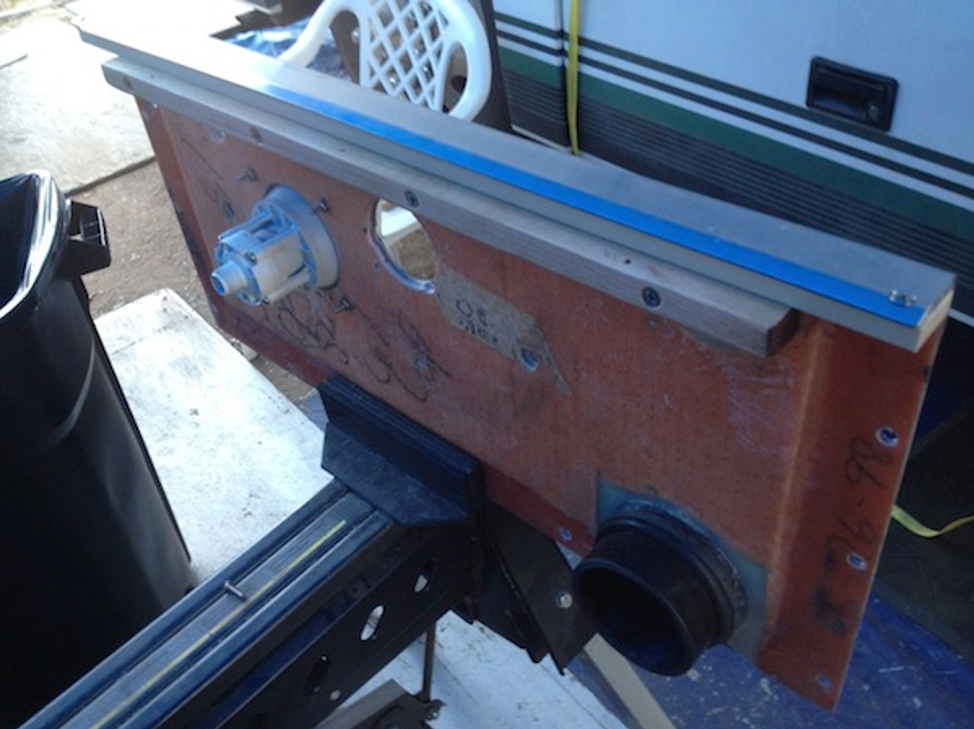
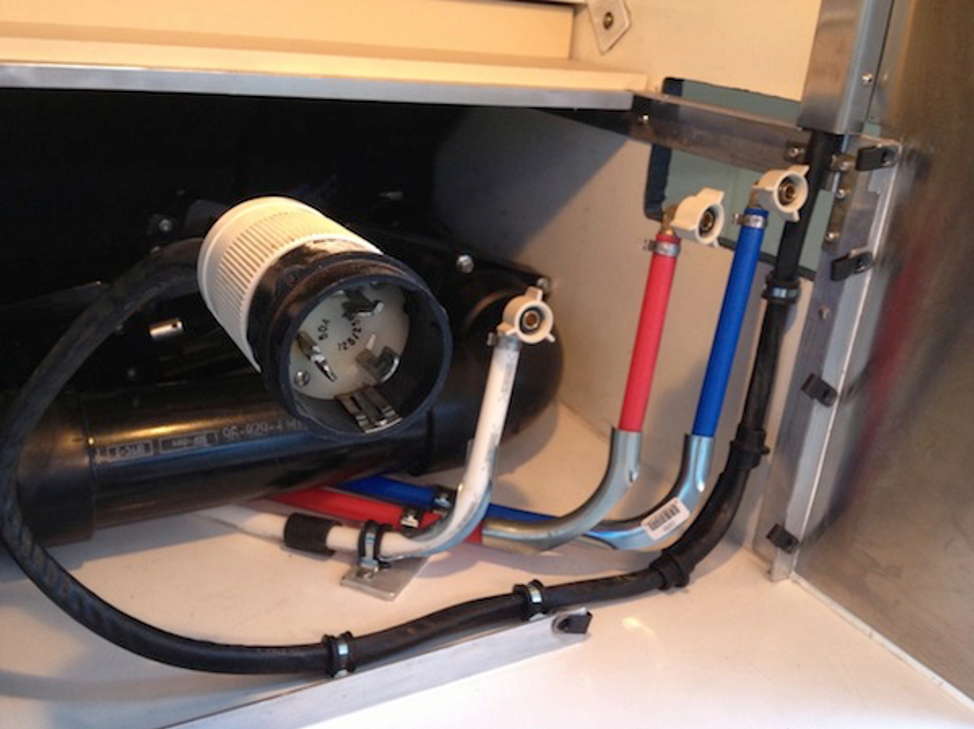
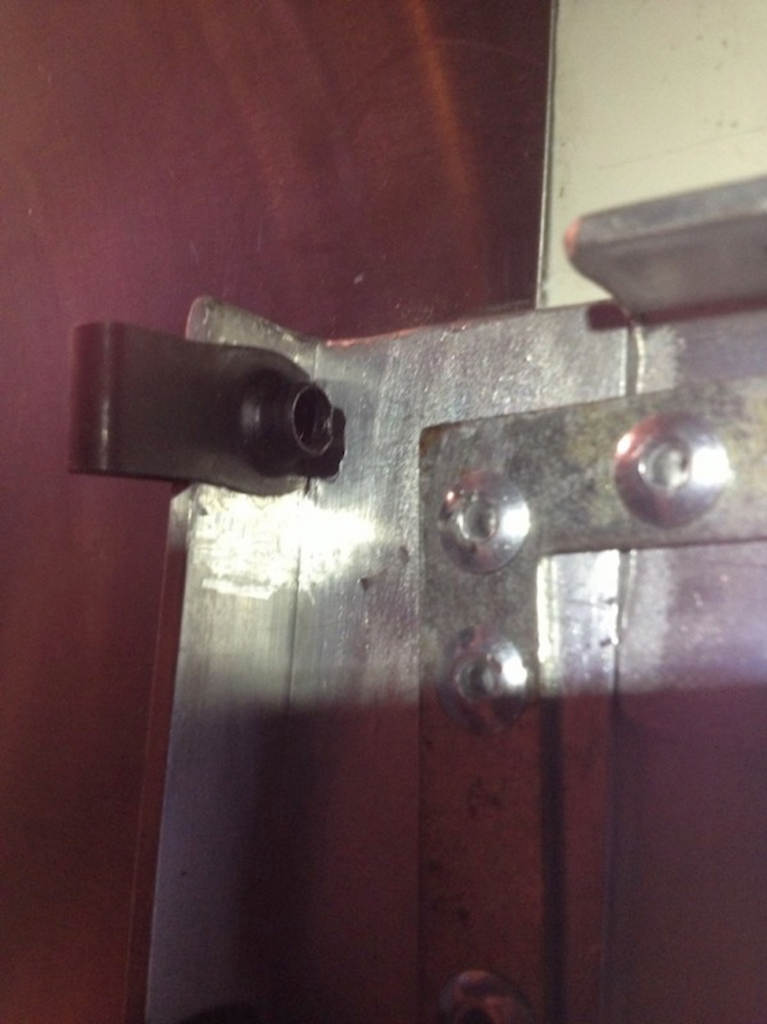
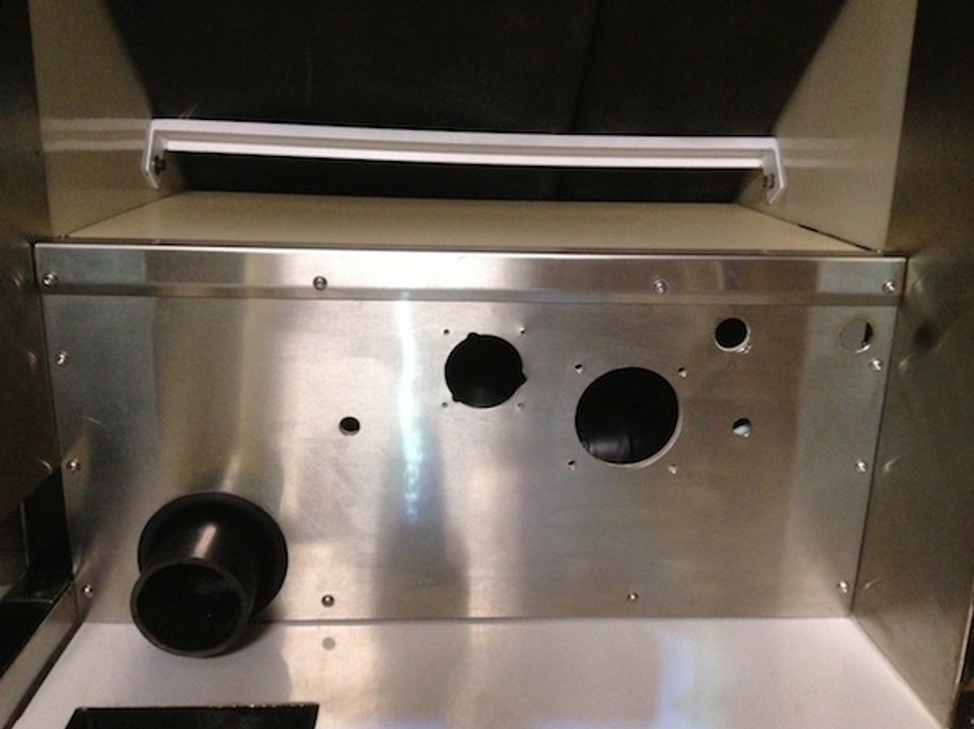
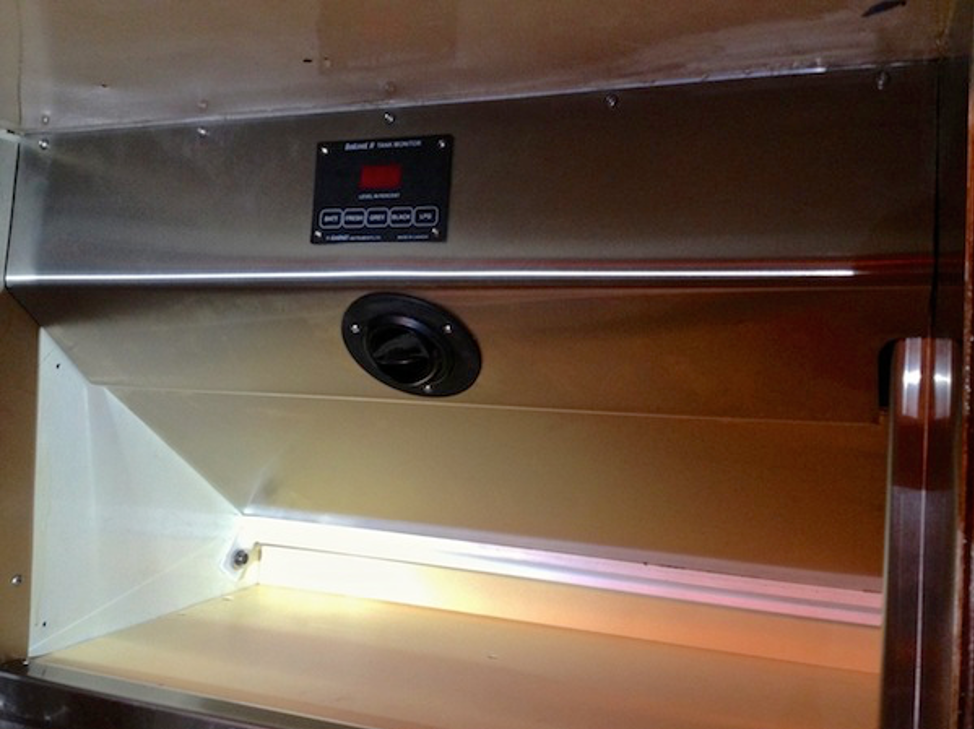
I laminated a 22 gauge piece of brushed stainless to the old fiberglass panel so that I could move the electrical over and make room for the third valve. There is a sleeve (I think from an old subwoofer vent port) that goes through the large hole where the sewer pipe exits the stainless panel. That sleeve is in turn sleeved with a 3-inch rubber sewer pipe cap which I cut the end out of so it would slide over the pipe. It makes for a very nice snug fit. I could use some silicone between the rubber and the pipe, but the hard plastic sleeve has a slight taper in it which makes the rubber cap with the end cut outfit very snugly between the sleeve and the pipe. Of course, I will caulk all around the panel after I’m done installing the screws.
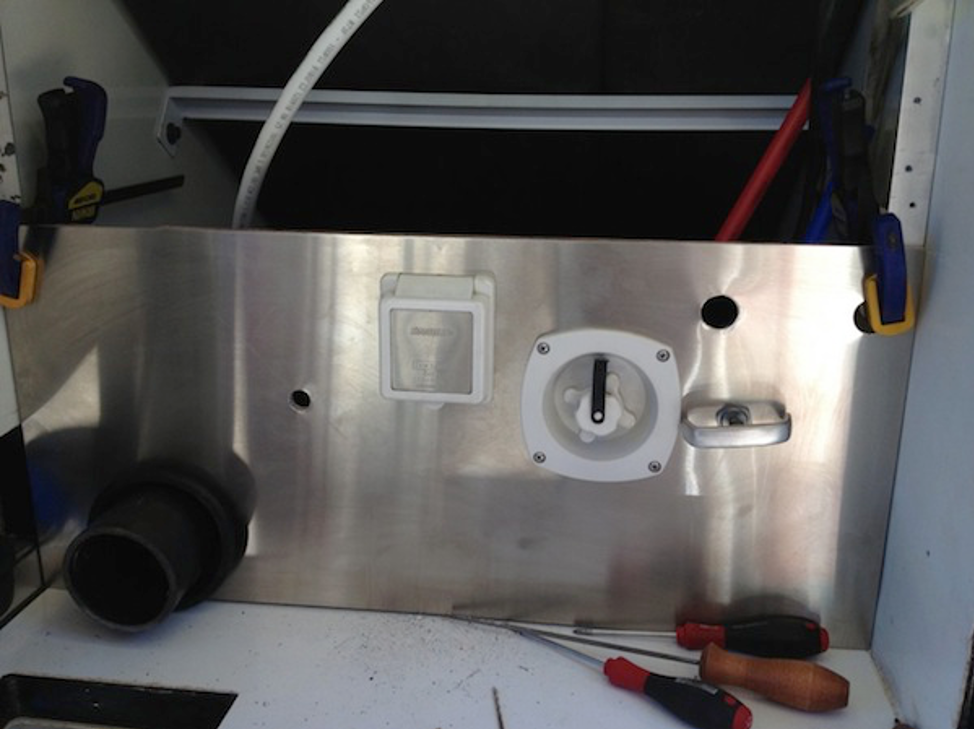
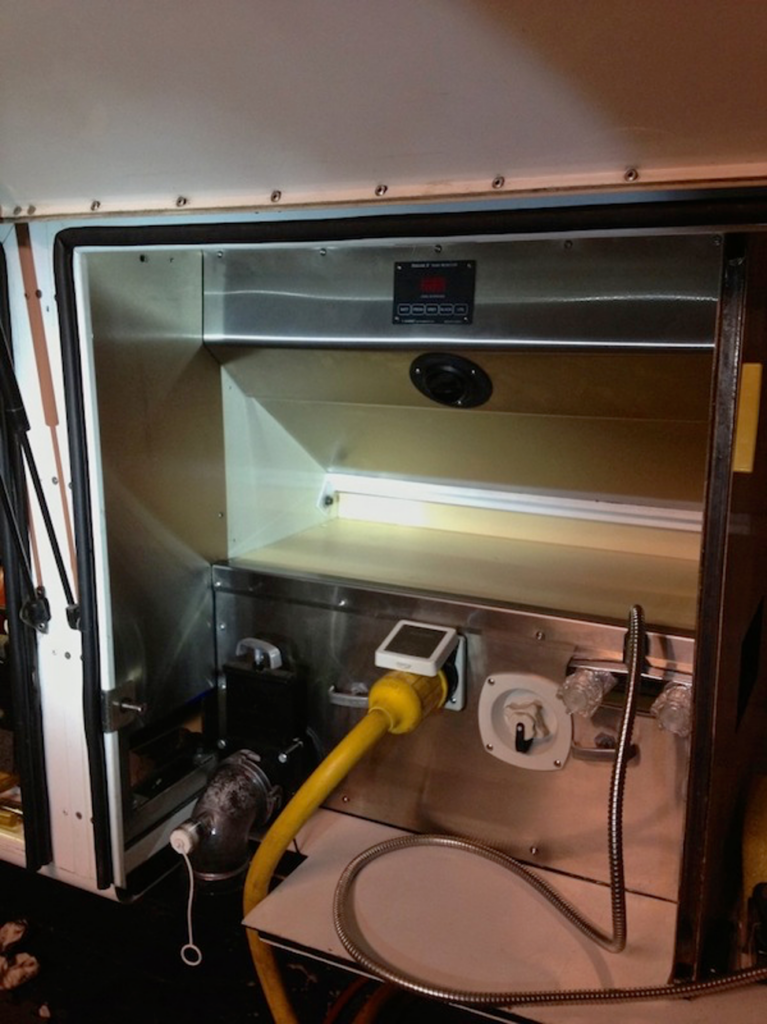
The panel is installed and caulked… just waiting for the caulking to cure enough before checking for leaks. My earlier tests with city water pressure cured me of overconfidence! The location and manner of fasteners and the removable shelf proved to be a challenge, but I am happy with the results.
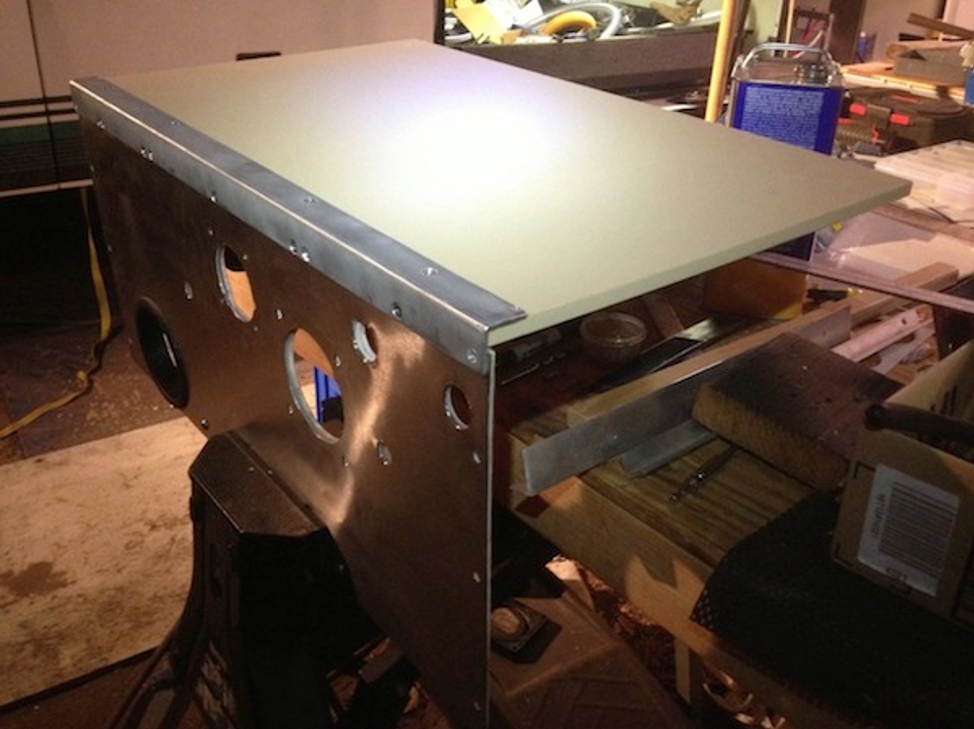
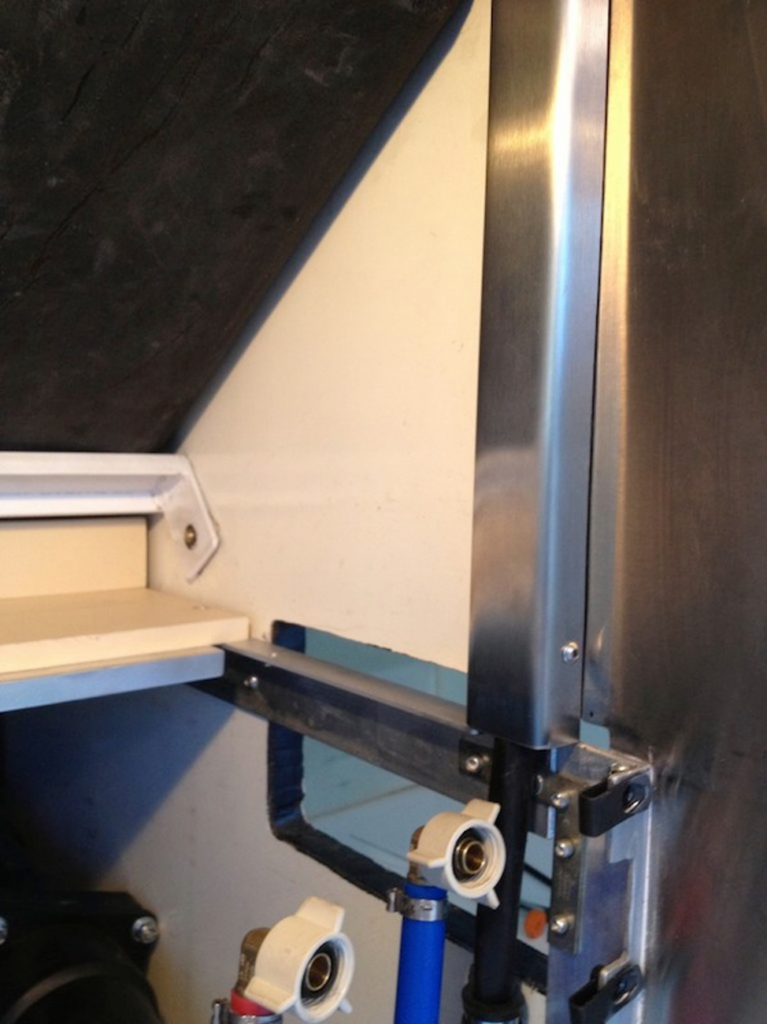
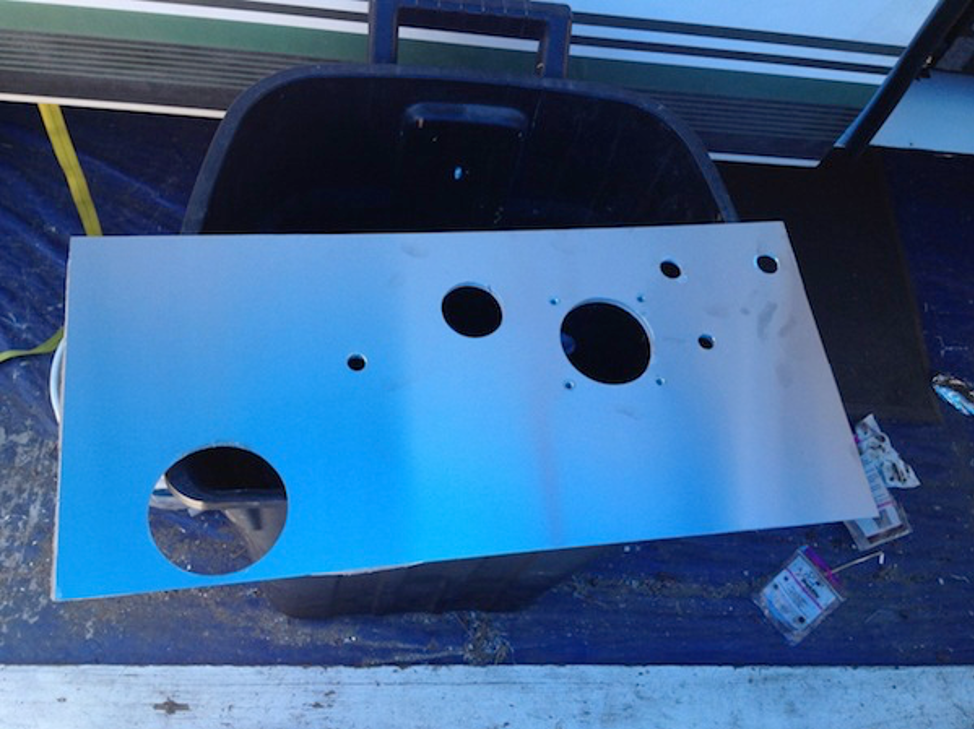
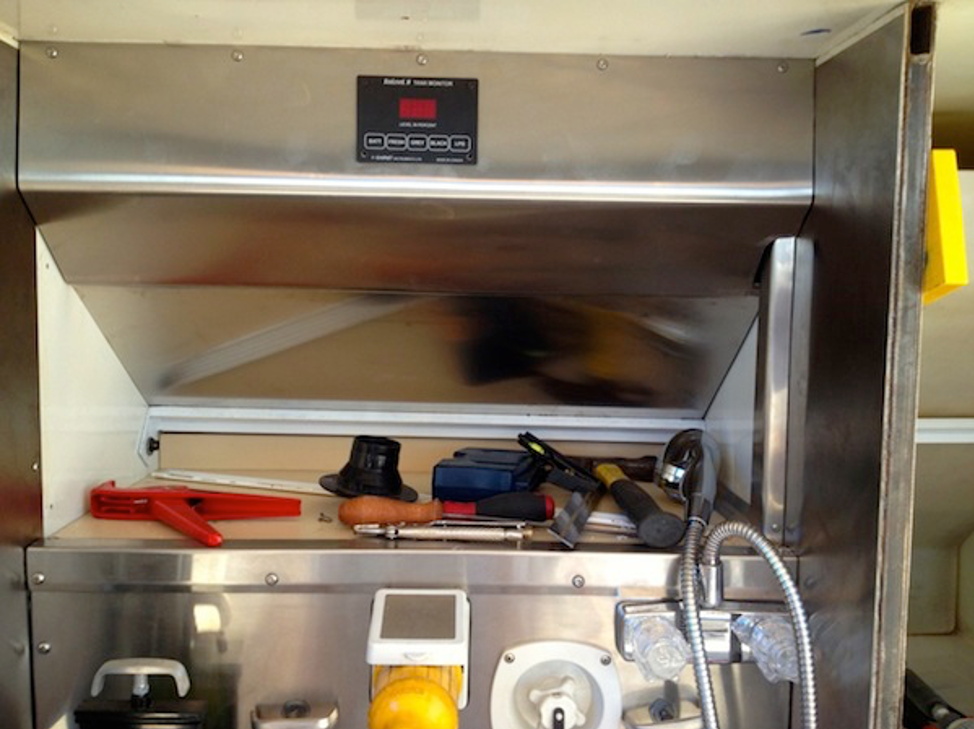
My stainless steel utility panel took a bit of a beating with all my manhandling and numerous test fittings and modifications, but no matter… it would happen in use anyway so I won’t lose any sleep over it. Bottom line is, all of the waste piping, freshwater supply, shore power, outside faucet, etc. can be quickly accessed by removing five-six screws. In fact, although I’m not going to try it just to prove it, I believe the whole waste pipe assembly can be taken out intact through the shelf area without removing the utility panel.
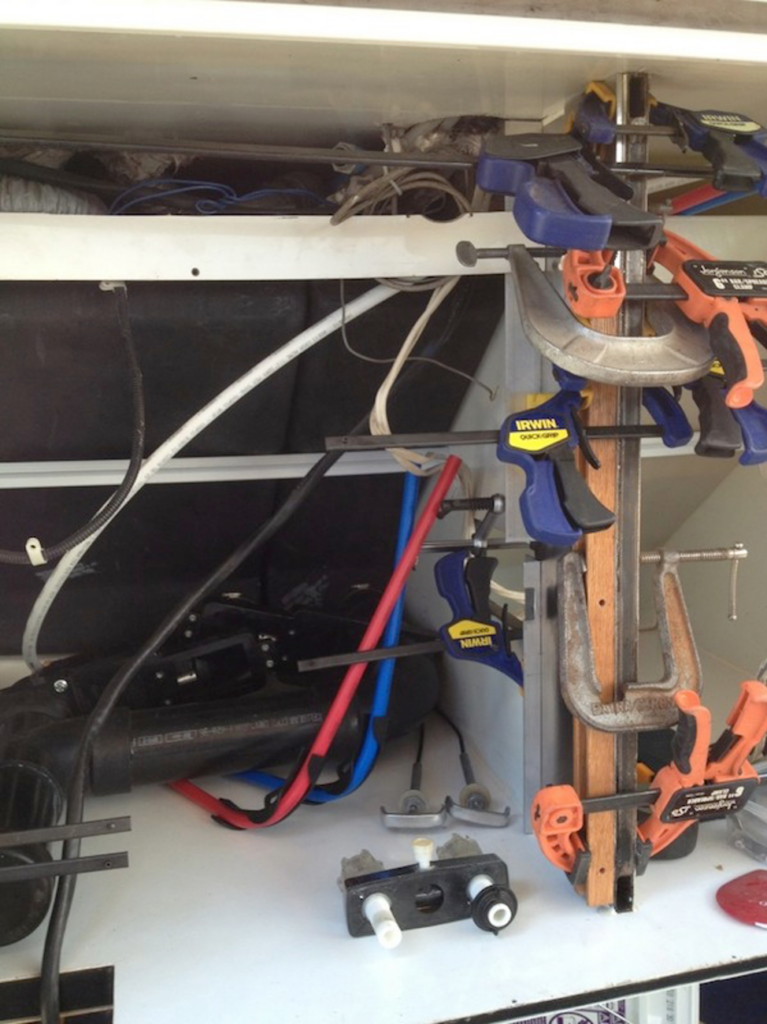
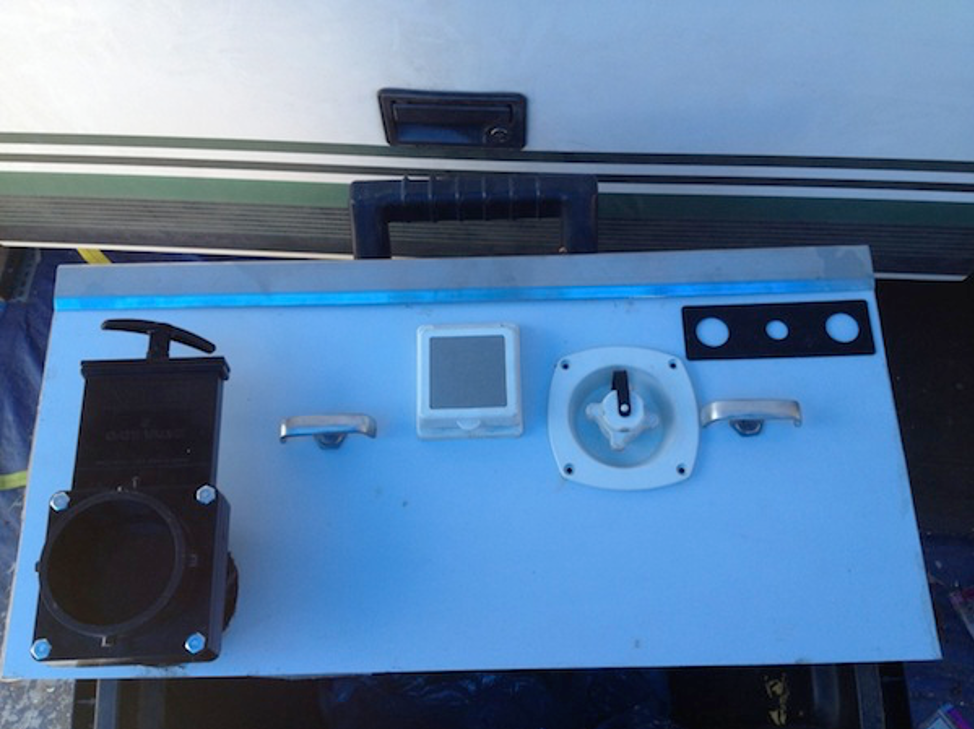
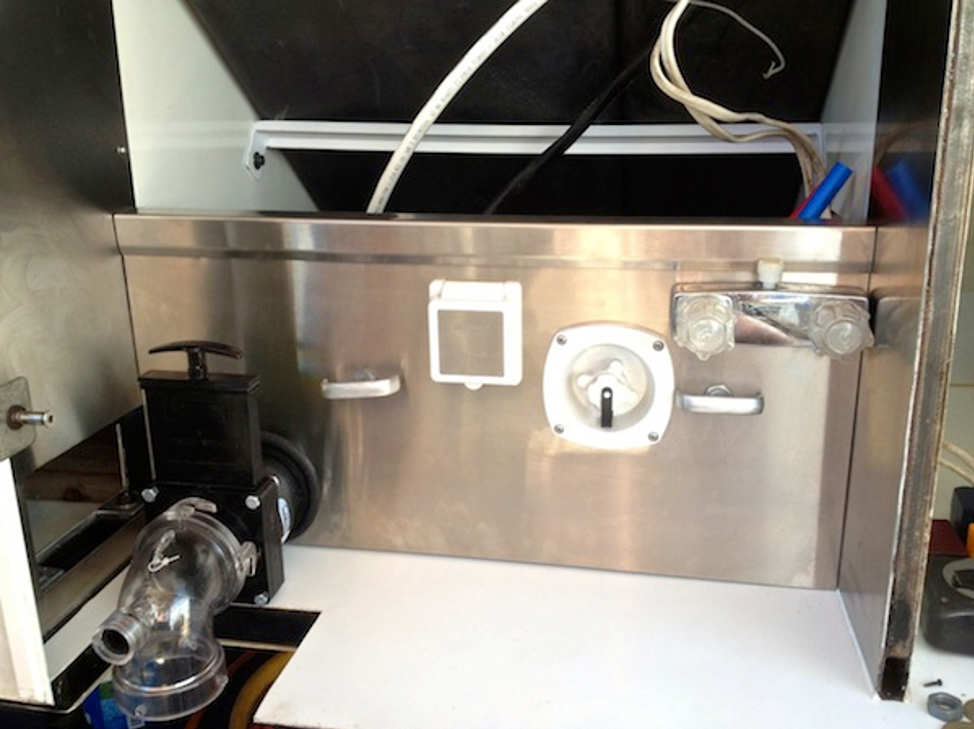
The shelf is made out of 1/2″ Starboard. The shore power cable is covered where it comes down from above with some 22 gauge stainless scrap that I bent to fit over some inch and a half aluminum “C’ Channel. The fact that my bender can’t make crisp bends in 22 gauge stainless actually worked for me in this case… I rather like the rounded corners. I still have to make the meter panel for the A/C power, heater vent, Seelevel, EMS display, and whatever else will go there, but first I am going to finish the plumbing.
My initial tests with water revealed that the kitchen faucet puked out water around the handle and the laundry hose bibs were seeping… fixing that and putting the water heater in should have coach livable…
By the way, all of the fasteners are Stainless Steel except for the quarter-twenty clip nuts that I got from an auto body supply store, and the aluminum rivets (I want them easily removable… just in case . I ended up making the shelf into two pieces because the shore power cable made it impossible to get a one-piece shelf in and out. For most things, the front half of the shelf (the larger of the two) is all that needs to be removed to get at the plumbing, but if necessary just two more screws and the rest of it will come out as well.
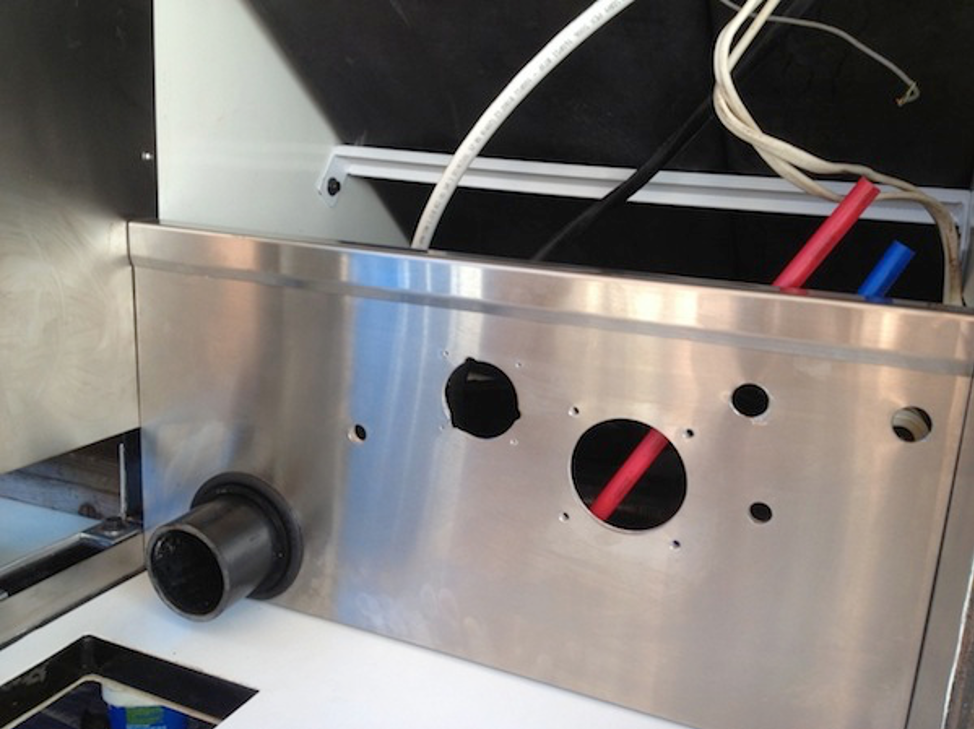
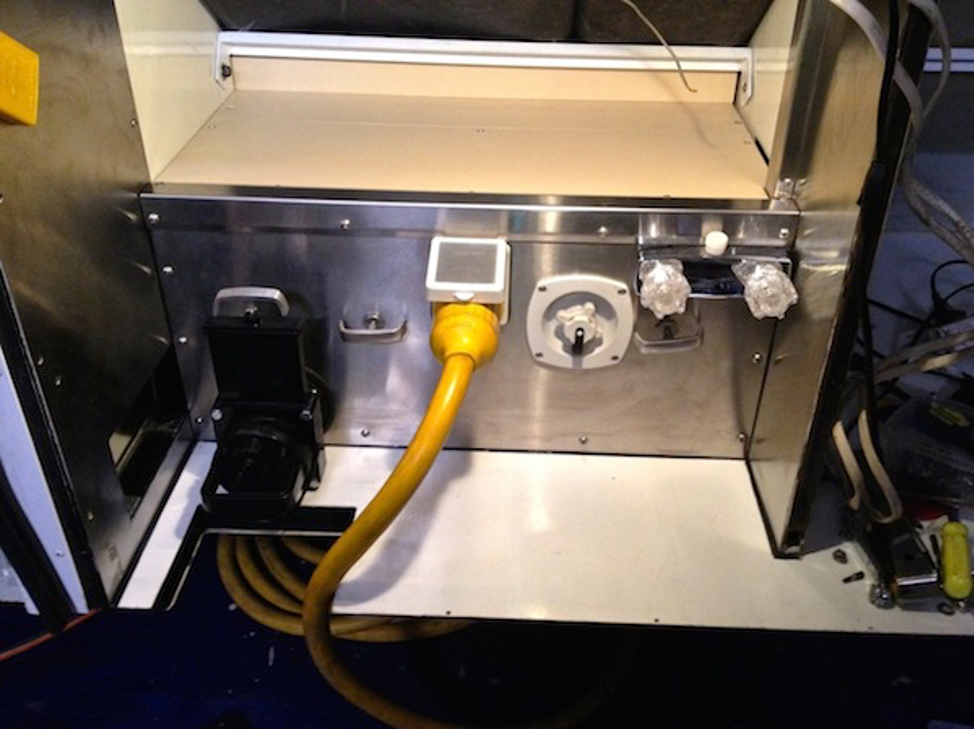
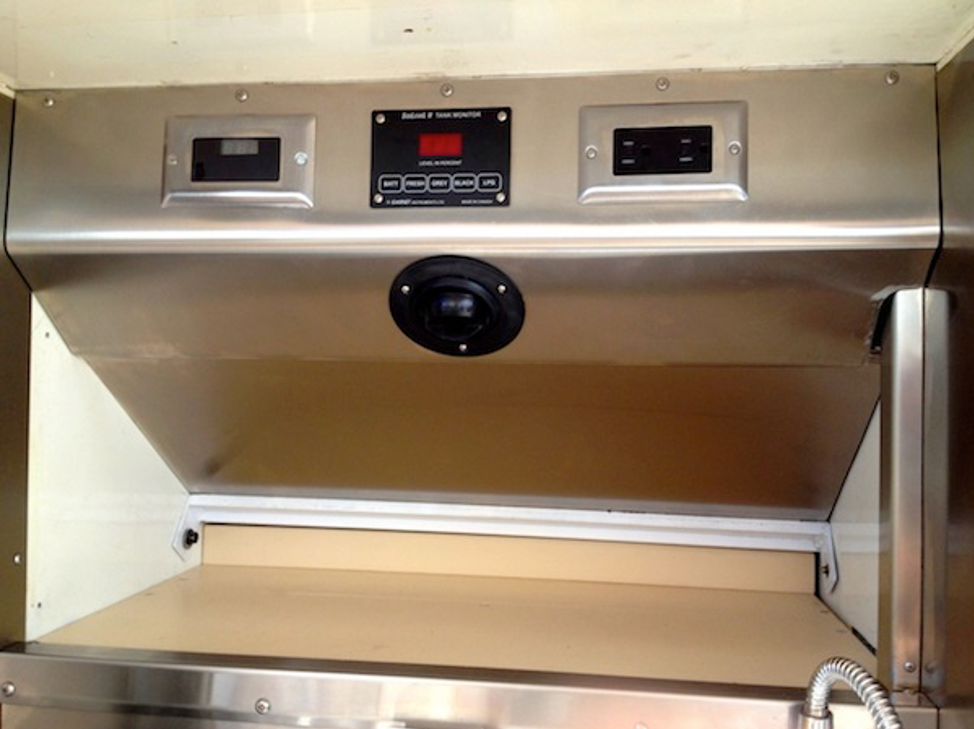
I have almost finished phase 2 of the utility compartment project. At least, I am done enough to be sure that it’s probably going to work out okay. I still have to put in an electrical outlet which has its own challenges and add the progressive industries EMS display to the panel… Once I figure out how to make it more of a flush installation. Here are a couple of pictures of what I am going to call the meter panel for lack of a better term. Working with a 22 gauge stainless steel sheet is a pain, but I like the results.
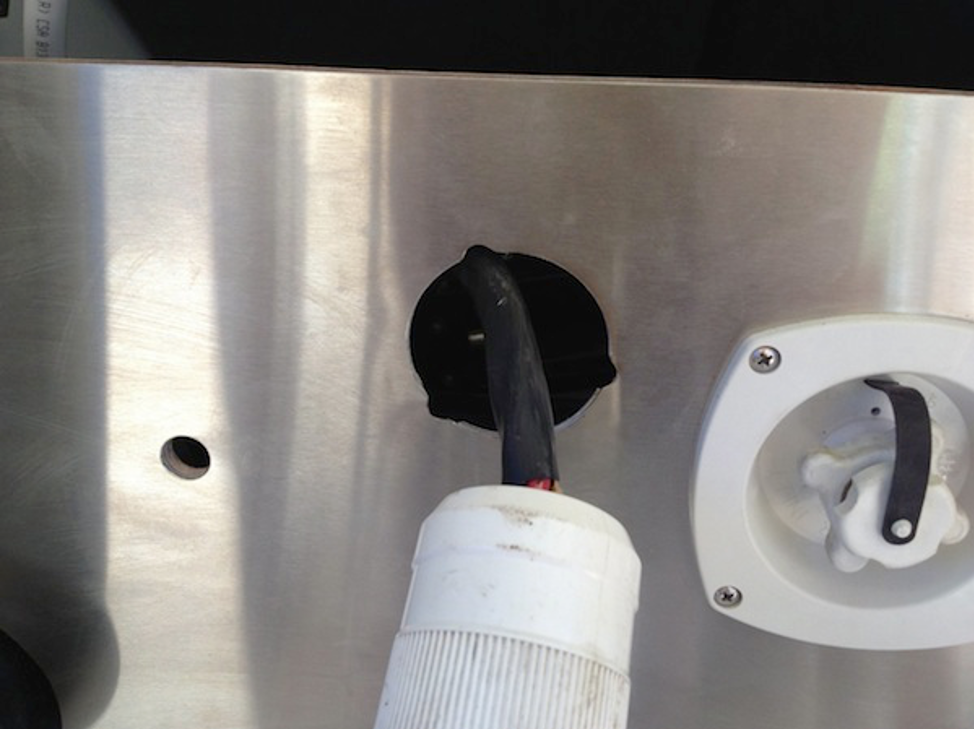
I managed to cut the rectangular holes for the Progressive Industries remote display and an outdoor J-Box for the A/C outlet to the meter panel. I have yet to install the EMS-HW50C, so that display isn’t functional yet… but now, I am committed!