By Dave Head 95 U320C SE 40 1/10
I’ve essentially completed my LCD install now. I will do some trim work/touch up here and there but it’s essentially done. I tried to accomplish 3 main points:
a. a solid and strong install I wouldn’t have to worry about.
b. easy TV removal to gain access to the back for connections, etc.
c. minimal changes to the coach.
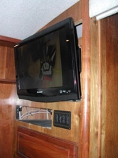
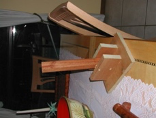
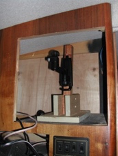
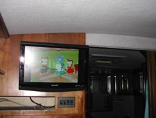
1. Rear TV. I fabricated a post-mount that is attached to the base of the cabinet. Then an articulating wall mount is attached to that. This allows for easy removal and full adjustability. Only change to coach – 4 screw holes for the post mount.
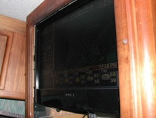
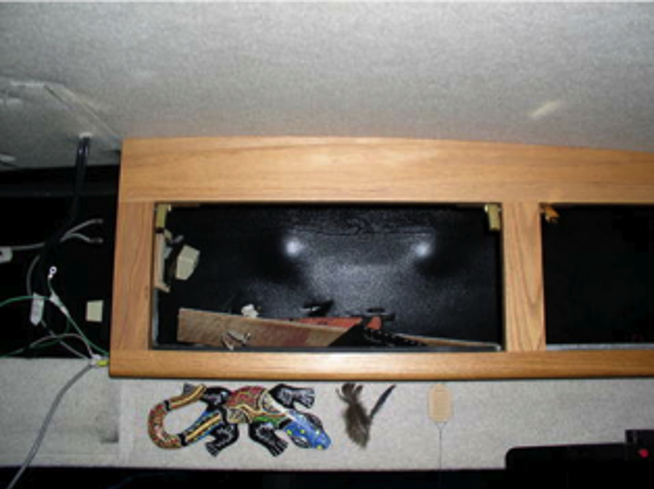
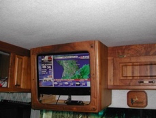
2. Front TV. The 22 inch TV is ‘trapped’ in position to the front of the original cabinet but inside the cabinet. Two notched pieces of wood hold the TV ‘up’ into position, with notches preventing the TV from moving forward. Felt is added to protect the TV. Up at the top of the TV in the back, a thin piece of poplar runs across the back/top face of the TV with a screw-on each side to ‘trap it’ at the top. Only changes, 4 screw holes added. To remove unscrew one side of the top ‘trap band’ and lift the TV up 1/2″ to clear the bottom notches.
Eventually, I will add a lower-trim piece with some velcro to cover the 4-inch thick ‘gap’. I will likely have Derek cut it down next time I’m at MOT, also. Dave Head 95 U320C SE 40